How to Apply for Work Visa in Canada: A Step-by-Step Guide
So, you're looking to work in Canada. That's a fantastic goal, but before you get lost in a sea of forms and documents, let's get one crucial thing straight. The entire process hinges on understanding what kind of work permit you need. This isn't just paperwork; it's the legal document from Immigration, Refugees and Citizenship Canada (IRCC) that allows you to work in the country.
Your journey starts with a fundamental choice, and getting it right is non-negotiable.
Understanding Canadian Work Permits
Think of a Canadian work permit as your official pass to a Canadian job. Without it, you can't legally earn a living there. The good news? Canada is actively looking for skilled professionals to fill gaps in its economy, and Nigerians are often at the top of their list.
The demand is very real. In the first quarter of 2025 alone, Canada gave the green light to 186,805 work permit applications. Nigeria consistently ranks as a top source country for these temporary workers, which shows that there are genuine opportunities waiting.
But to grab one of those spots, you need a strategy. That strategy begins and ends with the type of permit you're chasing.
Employer-Specific vs. Open Work Permits
Canada has two main types of work permits, and they are worlds apart. Picking the wrong one is a classic rookie mistake that can get your application rejected before it's even properly reviewed.
To help you figure out which path is for you, here’s a quick breakdown of the two main types of work permits available.
Quick Guide to Canadian Work Permit Types
| Permit Type | What It Is | Who It's For |
|---|---|---|
| Employer-Specific Work Permit | This is the most common route. It ties you to one specific job, with one specific employer, in one specific location. It's not flexible. | You, if you have a confirmed job offer. Your employer will usually need a positive Labour Market Impact Assessment (LMIA) to prove they need a foreign worker. |
| Open Work Permit | This gives you the freedom to work for almost any employer anywhere in Canada. It’s the holy grail of work permits, but much harder to get. | Spouses/partners of some international students or skilled workers, or recent graduates from certain Canadian schools. Eligibility is very strict. |
Understanding the difference between these two is the first major hurdle. It determines everything that comes next.
Which Permit Is Right for You?
So, how do you decide? It really comes down to a single question: Do you already have a job offer from a Canadian company?
If you answered yes, then your path is pretty clear. You’ll be applying for an employer-specific work permit. Your new boss will be heavily involved, especially with getting that all-important LMIA document.
If you don't have a job offer, your only real shot is to see if you qualify for an open work permit. This means digging into the strict eligibility rules to see if your situation fits. For a deeper dive, our guide on the differences between a Canada work visa and a work permit can give you more clarity.
All your research and, eventually, your application will happen through the official IRCC website. Get familiar with it now.
This portal is where you'll find document checklists, create your profile, and upload everything when you're ready to apply.
Key Takeaway: Your application journey doesn't start with gathering documents. It starts with a decision. Figuring out whether you need an employer-specific or an open work permit sets the foundation for your entire application. It dictates the forms, the proof, and the process you'll follow.
Once you’ve made this crucial choice, you're no longer just dreaming about working in Canada—you have a clear, actionable plan. With this knowledge in hand, you can move forward confidently to the next stage: proving you're eligible and building a strong case for the visa officer.
First Things First: Are You Actually Eligible for a Work Permit?

Before you even think about spending a single Naira on application fees or getting your documents together, you need to be absolutely sure you tick all of Canada's eligibility boxes. Honestly, this is where most applications fall apart. It's usually not because of a missing form, but because the applicant simply couldn't convince the visa officer they were a good fit.
Think of it this way: your application is a story. Every document you submit must support the main plot point—that you're a genuine temporary worker who will follow all the rules.
The Make-or-Break Eligibility Checklist
No matter where you're from, every single person applying for a Canadian work permit has to meet a core set of universal requirements. These are the absolute non-negotiables.
- You must prove you'll leave Canada. The visa officer needs to believe you will return to Nigeria once your permit expires. This is often the biggest hurdle.
- You need to show you have enough money. This means proving you can support yourself (and any family coming with you) and afford a flight back home.
- You have to be admissible to Canada. This means being law-abiding with no criminal record. You'll almost certainly need to provide a Nigerian police clearance certificate.
- You must be in good health. You can't pose a risk to Canada's public health, and you might need a medical exam to prove it.
If you can't satisfy every single one of these points, your application is almost guaranteed to be refused. Your entire job is to provide solid, undeniable proof for each.
Proving You'll Return to Nigeria
This part is more of an art than a science. A visa officer needs to see you have strong, tangible connections to Nigeria—what we call "home ties." These ties make it believable that you'll leave Canada when your work is done. It’s not enough to just say you will; you have to show them.
So, how do you demonstrate these ties?
- Family: Do you have a spouse, children, or elderly parents in Nigeria who depend on you?
- Property: Can you provide documents showing you own a house or land in Nigeria?
- Current Job: A letter from your current Nigerian employer confirming you’re on an approved leave and are expected back is powerful proof.
- Financial Roots: Do you have significant investments or business interests back home that need your attention?
Here’s a common mistake I see: people get so excited about the opportunity in Canada that they forget to build a compelling story about their life in Nigeria. A strong application is balanced. It shows you have something meaningful to come back to.
Don't take this section lightly. Simply having a bank account in Nigeria isn't enough. You need to paint a clear picture of an established life you're invested in.
The Job Offer and the LMIA
Assuming you're applying for an employer-specific work permit—which is the case for most Nigerians—you'll need more than just the basics. The most critical piece of the puzzle is a valid job offer from a Canadian employer.
And I don't mean a casual email exchange. We're talking about a formal employment letter or a signed contract that clearly outlines your role, salary, and working conditions.
For many of these jobs, your employer also has to get a positive Labour Market Impact Assessment (LMIA). An LMIA is a document from the Canadian government that essentially says, "We've looked, and there are no Canadians or permanent residents available to do this job, so we need a foreign worker."
Getting the LMIA is your employer's responsibility. It's a whole process on their end, which usually involves advertising the job across Canada first. If your job requires an LMIA, your work permit application is a non-starter without it. This really highlights the government's focus on using temporary foreign workers to fill very specific labour gaps. In fact, data from Statistics Canada shows that while permanent resident admissions are being adjusted, the demand for temporary workers remains incredibly high, with 186,805 permits approved in the first quarter of 2025 alone. You can always explore the latest immigration trends from Statistics Canada to get a better feel for the numbers.
Once you have that valid job offer and the LMIA (if required), you've got the foundation for a really strong application. These documents, paired with your proof of eligibility, create the comprehensive package you need to answer all the tough questions a visa officer will have.
Assembling Your Application Documents
Alright, so you’ve confirmed you're eligible. Now comes the part where precision is everything. Think of your documents as the evidence you're presenting to the visa officer. A single missing paper or a poorly scanned document can cause frustrating delays or, worse, lead to a refusal.
This isn't the time to be casual. Every single document, from your passport down to your bank statements, needs to be clear, accurate, and tell a consistent story about you. Let's walk through exactly what you need to pull together for a rock-solid application.
The Non-Negotiables: Core Documents for Every Applicant
Regardless of the job you're heading to, some documents are foundational. You simply can't proceed without them.
First and foremost is your International Passport. This seems obvious, but check the expiry date. It must be valid for the entire time you plan to work in Canada. Critically, you need at least one completely blank page (not the last page) for the visa sticker.
Then there are the Digital Photos. These aren't just any headshots; they come with very strict rules for size, background colour, and even your facial expression. My advice? Don't try to DIY this with your phone. Go to a professional photo studio and specifically ask for photos that meet Canadian visa specifications.
Pro Tip: When you get your digital photos, ask the studio for a few physical copies as well; you never know when you might need them. Make sure the digital file they give you is high-resolution. A blurry photo is an easy excuse for the IRCC system to reject your upload.
Paperwork Tied to Your Job Offer
If you're applying for an employer-specific work permit, the documents from your Canadian employer are the absolute heart of your application. The most critical piece is your official Offer of Employment letter or a signed contract.
This letter needs to be detailed. It should clearly outline:
- Your specific job title and a breakdown of your duties.
- Your salary in Canadian dollars and any benefits.
- The physical address of your workplace.
- The exact start and end dates of your employment.
You'll also need the Labour Market Impact Assessment (LMIA) number if your role requires one. Your employer is responsible for getting this from Employment and Social Development Canada (ESDC) and giving it to you. You can't move forward with the application without it.
These documents are the proof that your job offer is legitimate. For a deeper dive, our guide on how to apply for a work visa provides more context on this.
Proving Who You Are: Your History and Standing
Now it's time to build a picture of yourself for the visa officer. This means providing proof of your work history, education, and your status as a law-abiding citizen.
First up, the Police Clearance Certificate. You'll get this from the Nigeria Police Force Criminal Investigation Department (CID). Get a head start on this one. From personal experience and hearing from others, this process can take a few weeks. It needs to show you have a clean record.
Next, you need to gather your Proof of Work Experience. This is more than just uploading your CV. You need official reference letters from past and present employers. A powerful reference letter is always on company letterhead and includes:
- Your job title and the dates you were employed.
- A summary of your main responsibilities.
- Your salary and the contact details of your manager or HR department.
Finally, pull together your Educational Documents. This means your degree certificates, diplomas, and academic transcripts. If you've had your credentials evaluated by an organisation like WES, be sure to include that assessment report. It adds serious credibility to your qualifications.
To help you keep track, I've put together a checklist of the most important documents and a key tip for each one, tailored specifically for applicants from Nigeria.
Document Checklist for Nigerian Applicants
| Document Category | Specific Item | Key Tip for Nigerians |
|---|---|---|
| Identity & Photos | Valid International Passport | Make sure it has at least 6 months of validity beyond your planned stay in Canada. |
| Employment | Job Offer Letter & LMIA | Your job offer must be a formal, detailed letter—not a simple email confirmation. |
| Background | Police Clearance Certificate | Start your application at the NPF CID headquarters in Alagbon. Don't leave this until the last minute. |
| Experience | Reference Letters | The letters must be on official, branded letterhead and signed by an authorised person. |
| Finance | Proof of Funds | Use 4-6 months of bank statements showing a consistent, stable balance. Avoid large, sudden deposits. |
Every document has a specific job to do in building a complete and believable profile for the visa officer reviewing your file. Take your time, be thorough, and you’ll dramatically boost your chances of success.
Navigating the IRCC Online Application Portal
Alright, with your documents scanned and ready to go, it's time to face the main event: the online application. The Immigration, Refugees and Citizenship Canada (IRCC) secure portal is where everything comes together. I know it can look a bit daunting at first, but if you break it down into smaller, manageable chunks, it’s not so bad.
Think of this as your official conversation with the Canadian government. The single most important thing here is to be painstakingly accurate. A single wrong date or a name that doesn't quite match your passport can throw a spanner in the works and cause major delays. So, breathe, take your time, and double-check every single entry.
Creating Your Account and Getting Started
First things first, you'll need to create your secure IRCC account. You’ll see two options: sign in with a "GCKey" or use a "Sign-In Partner." For most of us applying from Nigeria, the GCKey is the way to go. This becomes your personal key—a unique username and password—for all your interactions with IRCC.
Once you're in, the system will guide you through an online questionnaire to figure out your eligibility. It's a clever tool that asks about your nationality, age, the job offer you have, and your family situation to make sure you're applying for the right thing. If all goes well, it will confirm you're on the right track for a work permit.
The portal then generates a personal document checklist. This is your tailored list of every single form and supporting document you need to upload. It should line up with the documents you've already prepared, but pay close attention. It will often ask you to download specific forms, like the Application for Work Permit Made Outside of Canada (IMM 1295), to fill out.
Filling Out the Forms with Precision
The online forms are the heart of your application. This is where you'll input your personal details, work experience, travel history, and information about your Canadian employer. I can't stress this enough: accuracy is everything.
Here are a few tips from my experience to help you sidestep common pitfalls:
- Be Consistent: Your name must be spelled exactly the same way across every document, and it must perfectly match your passport. No variations.
- Leave No Gaps: You need to account for every single month of your personal and work history for the last ten years. Any unexplained gaps will raise questions.
- Save, Save, Save: The portal can and will time out. Get into the habit of saving your progress every few minutes to avoid the frustration of losing your work.
A classic mistake I see people make is rushing the family information form (IMM 5707). You must be thorough and list all the required family members, even if they aren't coming to Canada with you. Leaving someone out can be viewed as misrepresentation, which is a serious issue.
After you've triple-checked all the forms, you'll move on to uploading your documents. The system is picky about file sizes and formats (usually PDF, JPG, or DOC), so make sure your scans meet the requirements before you start uploading.
This image sums up the workflow pretty well.
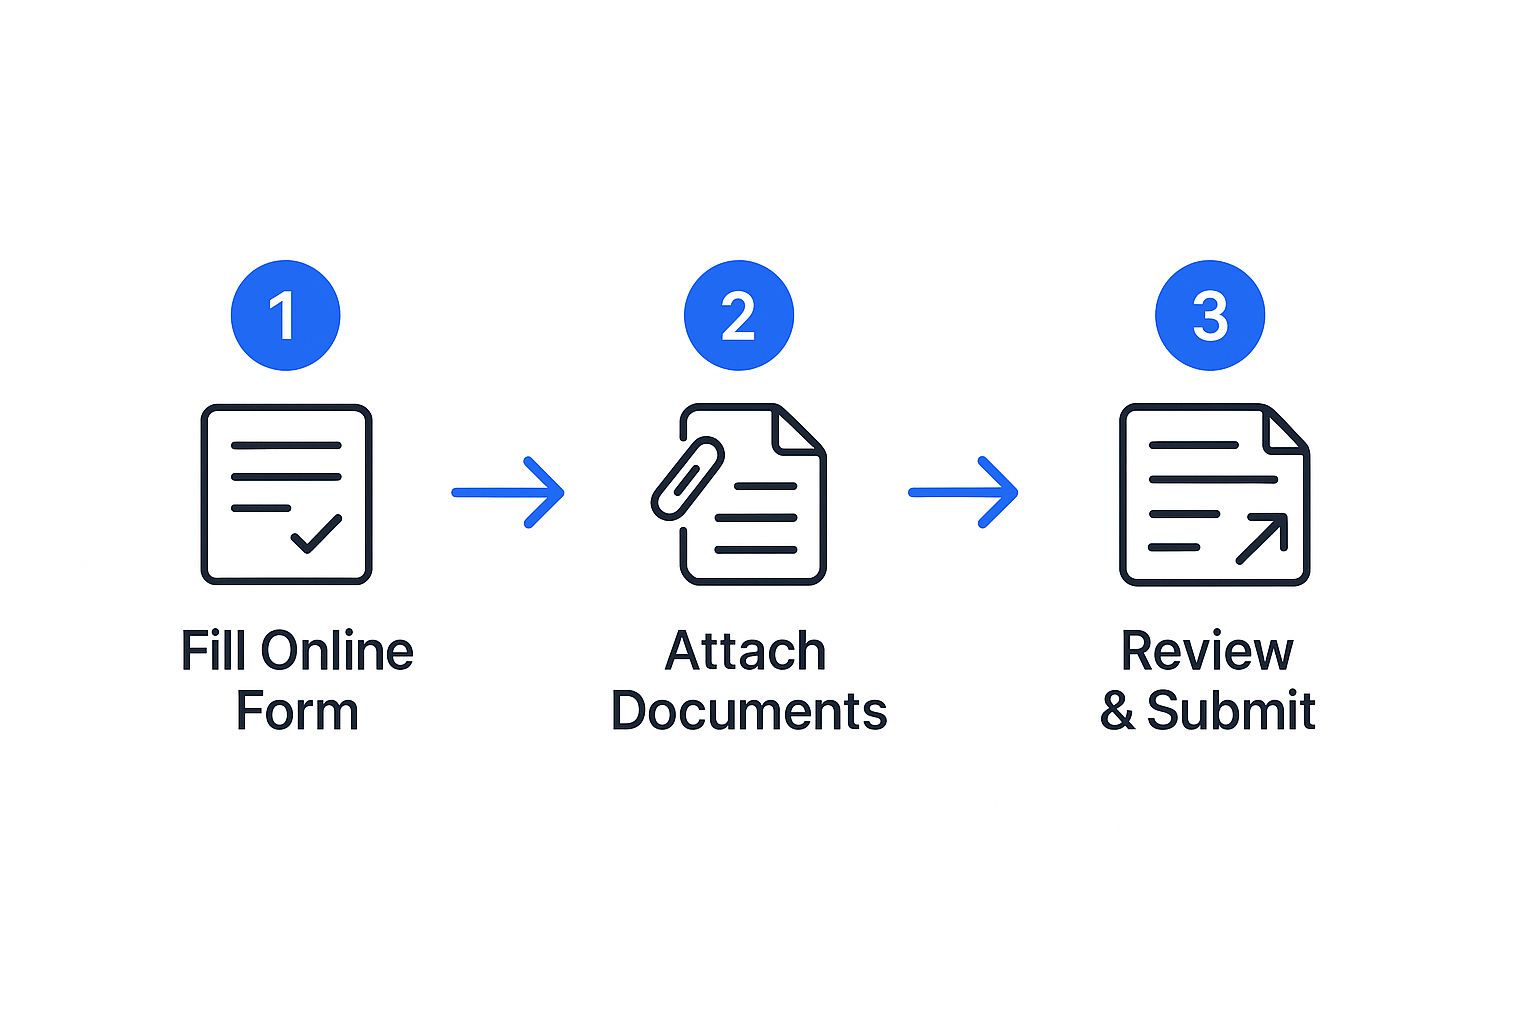
As you can see, it's a straightforward process where you have to complete each step correctly before you can move on to the next one.
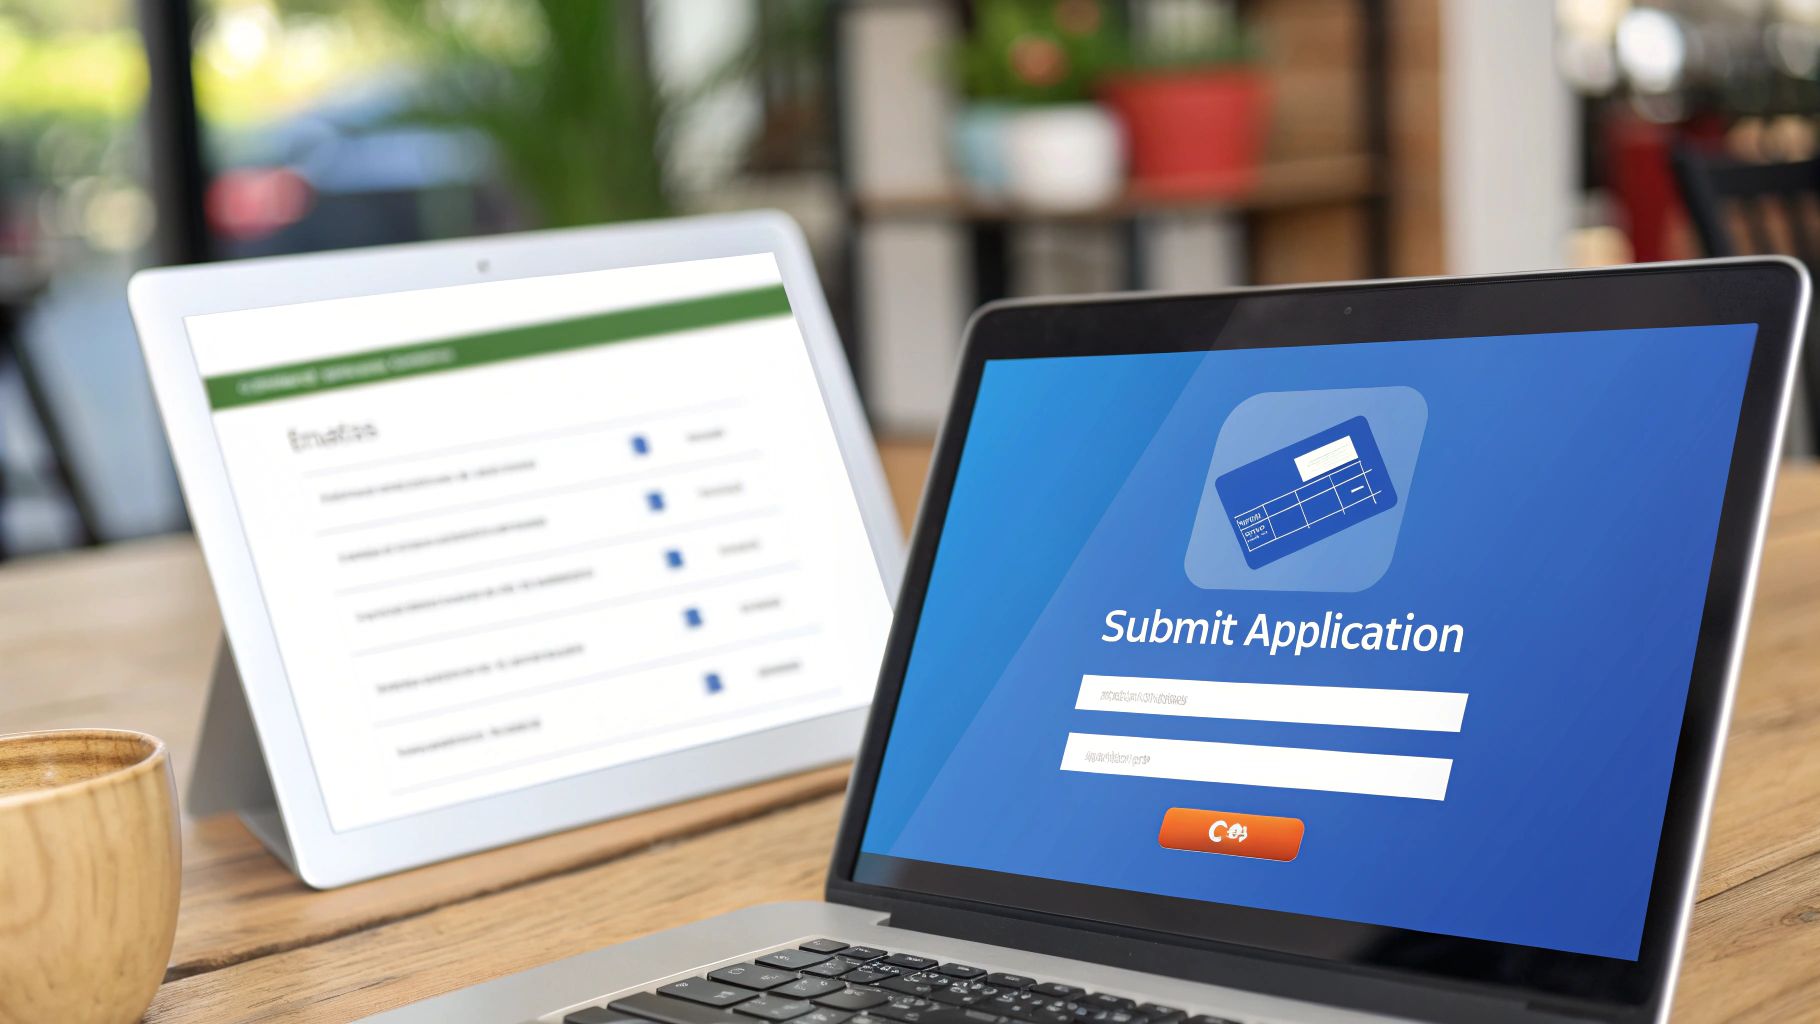
The final hurdle is payment. You’ll need to settle two fees: the work permit processing fee (currently $155 CAD) and the biometrics fee ($85 CAD). You can pay this directly on the portal with a valid credit or debit card (Visa, Mastercard, or American Express are accepted).
Once your payment goes through, you get one last chance to review everything. When you're ready, take a deep breath and hit that submit button. It’s a nerve-wracking moment for sure, but if you’ve been diligent and methodical, you can feel confident that you’ve put your best foot forward.
Completing Biometrics and Tracking Your Application
So, you’ve finally hit that submit button on the IRCC portal. Take a deep breath and feel that wave of relief—you've earned it! But your journey isn't quite over yet. The next stage is a physical one: providing your biometrics.
This is a non-negotiable step for almost every Nigerian applicant. It involves giving your fingerprints and having a photograph taken, which is how the Canadian government confirms you are who you say you are. Without this, your application simply stalls.
The Biometric Instruction Letter and Your Appointment
Keep a close eye on your IRCC account after you've submitted and paid your fees. In a few days, you should receive a Biometric Instruction Letter (BIL). This is the golden ticket you need to book your appointment. You absolutely cannot schedule anything without it.
Here’s the catch: the BIL is only valid for 30 days. You have to move fast. Your appointment will be at a Visa Application Centre (VAC), and in Nigeria, your options are Lagos or Abuja.
Booking is done online through the official VAC website for Nigeria. You'll need to create an account there and then find an open time slot. My advice? Book your appointment the very same day you get your BIL. These slots fill up incredibly quickly.
What to Expect at the VAC
Walking into the VAC can feel a bit intimidating, but the process itself is surprisingly quick and very organised. The staff are professionals who do this all day, every day. The whole thing is usually done in less than 30 minutes.
Make sure you have these three things with you, no exceptions:
- Your International Passport: This is your primary ID. Don't even think about going without it.
- Your Biometric Instruction Letter (BIL): A printed copy is mandatory. They won't accept a digital version on your phone.
- Your Appointment Confirmation: Bring the email confirming your appointment date and time.
Once you're called, a staff member will use a digital scanner for your fingerprints and then take a quick digital photo. It’s a completely painless procedure.
A dose of reality: The wait after biometrics can be the toughest part. Your application status won't update right away. It's completely normal for it to look like nothing is happening for weeks, even months, while they run all the necessary background checks. Patience is key.
Tracking Your Application Status
Now, the real waiting game begins. You can (and probably will) check the progress of your application by logging into your secure IRCC account. The status updates can be a bit vague, so it helps to know what they actually mean.
Initially, it will say something like "Submitted" or "We are processing your application." A good sign is when the "Background check" status changes to "In progress" or eventually "Completed."
While this is positive movement, it's not a final approval. An immigration officer still needs to review your eligibility and make the final call. Processing times can be all over the place. The official IRCC tool gives you an estimate, but your own application could be much faster or, unfortunately, slower. This is a crucial part of learning how to apply for a work visa in Canada—managing your own expectations.
If IRCC needs anything else from you, they will message you directly through your account. It could be a request for more documents or, in very rare cases, an interview. Respond to these requests as quickly and completely as you can to keep your application moving forward.
Turning Your Work Permit into Permanent Residency
Getting that Canadian work permit is a huge win, and you should absolutely celebrate it. But for most Nigerians, it’s just the first major milestone. The ultimate goal is often permanent residency (PR), and the good news is your time working in Canada gives you a serious leg up.
Think of your work permit as more than just a job document; it's your golden ticket. The Canadian work experience you're gaining is priceless. It’s not just about the salary—it's about building a solid Canadian track record that immigration officers really value. This experience positions you perfectly for several PR pathways designed specifically for people in your shoes.
From Temporary Worker to Permanent Resident
One of the most common routes people take is the Canadian Experience Class (CEC). This is a stream within the Express Entry system, and it's practically built for skilled workers who've clocked at least one year of full-time Canadian work experience (or the part-time equivalent). The hours you put in on your work permit count directly towards this, putting you on the inside track to PR.
Don't overlook the Provincial Nominee Programs (PNPs), either. Every province has its own unique PNP streams to attract workers needed for their local economies. For instance, if you're a software developer in British Columbia or a nurse in Alberta, the province has a vested interest in keeping you. They can "nominate" you for permanent residency, which massively boosts your application.
Key Insight: My best advice? Don't wait until your work permit is about to expire to start thinking about PR. Start looking into your options as soon as you're settled in your job. Knowing the specific requirements for the CEC or your province's PNP early on helps you make smart career moves that will pay off big time later.
Canada isn't just letting this happen by chance; they are actively looking to transition skilled temporary workers into permanent residents. It’s a smart strategy to build a stable, experienced workforce. The government's own Immigration Levels Plan aims to welcome 232,150 new permanent residents through economic streams in 2025 alone. You can dig into the specifics of Canada’s immigration targets on CanadaVisa.com.
This massive number confirms that the path from work permit holder to permanent resident is not just possible—it's encouraged. It’s a well-trodden route. To get a head start, check out our in-depth guide on the Canadian permanent residency application process. Honestly, planning ahead is the single best thing you can do for your future in Canada.
A Few Common Questions We Hear All the Time
As you get closer to the finish line with your Canadian work visa application, a few nagging questions always seem to pop up. Let's tackle them head-on so you know exactly what to expect.
So, How Long Does This Actually Take From Nigeria?
This is the big one, isn't it? The honest answer is: it varies. There’s no magic number for how long a Canadian work visa application takes to process from Nigeria. It really depends on how many applications IRCC is juggling at that moment, the specifics of your own case, and whether your file was complete from day one.
While you might hear different timelines on forums or from friends, your most reliable source is the official IRCC processing times tool. I tell my clients to check it periodically to get a baseline, but treat it as an estimate, not a strict deadline. Some applications get approved surprisingly quickly, while others can take a bit longer.
Can My Family Come to Canada With Me?
Absolutely, this is a very common pathway. If you secure a valid work permit, your spouse or common-law partner can often apply for an open work permit. This is fantastic because it means they can work for almost any employer in Canada without needing a specific job offer first.
Your dependent children can also come along by applying for study permits. The key is to either include their applications with yours from the start or apply for them once your own work permit is approved. Be prepared to show solid proof that you have enough money to support everyone when you first land.
What If My Application Gets Refused?
Getting a refusal notice is tough, but it doesn’t always mean your Canadian dream is over. The first thing you need to do is figure out exactly why it was rejected. The refusal letter from IRCC gives you the general reason, but for the full picture, you should request the detailed notes made by the visa officer.
My Advice: Don't just guess what went wrong. Understanding the specific reason for refusal is everything. Was it weak proof of funds? Did they doubt your ties back home to Nigeria? Or were there questions about your job offer? Once you have the real answer, you can make a clear-headed decision to gather stronger documents and reapply with a much stronger case.
Feeling overwhelmed by the immigration process? JapaChat is Nigeria's first AI immigration expert, designed to give you instant, clear answers to your questions. Plan your journey with confidence by getting personalized guidance on visa requirements, documents, and more. Stop guessing and start planning. Try JapaChat today for free.
Leave a Reply