How to Apply for a US Visa in Nigeria: A Practical Guide
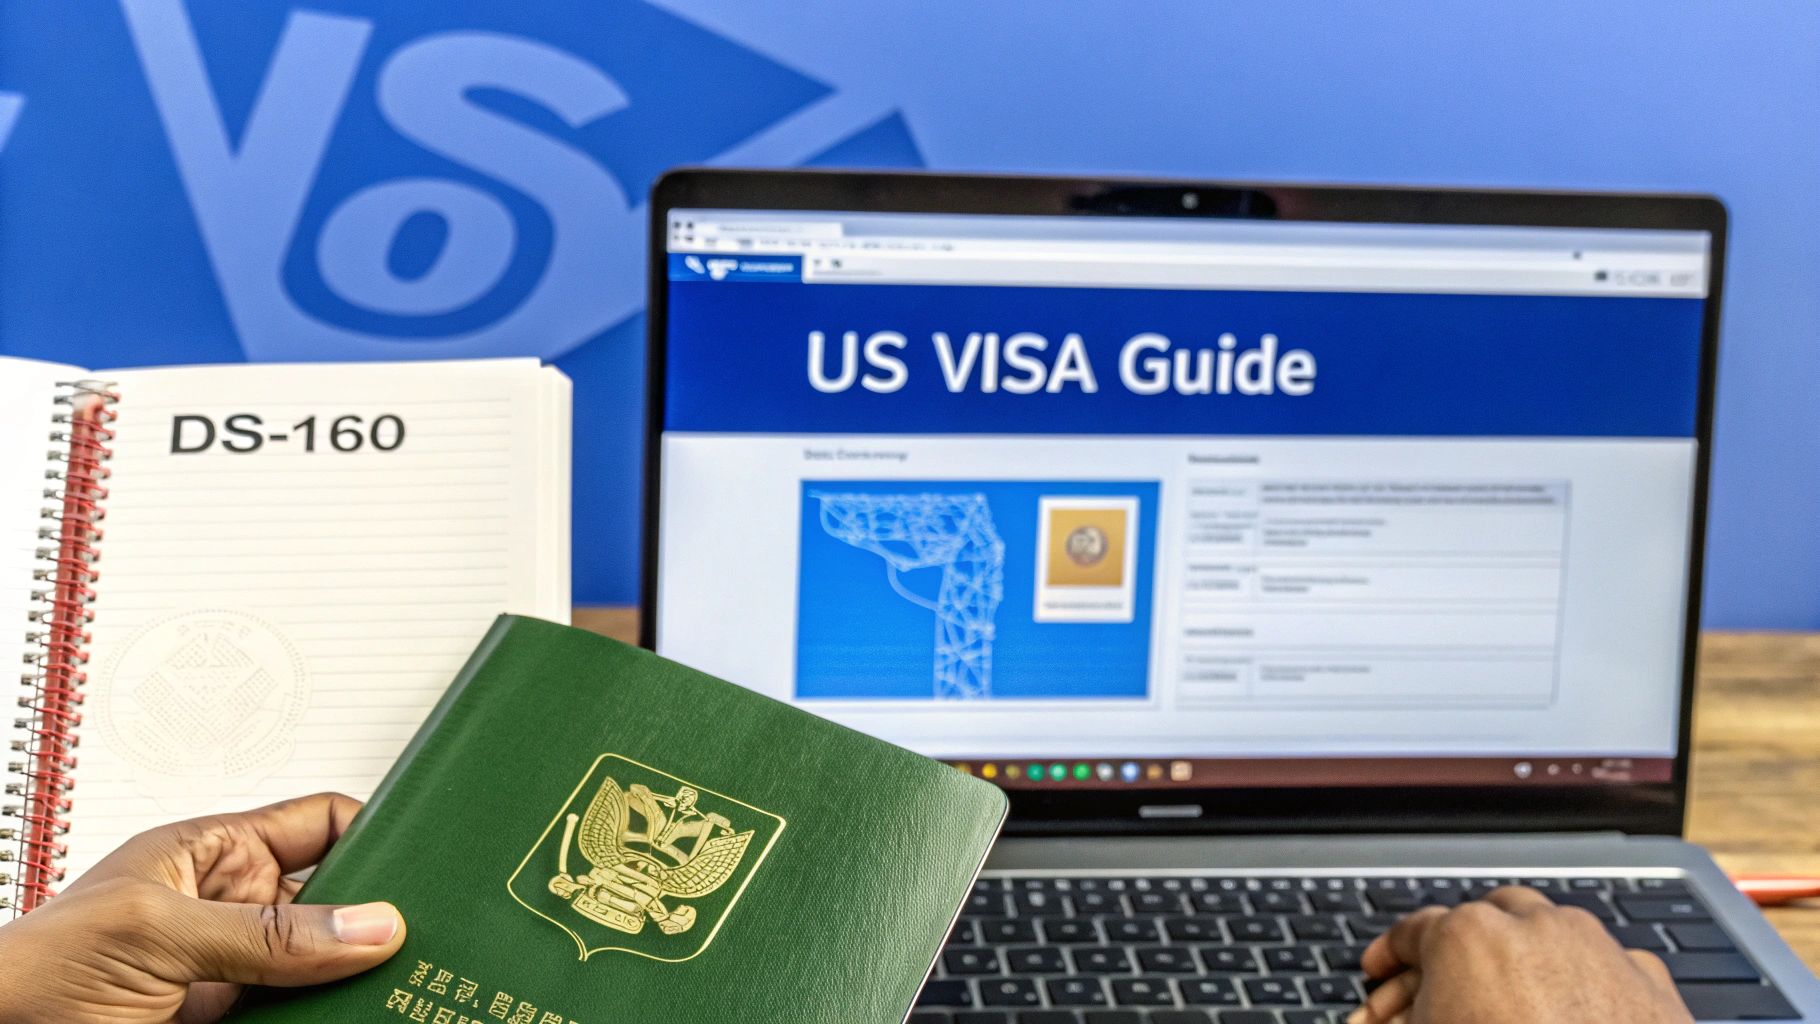
Applying for a U.S. visa from Nigeria can feel like a huge mountain to climb, but it’s a journey that thousands of Nigerians navigate successfully every year. It all boils down to a clear, four-part process: picking the right visa, nailing the DS-160 form, handling the fees and appointment booking, and then acing the interview.
Let's break down exactly what this journey looks like, step by step, for an applicant in Nigeria.
Starting Your US Visa Application Journey
First things first, let's get one thing straight: this process is completely manageable if you take it one step at a time. This guide is your personal roadmap, built from the real experiences of applicants just like you in Nigeria.
The absolute first step—and where many people stumble—is choosing the correct visa. Your reason for travel dictates everything.
- Going to visit your sister in Atlanta or see Times Square? That's a B-2 visa.
- Headed for a professional conference in Lagos or a business meeting in Abuja? You're looking at a B-1 visa.
- Accepted into a university to start your degree? The F-1 student visa is what you need.
Getting this wrong from the start can unfortunately lead to a quick denial, so it’s crucial to get it right.
The Four Core Stages
Once you know your visa type, the path forward becomes much clearer. Each stage builds on the last, so you can focus on one thing at a time. This simple flow shows you how it all connects.

As you can see, every part of this process, from filling out the first form to your final interview, is a vital piece of the puzzle.
To give you a clearer picture, here is a high-level summary of what to expect at each point in the application.
US Visa Application Process Overview for Nigerians
| Stage | Key Action | Primary Goal |
|---|---|---|
| 1. Pre-Application | Determine visa type and gather initial documents. | To establish the correct application path and build a strong foundation. |
| 2. Online Forms & Fees | Complete the DS-160 form and pay the MRV fee. | To formally submit your personal details and secure your eligibility for an interview. |
| 3. Appointment Scheduling | Book your visa interview and biometrics appointments. | To get a confirmed date and time at the U.S. Consulate or Embassy. |
| 4. The Interview | Attend the in-person interview with all required documents. | To demonstrate your intent and strong ties to Nigeria to the Consular Officer. |
This table maps out your entire journey, making it easier to track your progress and prepare for what's next.
Understanding Your Chances
Now for some context. Nigeria consistently has one of the highest demands for U.S. visas in Africa. In the 2024 fiscal year alone, U.S. consulates in Nigeria issued around 72,463 visas—more than any other country on the continent.
While the global approval rate hovers around 72.2%, it's important to know that applications from Nigeria often receive extra scrutiny, especially concerning ties to home. This just means your preparation has to be top-notch.
Here’s the single most important piece of advice I can give any Nigerian applicant: Your entire application—every word on your DS-160 and every answer in your interview—must paint a clear picture of the strong economic, family, and social ties pulling you back to Nigeria after your trip.
Before we get into the nitty-gritty of the required documents, it's a good idea to understand the general visa requirements for foreign travel to see how the U.S. process fits into the bigger picture.
When you're ready to start gathering your paperwork, our detailed guide on https://blog.japachat.com/us-visa-requirements/ will give you a complete checklist. Starting with the right documents will put you on the path to success.
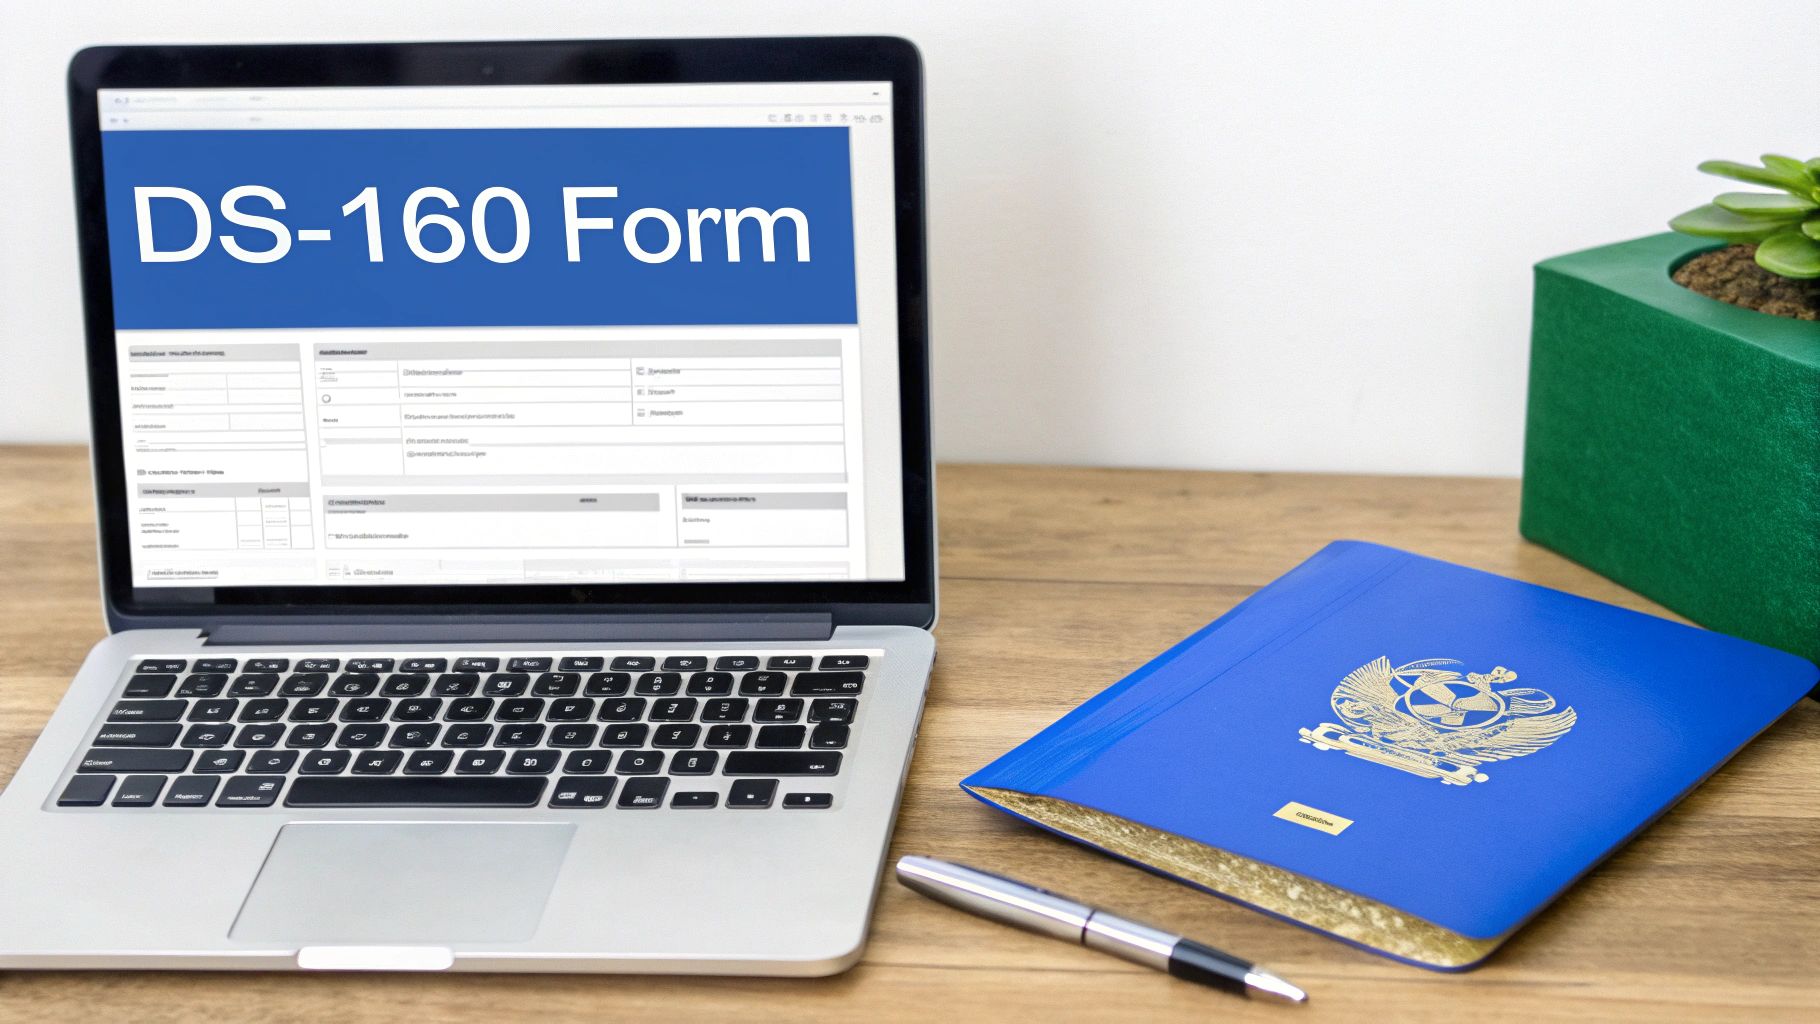
Mastering the DS-160 Form for Nigerian Applicants
Let's be clear: the DS-160 form is the absolute foundation of your entire US visa application. It's not just another piece of paperwork; it's your official story, the first and most detailed impression you'll make on the U.S. government. Every single detail you enter will be scrutinised, so honesty and accuracy aren't just important—they're everything.
Think of it this way: a rushed or sloppy DS-160 waves a massive red flag before you even step foot in the embassy. It gives the consular officer an easy reason to say "no."
Choosing Your Visa Category Correctly
Before you type a single word, you have to be 100% sure about your visa category. This is the very first thing the DS-160 asks for, and picking the wrong one is a common, costly mistake that can derail your application from the start.
For most Nigerians, it boils down to a few key types:
- B1/B2 (Visitor Visa): This is the go-to for most applicants. It covers everything from tourism and visiting family to attending short business conferences. If you're planning to see your brother in Houston or attend a tech summit in Silicon Valley, this is the one for you.
- F1 (Student Visa): This is strictly for academic purposes. If you've been accepted into a U.S. university, college, or any other academic institution, this is your category.
- H-1B (Specialty Occupation Worker): This one is for professionals who have a job offer from a U.S. employer in a specialised field. Crucially, your employer has to file a petition on your behalf before you can even apply.
Getting this right sets the tone for your entire application. If you select "B2" for tourism but all your answers point towards looking for a job, you've created a huge contradiction that officers are trained to spot instantly.
Tackling Key Sections of the DS-160
Completing the DS-160 is a marathon, not a sprint. Give yourself a couple of hours of uninterrupted time, gather all your documents, and prepare to answer some very personal questions truthfully.
Presenting Your Employment History
This section is where you prove you have strong ties to Nigeria. It's your chance to show you have a life and career to come back to. Be specific.
Instead of writing "Trader, Alaba Market," paint a detailed picture: "Self-Employed Electronics Trader, Alaba International Market, Lagos. I have operated my business, 'Chukwudi Electronics Hub,' since 2015, importing and selling consumer electronics. My monthly income is approximately ₦XXX,XXX." See the difference? One is vague; the other shows stability and a real, established life.
Detailing Your Family Connections
List your immediate family—parents, spouse, children—with perfect accuracy. Even if they aren't travelling with you, their presence in Nigeria acts as a powerful anchor. Double-check that every name and date of birth matches their official documents exactly.
Crucial Tip: Never, ever lie about a previous visa denial. When the form asks, "Have you ever been refused a U.S. Visa?" the only answer is the truth. The embassy has detailed records. A lie here is considered misrepresentation and can get you permanently banned. Just briefly and honestly explain what happened.
Declaring Your Travel History
Your travel history shows that you're a genuine traveller who respects immigration laws. List every country you've visited in the last five years. Trips to the UK, Dubai, or even neighbouring Ghana where you returned on time all add to your credibility.
If you have no travel history, don't panic and definitely don't make things up. Plenty of first-time travellers get approved. It just means you'll need to put more emphasis on proving your other ties, like your job and family.
Navigating Financial and Sponsor Information
This is another area where many Nigerian applicants stumble. If you're sponsoring yourself, your bank statements need to show a consistent flow of income and savings. A sudden, large deposit that appeared out of nowhere a week before your application is a major red flag.
If someone else is sponsoring your trip—like a sibling in the U.S. or a parent in Nigeria—you must state this clearly. You'll need to provide their information and proof of their financial stability, such as their bank statements or a formal affidavit of support.
The U.S. visa process is incredibly competitive, and knowing the numbers helps put things in perspective. In January 2025 alone, 6,075 B1/B2 visas were issued to Nigerians, making it the top category. But refusal rates are still high, mostly due to "Section 214(b)," which is a formal way of saying the applicant didn't convince the officer they would return home. You can dig into more detailed U.S. visa statistics for Nigerians to see the trends for yourself.
Handling Visa Fees and Scheduling Your Appointment
You've submitted your DS-160. Take a deep breath—that’s a huge step out of the way. Now, let's get into the practical side of things: paying the visa fee and locking down that all-important interview date. This part requires close attention to detail, but it's pretty straightforward once you know how it works in Nigeria.
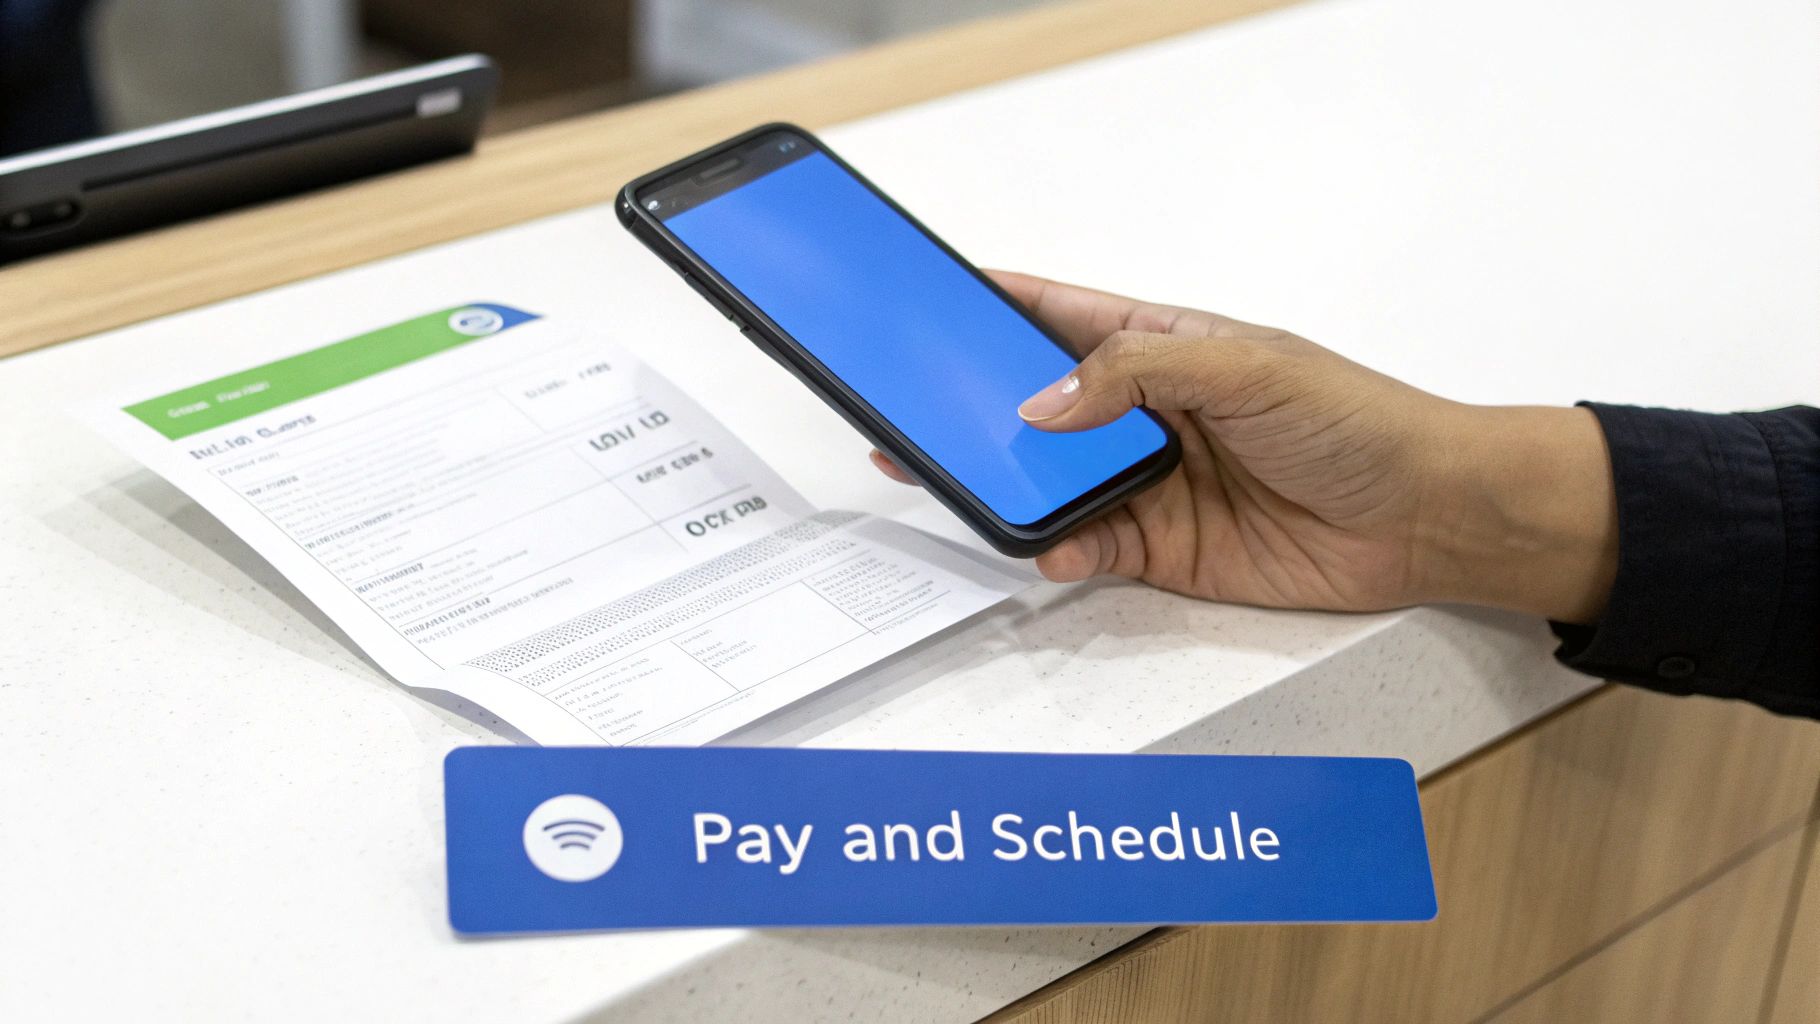
This is the point where your application moves from digital forms to real-world action. Getting this right is crucial to avoid any frustrating delays.
Paying the MRV Fee in Nigeria
First up is the Machine Readable Visa (MRV) fee. This is a non-refundable, non-transferable payment that every single applicant has to make. The cost changes based on your visa type and, of course, the ever-fluctuating exchange rate. Always, always check the current Naira equivalent on the official U.S. travel documents website before you do anything else.
In Nigeria, you can’t just pay online with your card. You have to make an in-person cash deposit at a Guaranty Trust Bank (GTBank) branch. But you can't just show up at the bank; you need a specific, system-generated deposit slip first.
Here’s exactly how you do it:
- Create a Profile: Your first stop is the CGI Federal website, which is the official visa service partner for the U.S. Mission in Nigeria. You'll need to create a profile with your personal information, passport number, and that DS-160 confirmation number you just got.
- Generate the Deposit Slip: After setting up your profile, find the payment section. The portal will create a unique U.S. visa fee collection slip just for you. Print this out. It has a CGI reference number that is tied only to your application.
- Make the Payment: Take that printed slip to any GTBank branch. You’ll pay the fee in cash, and the teller will hand you a receipt. Treat this receipt like gold. It contains the MRV receipt number you absolutely need for the next step.
My Personal Advice: The moment you get that receipt, make a photocopy. Snap a picture of it with your phone. Save it to the cloud. Losing this little piece of paper can cause a massive headache and bring your whole application to a standstill.
Booking Your Interview Appointment
With your MRV receipt number secured, you're finally ready to schedule the interview. Honestly, this can be the most frustrating part of the whole process. Appointment slots in both Lagos and Abuja are in incredibly high demand, so you’ll need a good dose of patience here.
Log back into your profile on the CGI Federal website. You’ll be asked to enter the MRV receipt number from your GTBank payment. It can take up to two business days for the system to validate the payment, so don't panic if it doesn't work immediately.
Once it's validated, the appointment calendar will open up. You'll see the available dates for an interview at the U.S. Consulate General in Lagos or the U.S. Embassy in Abuja. Don't be shocked if the earliest date is months, or even a year, away. This is the reality right now.
How to Find an Earlier Appointment Date
A far-off date doesn't have to be the end of the story. People cancel and reschedule their appointments all the time, which opens up earlier slots. The trick is to be persistent.
- Check at Odd Hours: Many people find earlier dates by logging in late at night or first thing in the morning (Nigerian time), when fewer people are online.
- Check Every Day: Make it a daily habit. Spend five minutes logging in and checking for cancellations. You never know when a spot will open up.
- Be Ready to Click: When you see an earlier date, grab it instantly. These slots can disappear in the blink of an eye.
The landscape for how to apply for a US visa in Nigeria is always changing. For example, recent policy updates have made things even more complex. As of April 22, 2025, your DS-160 confirmation barcode must match your appointment location exactly. Furthermore, from June 18, 2025, F, M, or J visa applicants will need to make their social media profiles public for screening. These new rules have created major appointment backlogs, hitting students especially hard. You can read more about these international student enrollment challenges to see the bigger picture.
Proving Your Strong Ties to Nigeria
Alright, you’ve filled out the DS-160 and booked your interview slot. Now we get to the absolute make-or-break part of your U.S. visa application: proving you have strong ties to Nigeria.
Let's be blunt. The consular officer starts with a simple assumption: everyone wants to immigrate to the U.S. Your job is to prove them wrong. You need to show them a complete, convincing picture of your life in Nigeria—a life you have every intention of returning to.
This isn't about flashing a huge bank balance. It’s about demonstrating deep roots through your job, your family, your finances, and your assets. Every document you bring is a piece of the puzzle, building a strong case that your trip is strictly temporary.
Building Your Case with The Right Documents
Think of these documents as your personal advocates. They tell your story before you even open your mouth. Some are non-negotiable, while others are the supporting cast that can truly make your application shine.
Let’s get into what you need to gather. Knowing what’s essential versus what’s just good to have will help you focus your energy where it counts.
Here's a breakdown of the documents you'll need. We've split them into two categories: the absolute must-haves and the supporting evidence that will seriously strengthen your case.
Essential vs. Supporting Documents Checklist
| Document Type | Purpose and Importance | Nigerian Example |
|---|---|---|
| Mandatory Documents | These are the absolute essentials. Without them, your application is a non-starter. Think of them as your entry ticket to the interview room. | Your valid international passport, the DS-160 confirmation page, one recent passport photograph, and your visa fee payment receipt. |
| Employment Evidence | This shows you have a steady job or business to come back to. It’s a powerful tie that demonstrates economic stability and responsibility in Nigeria. | An employment letter on official company letterhead stating your position, salary, start date, and approved leave for your trip. |
| Financial Stability | This proves you can fund your trip without working illegally in the U.S. It also shows you have a consistent and stable financial life back home. | Your personal bank statements for the last six months. A steady flow of salary and savings looks much better than a sudden, large deposit. |
| Property Ownership | Owning property is a massive indicator that you are settled in Nigeria. It’s a huge financial and personal commitment tying you to the country. | A Certificate of Occupancy (C of O), Deed of Assignment, or property tax receipts registered in your name. |
| Family Connections | Family is a powerful social anchor. Showing your role within your family demonstrates deep personal responsibilities you need to return to. | Your marriage certificate, birth certificates for your children, or proof that you are a primary caregiver for elderly parents. |
| Business Ownership | For entrepreneurs, this is your proof of employment. It shows you've built something valuable that needs you in Nigeria to run and grow. | Your Corporate Affairs Commission (CAC) registration documents, business bank statements, and a tax clearance certificate. |
This checklist gives you a solid framework. As you start pulling these papers together, it pays to be organised. You can learn how to organize all your application documents effectively to make sure everything is presented professionally and is easy for the officer to review on the day.
Going Beyond the Basics
Look, just having the documents isn't enough. The quality and context are what really matter. A poorly written employment letter or a dodgy-looking bank statement can actually do more harm than good.
Take your bank statements, for example. Consular officers are trained to spot "funds parking"—when a huge, unexplained amount of cash suddenly appears in your account just before your application. It’s a giant red flag. What they really want to see is a consistent history of income, like your monthly salary, and a clear pattern of savings. It tells a believable story of financial discipline.
The same goes for business owners. Your CAC documents are a great start, but don't stop there. Back them up with recent invoices, client contracts, and business bank statements showing your company is active and making money. This proves your business is a real, ongoing enterprise that needs you back in Nigeria.
A very common mistake is thinking one "killer" document, like a fat bank account, is all you need. The truth is, officers are looking for a web of connections. A good job, a family, property, and stable finances all woven together tell a much more compelling story than one single piece of evidence.
Presenting Your Family Ties
Never underestimate the power of family ties. They are incredibly important. If you’re married with kids, your marriage certificate and their birth certificates are essential. These documents create a core reason for you to return home.
But what if you're single? You can still demonstrate very strong family ties. Do you support your parents financially? Show proof of this, like regular money transfers or a letter explaining your role as their caregiver. This demonstrates a deep sense of responsibility and connection to your family in Nigeria.
Ultimately, your documentation should tell an honest and consistent story. While you don't always need a formal letter of intent for a visitor visa, understanding the logic behind one can help you frame your case. If you're applying for a student or work visa, where the stakes are higher, learning how a letter of intent for a visa application works can be incredibly useful. Think of your supporting documents as the hard evidence that proves every claim you make on your DS-160.
How to Prepare for Your Visa Interview
After all the paperwork and waiting, the interview is your moment to shine. This is your one chance to sit down with a Consular Officer at the Lagos Consulate or Abuja Embassy and personally make your case. How you handle this conversation is often the deciding factor, so walking in prepared and confident is absolutely critical.
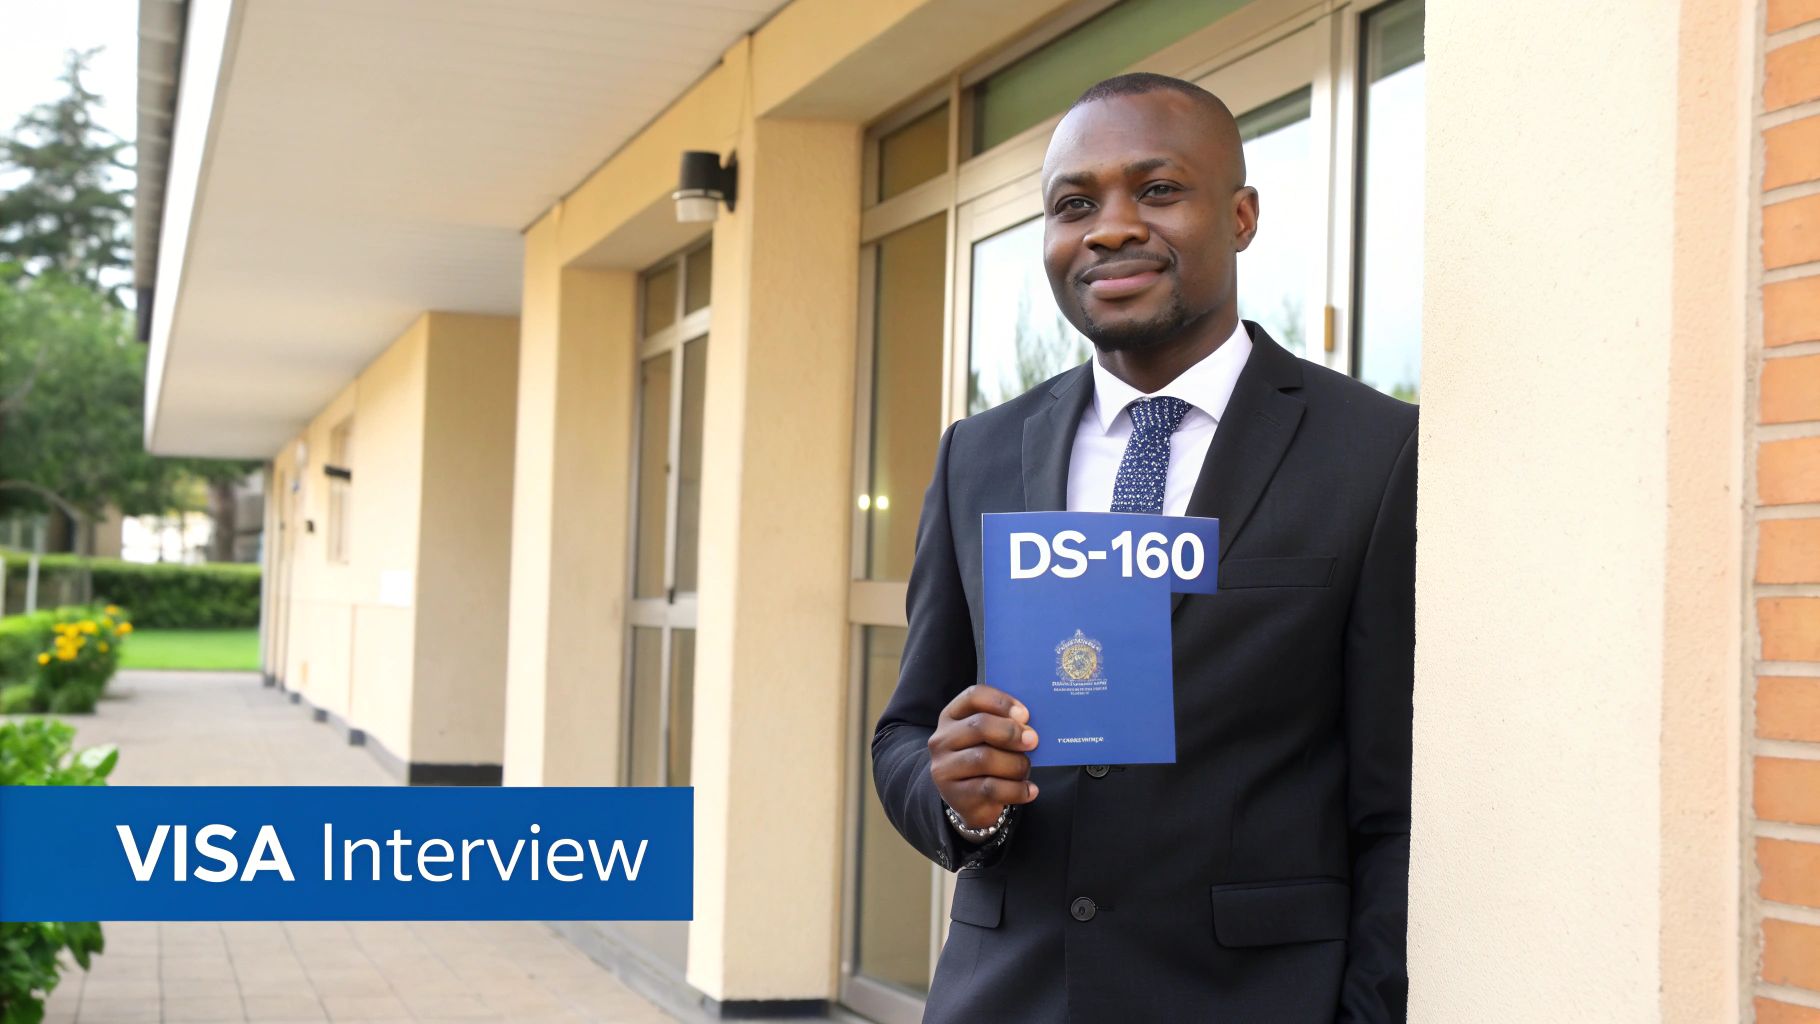
It helps to think of it less like an interrogation and more like a very brief, focused conversation. The officer's job is simple: to verify what you wrote on your DS-160 and to be convinced that you have every reason to come back home to Nigeria. Your goal is to be clear, honest, and straight to the point.
Logistics on the Day of Your Appointment
Your preparation really begins before you even step out the door. The U.S. Embassy and Consulate are notoriously strict, and a small oversight can throw you off your game before you even get inside.
What to Wear
First impressions count, big time. You don't need to show up in a three-piece suit, but you must look presentable and serious. Think business casual. For men, a clean, ironed collared shirt and a good pair of trousers will do the trick. For women, a modest dress, a smart skirt and blouse, or professional trousers are all great options. Definitely avoid anything too casual like shorts, slippers, or flashy, distracting jewellery.
Forbidden Items
Security is no joke. To avoid the headache of being turned away at the gate, it's best to leave the following items at home or with a trusted person waiting for you outside:
- Electronics: This means everything. Your mobile phone, smartwatch, AirPods—any electronic gadget. They are strictly forbidden, and there are no lockers or storage facilities available for you.
- Large Bags: You’re only allowed to bring in a small folder or clear bag with your documents. Leave your backpack or large handbag behind.
- Food and Drinks: No food or beverages of any kind can be brought into the compound.
- Weapons or Sharp Objects: This should be obvious, but absolutely nothing that could be mistaken for a weapon is allowed.
Navigating the Interview Questions
This is where it all comes together. An officer often has just two to three minutes to make a decision about your application. That’s not a lot of time, so your answers need to be direct and impactful. Giving long, rambling stories will only work against you.
The questions will almost always circle back to three main things: your reason for travelling, your financial capacity, and, most importantly, your ties to Nigeria.
Your Purpose of Travel
You need to be specific, and your answer must align perfectly with what's on your DS-160.
- If you stated you're visiting your sister, be ready for follow-up questions like, "What does your sister do for a living?" or "When was the last time you saw her?"
- If you're going for a business conference, you should know the name of the event off the top of your head and be able to explain exactly why attending is important for your job back in Nigeria.
Your Finances
The officer needs to be certain that you can pay for your trip without resorting to working illegally in the U.S.
- If you're sponsoring yourself, state your income clearly and confidently. For instance, "I earn approximately ₦750,000 a month as a software developer."
- If someone else is paying, just be honest about it. "My father, a retired civil servant, is sponsoring my trip. I have his bank statements here."
Your Ties to Nigeria
This is the make-or-break part of the interview. Every answer you give should subtly reinforce the fact that you have strong reasons to return home.
- Question: "What do you do in Nigeria?"
- Weak Answer: "I am a businessman." (This is too vague.)
- Strong Answer: "I own a boutique in Ikeja called 'Lagos Fashions'. I’ve been running it for six years and I have three full-time employees. I have to return to manage the business and pay their salaries."
A great way to structure your answers is what I call the "C-A-R" method: Context, Action, Result. State your situation (Context), explain what you do (Action), and connect it to why you must return (Result). It keeps you focused and makes your answers powerful.
The trick is to sound natural, not like you’ve rehearsed a script for weeks. For a much deeper look at how to frame your responses, check out our detailed guide on common U.S. visa interview questions and answers; it has more examples specifically for Nigerian applicants.
Common Pitfalls to Avoid
I’ve seen too many good applicants get denied over simple mistakes. Be very mindful of these common traps:
- Inconsistent Answers: If your verbal answer contradicts what's on your DS-160, it's a huge red flag. Know your application inside and out.
- Vague Responses: Avoid one-word answers, but don't tell your life story either. Find that sweet spot of being concise yet comprehensive.
- Arguing with the Officer: If you get a denial, never argue. You can politely ask for the reason, but accept the decision gracefully. An argument can seriously damage your chances for any future applications.
- Presenting Fake Documents: This is the absolute worst thing you can do. If you're caught—and they are very good at catching fakes—you'll likely be banned from entering the U.S. for life. Honesty is always the only policy.
Got Questions? Here Are Some Straight Answers
Applying for a US visa can feel like a maze. Let's clear up some of the most common questions Nigerians have with direct, no-nonsense answers.
What's the Number One Reason for Visa Denial in Nigeria?
Nine times out of ten, it’s a refusal under Section 214(b) of US immigration law.
This isn't a permanent ban. It just means the consular officer wasn't convinced you have strong enough ties to Nigeria to make you come back home after your visit. Your job is to prove you're not an intending immigrant.
So, how do you do that? You need to show deep roots. Think of it as painting a picture of your life in Nigeria.
- A steady job, backed up by an official employment letter.
- Proof of property, like a Certificate of Occupancy (C of O) or land documents.
- Bank statements that show a consistent flow of income, not a suspicious, last-minute lump sum.
- Strong family ties, proven with marriage and birth certificates.
When you're in the interview, talk about your life here. Your business, your family responsibilities, your community involvement—anything that anchors you to Nigeria is what they need to hear.
How Long Will I Wait for an Interview in Lagos or Abuja?
Honestly, the wait time is very long and unpredictable. For B1/B2 visitor visas, the wait can easily be over a year due to the massive backlog.
Student (F1) and work visa appointments are given higher priority, but even those slots are limited and get taken very quickly.
Pro Tip: Your best bet is to apply way ahead of when you plan to travel. Always, always check the official U.S. Embassy & Consulate in Nigeria website for the latest, most accurate wait times. Don't rely on hearsay or what someone told you on a forum.
Should I Use a "Visa Agent" for My Application?
I strongly advise against it. It's much safer and more effective to fill out the application yourself. The DS-160 form is designed for you to answer questions about your own life, and nobody knows that better than you.
Using an agent, sometimes called a "visa consultant," opens you up to huge risks. They might make a mistake or, worse, deliberately enter false information on your form to make your case look "stronger." If the embassy finds out—and they often do—it can lead to an instant denial and even a long-term ban for misrepresentation.
By following the official instructions and using a reliable guide, you stay in complete control of your own story.
My Visa Was Approved! What Happens Next?
First off, congratulations! That's a huge relief. The consular officer will keep your passport after the interview; you won't get it back the same day.
Your passport, with the new US visa inside, will be sent to the DHL pickup location you chose when you booked your appointment. You’ll get an email or an SMS telling you it’s ready for collection, which usually takes about 7-10 business days.
Make sure you bring a valid, government-issued photo ID (like your NIN slip, driver's licence, or voter's card) to the DHL office to pick it up. Once you have your passport in hand, open it up immediately and double-check the visa sticker. Look for any errors in your name, date of birth, or passport number.
Planning your journey abroad can be complex, but you don't have to do it alone. JapaChat offers AI-powered guidance to help you navigate every step of your immigration journey with confidence. Get instant answers to your specific questions and access helpful planning tools today. Start for free at JapaChat.
Leave a Reply