Canada Tourist Visa A Nigerian Applicant’s Guide
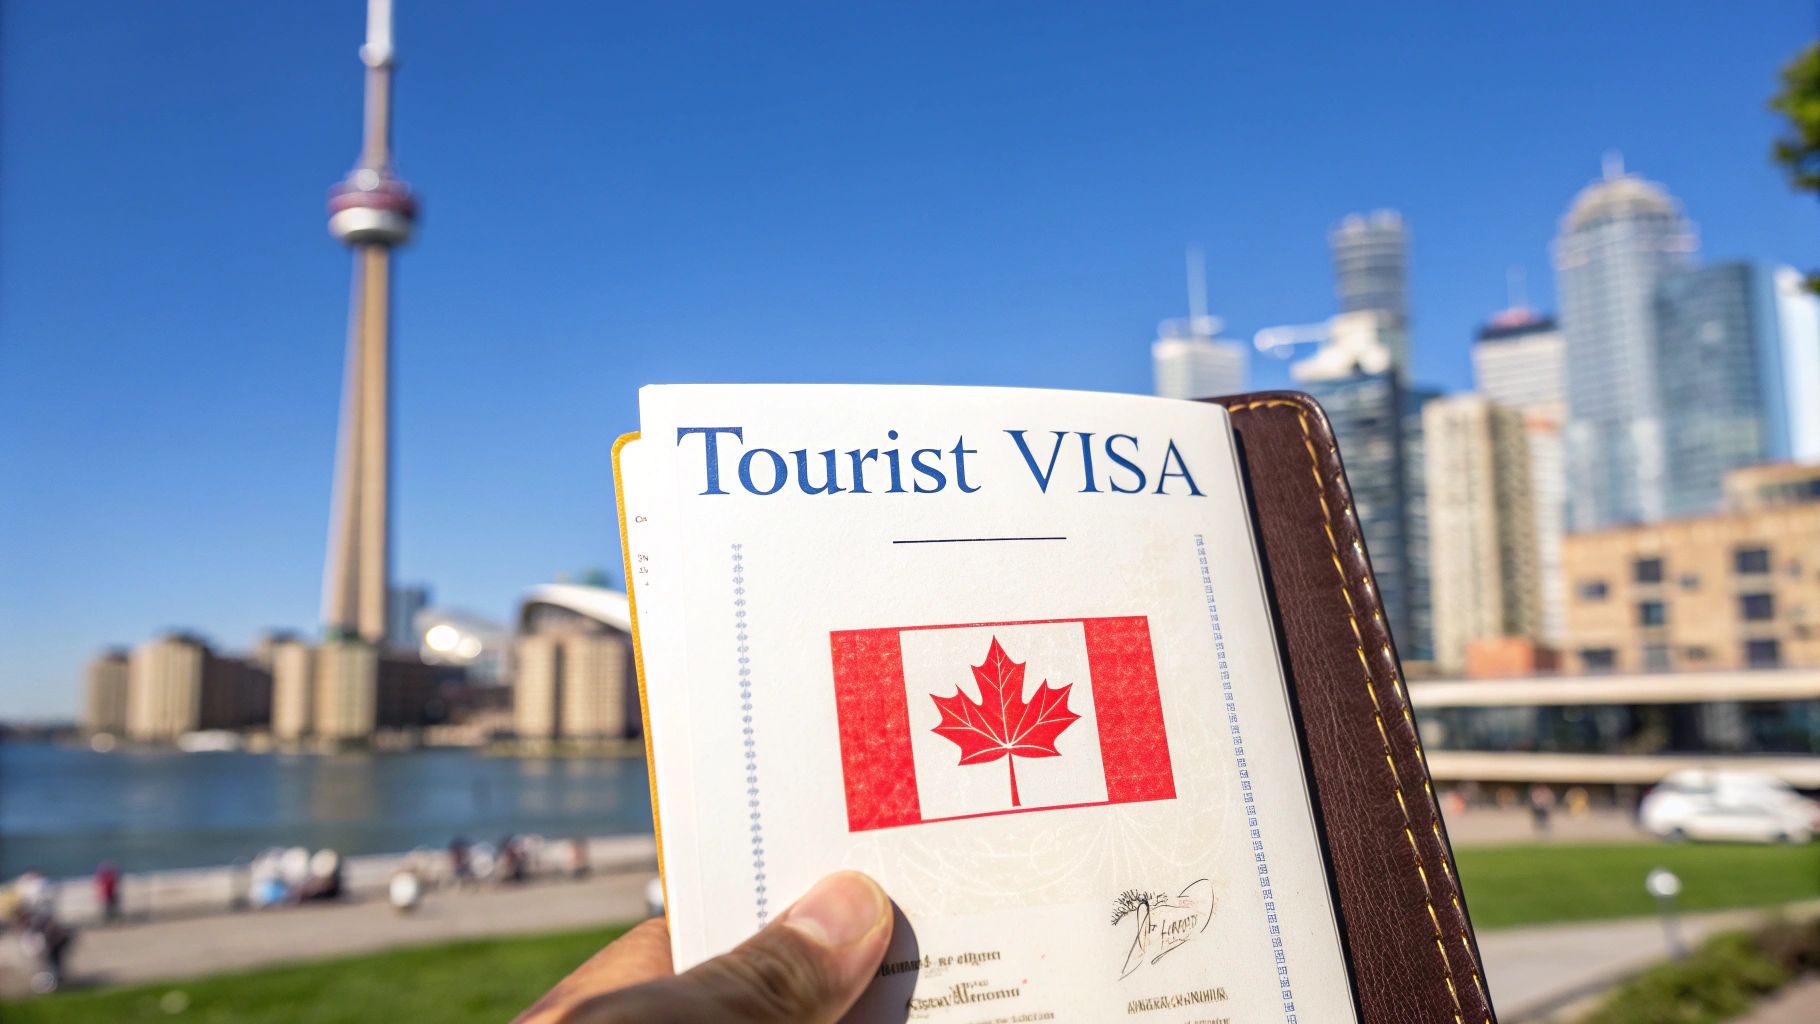
A Canada tourist visa, which is officially called a visitor visa, is your ticket to explore Canada for a holiday, visit family and friends, or handle short business matters. For those of us applying from Nigeria, getting this visa boils down to one thing: convincing the Canadian immigration officers that your trip is legitimate and that you'll head back home once it’s over.
Are You Eligible for a Canadian Visitor Visa?
Before you jump into the paperwork and payments, take a moment for a reality check. The first, most crucial step is to be brutally honest with yourself about whether you meet the core requirements. This isn't just about ticking boxes; it's about building a solid, believable story for the visa officer. From my experience, when reviewing applications from Nigeria, Immigration, Refugees and Citizenship Canada (IRCC) looks very closely at a few specific things.
At the end of the day, you have to show the officer that you’re only planning a temporary visit and will definitely return to Nigeria. This is the cornerstone of your entire application.
Proving You’ll Return to Nigeria
This is the big one. You must provide solid proof that you have strong reasons to leave Canada when your visit is done. We call these "ties to your home country." A visa officer needs to see, in black and white, that your life is firmly established in Nigeria.
Think of it this way, you need to show them what you'd be coming back to. This could be things like:
- A steady job: Get a letter from your employer. It should state your role, how much you earn, and confirm that you've been granted leave for your trip.
- Family back home: Show that you have dependents in Nigeria, like a spouse or children, who count on you.
- Owning property: Documents proving you own land or a house in Nigeria are excellent evidence.
- Running a business: If you're an entrepreneur, your CAC documents and proof of an active business are incredibly powerful.
The big question on the visa officer's mind is always: "Does this person have more reasons to go back to Nigeria than to stay in Canada?" Your mission is to answer that question with clear, undeniable evidence.
Showing You Have Enough Money for Your Trip
You also need to prove you can comfortably afford your entire trip. This isn't just about the flight; it covers your accommodation, daily spending money, and any tours or activities you have planned.
Just having a chunk of cash in your account right before you apply won't cut it. In fact, that's a major red flag. Visa officers are trained to spot large, sudden deposits and will want to know where that money came from. Consistency is what they want to see—a healthy, stable bank balance over several months.
Having a Clear, Believable Reason for Visiting
Why are you going to Canada? Your reason needs to be straightforward and make sense. If you're going as a tourist, it helps to have a rough idea of what you want to do.
For instance, mentioning a specific, well-researched plan, like an extensive Canada Rockies Alaska tour, makes your application much stronger because it shows you're a genuine tourist. If you’re visiting family, that Letter of Invitation is non-negotiable. Whatever your reason, make sure it fits within the rules of a visitor visa—sightseeing is great, looking for a job is not.
For those whose ambitions go beyond a simple visit, it's vital to understand the bigger picture. You can learn more about how to relocate to Canada from Nigeria in our more comprehensive guide.
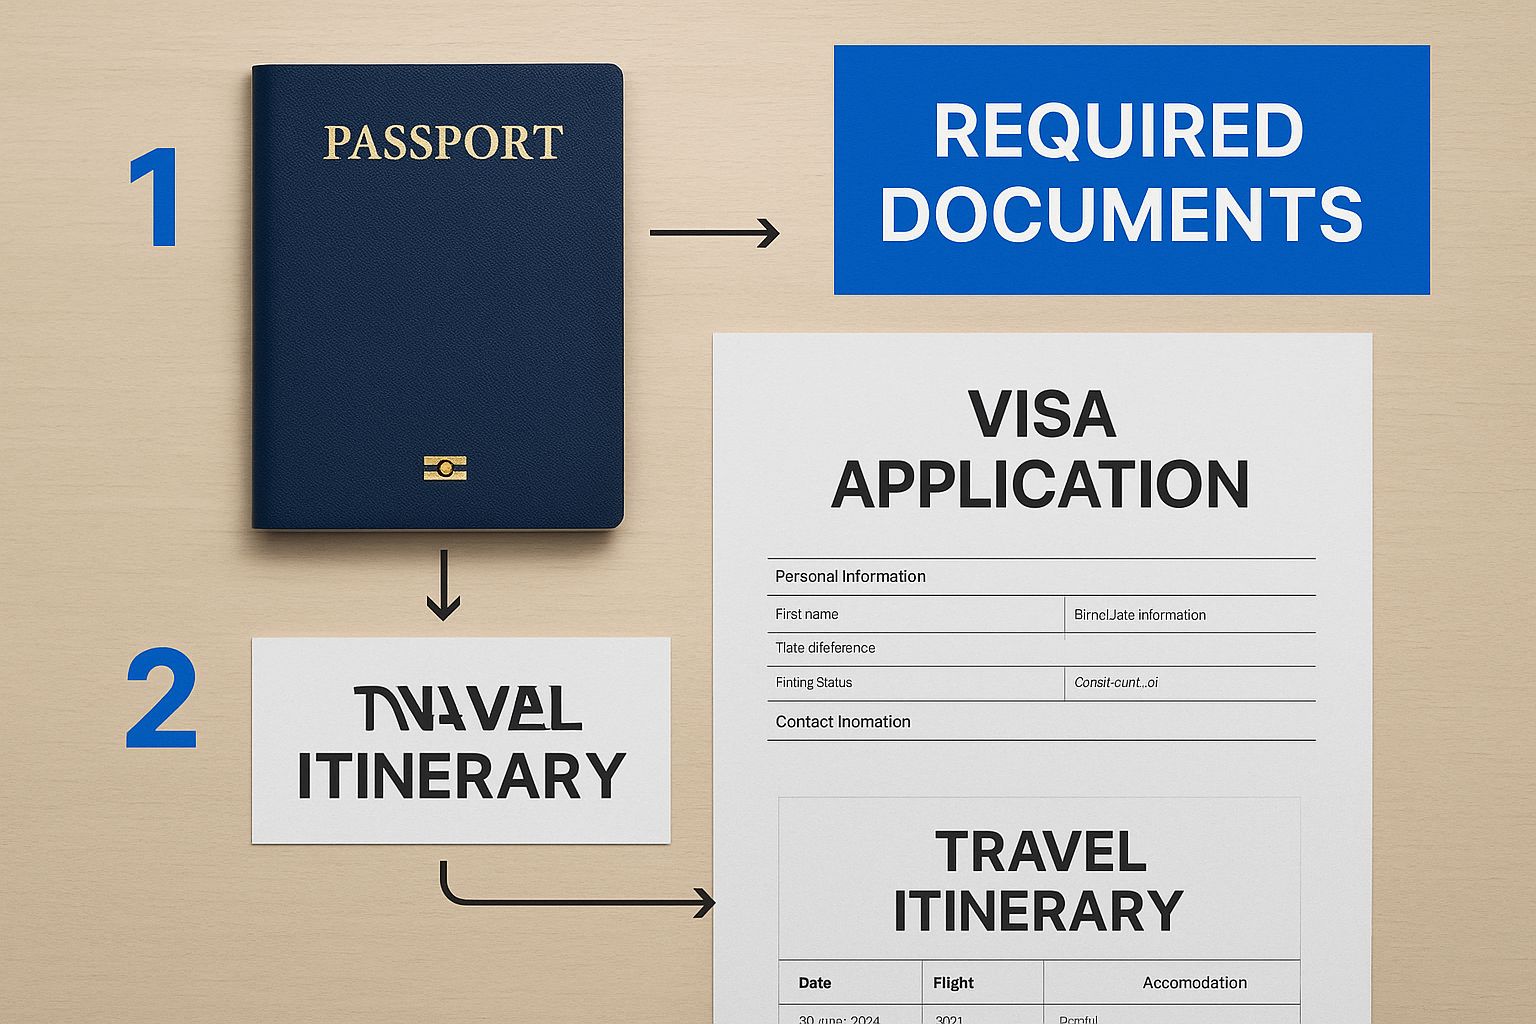
Alright, let's get into the nitty-gritty of your application: the documents. This is where you build your case and convince the visa officer that your trip to Canada is for tourism and that you have every intention of returning to Nigeria. A messy, incomplete application is a fast track to rejection, so let's get this right.
Think of it less like a checklist and more like telling a story—your story. Each document is a chapter that proves you're a genuine visitor with strong ties back home.
The Foundation: Your Passport and Photos
First things first, your international passport. This is non-negotiable. Make sure it's valid for the entire time you plan to be in Canada and has at least one completely blank page (not the last page) for the visa sticker.
You'll also need two recent passport-sized photos that meet the specific requirements set by Immigration, Refugees and Citizenship Canada (IRCC). Don’t just use any old photo; they have precise rules about the size, background colour, and even your facial expression. It's best to get these done at a professional studio that knows the Canadian visa photo specifications.
Proving You Can Fund Your Trip
Money talks, and in a visa application, it speaks volumes. You need to show you have enough funds for your flight, accommodation, and daily expenses in Canada. But it's not just about the final balance.
A visa officer wants to see a healthy, consistent financial history over the last four to six months. A sudden, large deposit right before you apply looks suspicious. It screams "borrowed money," which is a major red flag. They want to see proof of stable income and savings, which paints a picture of financial responsibility.
Real-World Tip: If you recently sold a car or received a significant work bonus that shows up in your statement, don't leave it to the visa officer's imagination. Attach a short, simple note explaining where the large sum came from. Transparency is your best friend here.
Telling Your Story: The Most Important Letters
Two documents give you a voice in this process: your Purpose of Travel letter and, if someone is inviting you, a Letter of Invitation. These are your chances to connect with the officer on a human level.
Your Purpose of Travel letter is where you lay out your plans. Be clear and concise.
- Why are you going? Is it for a friend's wedding, to see the CN Tower, or to explore Banff National Park?
- What's your plan? A simple day-by-day itinerary shows you've thought about your trip.
- Who's paying? State clearly how you'll be funding the visit.
- Why are you coming back? This is crucial. Explicitly mention your job, business, family, or property in Nigeria that you must return to.
If a friend or family member in Canada is inviting you, their Letter of Invitation is incredibly powerful. It should confirm their relationship to you, their status in Canada (citizen or permanent resident), and provide their contact details. It's even better if they state they'll provide accommodation.
The Document Checklist: Required vs. Recommended
To give you a clearer picture, here’s a breakdown of the documents you’ll need. The "mandatory" items are non-negotiable, while the "recommended" ones are what I call "application boosters"—they significantly strengthen your case by proving your ties to Nigeria.
| Document Type | Mandatory (Yes/No) | Purpose and Key Details |
|---|---|---|
| Valid International Passport | Yes | Must have at least 6 months' validity and one blank page. |
| Proof of Financial Support | Yes | 4-6 months of bank statements showing stable income and sufficient funds. |
| Passport Photographs | Yes | Two photos meeting IRCC specifications. |
| Purpose of Travel Letter | Yes | Your personal letter explaining the reason for your visit and your itinerary. |
| Letter of Invitation | No | Highly recommended if visiting friends/family. Must include host's details. |
| Proof of Ties to Nigeria | No | Highly recommended. This can be an employment letter, business documents, etc. |
| Proof of Accommodation | No | Recommended. Hotel bookings or a note in the invitation letter. |
| Flight Itinerary | No | Recommended. A reservation is fine; do not purchase tickets before approval. |
Submitting just the mandatory documents might be enough, but a strong application goes the extra mile. Including things like property deeds or a letter from your employer makes it much harder for a visa officer to doubt your intention to return home.
Showing Your Strong Ties to Nigeria
This is perhaps the most important part of your "story." The visa officer needs to be 100% convinced you will leave Canada at the end of your visit. Documents that prove your deep roots in Nigeria are your strongest evidence.
Here’s what you should aim to include:
- An Employment Letter: Get a formal letter from your company stating your role, salary, start date, and, crucially, that your leave for the trip has been approved.
- Business Documents: If you’re a business owner, your Corporate Affairs Commission (CAC) registration documents are solid proof of your commitment in Nigeria.
- Property Ownership: Do you own land or a house? Including the title deeds is excellent evidence of a major asset you wouldn't abandon.
- Family Ties: A marriage certificate or birth certificates for your children are simple but effective ways to demonstrate strong family connections.
It's important to be honest about your intentions. This guide is for a tourist visa, which strictly prohibits working. If your long-term plan involves employment in Canada, you need to follow the correct legal pathway. You can learn about the process for a Canada work visa permit separately, but never try to use a visitor visa as a backdoor to employment.
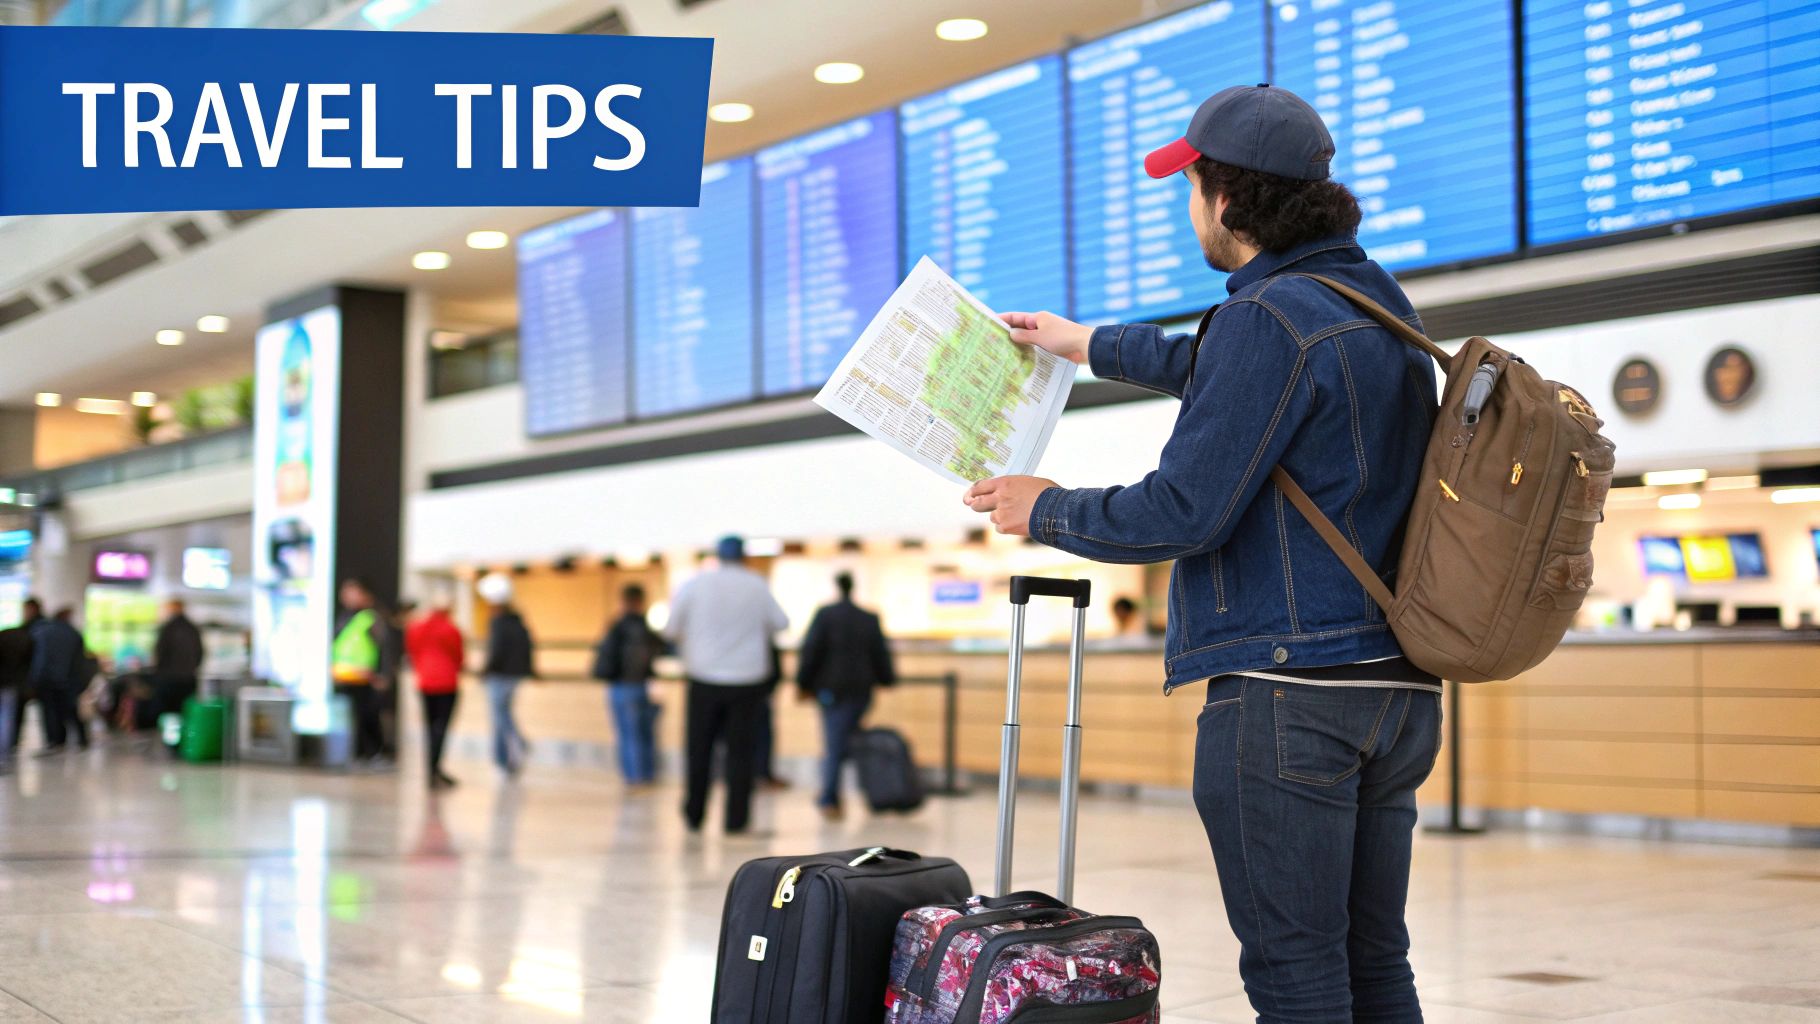
Getting to Grips with the IRCC Online Portal
Alright, this is where the rubber meets the road. All your careful preparation comes together on the official IRCC portal. Think of it as your digital doorway to Canada; it’s where you'll fill in your forms, upload your documents, and send everything off. It's really important to get comfortable with how it works to avoid any simple mistakes that could slow things down.
First things first, you'll need to create your secure IRCC account. Once you're in, the next task is to find the right application package for a visitor visa. The main form you’ll be dealing with is the Application for Visitor Visa (Temporary Resident Visa) Made Outside of Canada (IMM 5257). My best advice? Take a deep breath and go through it slowly. Answer every single question as accurately as you can.
Filling Out Your Application with Precision
The online forms dive deep into your background, travel history, and finances. Some of the questions might seem a bit tricky, but the golden rule is always honesty and consistency. The information you put in these forms absolutely must match the proof you provide in your supporting documents. Any mismatch is a red flag for the visa officer.
As you navigate the portal and prepare to upload your documents, remember you're handling sensitive personal data. Getting familiar with secure online file transfer methods is a smart move to keep your information safe throughout the process.
Here’s a look at the official Canada.ca starting page for visitor visa information. Bookmark this page; it's your most reliable source for the latest forms and instruction guides.
My one crucial tip here: Review everything. Then review it again. A tiny typo in your name or passport number can cause a world of trouble. It’s far better to spend an extra hour double-checking your form now than to risk a rejection over a simple, preventable mistake.
Uploading Your Documents and Paying the Fees
Once you’ve completed the forms, the system will take you to the document upload section. It will generate a personalised checklist of everything you need to provide based on your answers. This is where your organised folder of scanned documents comes in handy.
Make sure every scan is crystal clear and that the file sizes are within the limits set by the portal. Poor quality scans can lead to delays or requests for more information.
The final hurdles are paying the fees. You'll need a valid credit or debit card to pay both the application processing fee and the biometrics fee online. After your payment is confirmed, you get to hit that final "submit" button. A huge weight off your shoulders
Your Biometrics Appointment and What to Expect

Alright, so you’ve successfully navigated the online application and sorted out the fees. Nicely done. The next thing you’ll see in your IRCC account is a notification, usually within 24 hours. This leads you to your Biometric Instruction Letter (BIL), and it’s a big deal.
This letter is essentially your ticket to the next phase. It proves you've paid the biometrics fee and officially instructs you to provide your fingerprints and photo. Don't put this off. The clock starts ticking the moment that letter hits your account, and you have exactly 30 days to get this done.
Booking Your Slot at the VAC
So where do you go? You’ll be heading to a Visa Application Centre (VAC). Here in Nigeria, these centres are managed by VFS Global, with the main offices located in Lagos and Abuja.
You absolutely must book an appointment online through the VFS Global portal. Don't just show up hoping for the best, as walk-ins are a no-go. Especially during peak seasons like summer or Christmas holidays, these appointment slots get snapped up incredibly fast. My advice? The second you get that BIL, get online and book your appointment. It’s the smartest way to keep your application moving without a hitch.
A critical mistake I see people make is thinking that 30-day deadline has some wiggle room. It doesn't. If you miss it, your application will be refused. No appeals, no extensions. You'll have to start from scratch and pay all the fees again.
What to Bring on Appointment Day
Showing up prepared makes the whole experience quick and painless. It's a very straightforward process, but they are strict about the required documents.
Here's the simple checklist of what you absolutely must have with you:
- Your International Passport: It has to be the same passport you listed in your visa application. No exceptions.
- The Biometric Instruction Letter (BIL): Bring a printed copy. They will not accept a digital version on your phone.
- Appointment Confirmation Letter: After you book online with VFS Global, you'll get a confirmation. Print that out and bring it along too.
Once you arrive at the VAC, an official will check these three documents before letting you proceed. The biometrics collection itself is over in a flash. They’ll scan your fingerprints digitally and take a quick photo.
That's it. There’s no interview and they won't ask you any questions about your trip or your finances. If you have your appointment and your papers are in order, you should be in and out in less than an hour.
What Happens After You Submit? Understanding the Waiting Period
So you've submitted everything and completed your biometrics. This is often the most nerve-wracking part of the entire process – the waiting game. You’ve put in the work, and now all you can do is wait. But understanding what's happening behind the scenes can make this period a lot less stressful.
First things first, let's talk about processing times. There's no single, fixed timeline for a Canada tourist visa from Nigeria. These times fluctuate based on how many applications Immigration, Refugees and Citizenship Canada (IRCC) is juggling. Your best bet for a realistic estimate is to always use the official processing times calculator on the IRCC website. Check it regularly, but don't obsess over it.
Keeping Tabs on Your Application Status
Once your biometrics are done, your attention should turn to your secure IRCC online account. This is where you'll see your application's journey unfold. Initially, you'll see a confirmation that your biometrics have been received and successfully linked to your application file.
Seeing your status change is a good sign—it means an officer is actively reviewing your file. It doesn't necessarily mean a decision is just around the corner, but things are moving. To get a better grip on what each specific update means, have a look at our detailed guide on how visa application tracking works. It will help you make sense of the updates without jumping to conclusions.
The update everyone hopes for is the "Original Passport Request," or OPR. This is almost always fantastic news. It means your application has likely been approved, and IRCC needs your physical passport to affix the visa inside.
If IRCC Asks for More Information
Don't panic if you get a message from IRCC asking for more documents. It’s not a bad sign; it’s simply a request for clarification. A visa officer might need one more piece of the puzzle to finalise their decision, and this is your chance to provide it.
If you receive such a request, act quickly and carefully.
- Read it thoroughly. Make sure you know exactly what they need.
- Give them only what they ask for. Resist the urge to send extra documents you think might bolster your case. Stick to their list.
- Watch the deadline. These requests have firm deadlines. Missing one can result in your application being refused, so treat it with urgency.
Keep in mind that global travel trends can also affect how quickly your application is processed. Statistics Canada keeps track of these numbers, and they can be eye-opening. For example, in a recent month, Canada saw about 4.8 million international arrivals. Of those, 894,200 were non-residents flying in. These huge numbers, which often spike during holiday seasons, show just how much demand there is, creating busy periods for visa offices. You can explore more on these Canadian travel statistics to see the bigger picture.
Common Questions from Nigerian Applicants
When you're trying to get a tourist visa for Canada, certain questions always seem to come up. Based on our experience helping Nigerian applicants, we know a few tricky areas can cause a lot of stress. Getting straight answers to these common worries can make all the difference.
Let's dive into some of the most pressing questions and clear the air so you can move forward with confidence.
How Much Money Is Really Enough for Proof of Funds?
This is the big one, and the honest truth is there’s no magic number. A visa officer isn't looking for a specific minimum balance. What they need to see is that you can comfortably pay for your entire trip—flights, accommodation, food, and activities—and still have a healthy buffer left in your account.
The story your bank statements tell is far more important than one large figure.
- Consistency is king. A steady, healthy account balance over the last four to six months is much more convincing than a huge sum of money that suddenly appears just before you apply. That sudden deposit is often a red flag.
- Explain large deposits. If you did get a large, legitimate amount of cash—maybe a work bonus, inheritance, or money from a property sale—don't leave it to guesswork. You need to include a short, clear explanation with supporting documents. Transparency is your best friend here.
What Are My Options if My Visa Is Refused?
Getting a refusal is tough, no doubt. But it's crucial to understand it’s not the end of the line. The very first thing you must do is read the refusal letter from top to bottom. It will spell out exactly why the visa officer wasn't convinced by your application.
A refusal isn't a permanent ban. It's feedback. Your job is to take that feedback on board and use it to build a much stronger case if you choose to re-apply.
You have two main ways to proceed:
- Re-apply: This is the most common route. You must address every single point raised in the refusal letter with new, stronger evidence. Just sending the same documents again is a recipe for another refusal.
- Seek a Judicial Review: For some complex cases, you might have a valid reason to have the decision reviewed by a court. This is a formal legal process, and it's best to get professional guidance if you're considering this option.
Can I Look for a Job on a Tourist Visa?
Let’s be crystal clear on this: absolutely not. A Canadian visitor visa is strictly for temporary stays. This means tourism, visiting friends or family, or attending short business meetings where you are not being paid by a Canadian company.
Attempting to work or even actively search for a job while you're in Canada on a visitor visa is a serious breach of immigration laws. The consequences can be severe, including deportation and a ban on entering Canada for several years. You must always prove that you fully intend to leave Canada when your visit is over.
Feeling overwhelmed by the immigration process? JapaChat is Nigeria's first AI immigration expert, designed to give you instant, accurate answers for your journey. Get personalised guidance and build your plan with confidence by signing up for free at https://japachat.com.
Leave a Reply