Canada Visa Requirements for Students Guide

Securing your spot to study in Canada really comes down to ticking three major boxes. You’ll need an acceptance letter from an approved school, solid proof that you can pay your way, and strong evidence of your ties back home to Nigeria. It's important to remember that you're applying for a study permit, not a visa—think of it as your official pass to a Canadian education.
Starting Your Journey to Study in Canada
Welcome to your complete guide on what it takes for a Nigerian student to get a Canadian study permit. Before we get into long checklists, it’s really helpful to understand the thinking behind the whole process. When a Canadian immigration officer looks at your file, they're essentially trying to answer three big questions. Your job is to make sure your application tells a clear and convincing story.
The entire process rests on three pillars, and your success hinges on how well you build up each one. You have to prove you're a genuine student, show you won't become a financial burden in Canada, and convince them you'll respect the rules and head back home after your studies. Every single document you submit is there to support one of these pillars.
The Three Pillars of Your Application
Let’s break down exactly what each pillar means for you as an applicant from Nigeria:
-
Academic Legitimacy: This is all about your Letter of Acceptance (LOA) from a Designated Learning Institution (DLI). It’s the official document that shows you have a legitimate reason to come to Canada.
-
Financial Capacity: You must prove you have enough money to cover your tuition and living costs for at least the first year. This gives the visa officer peace of mind that you can actually focus on your schoolwork without financial stress.
-
Intent to Return: This is often the trickiest part for many students. You need to show that you have strong ties to Nigeria—like family, property, or a promising career path—that give you a very good reason to return after you graduate.
Think of your study permit application like building a house. Your acceptance letter is the foundation, your proof of funds are the strong walls, and your ties to home are the solid roof. Without all three, the structure is incomplete and simply won't get approved.
To give you a quick overview before we dive into the nitty-gritty details, here’s a table that pulls together the main document categories and what each one proves to the immigration officers.
Core Requirements for a Canada Study Permit At a Glance
| Requirement Category | What It Proves | Key Documents |
|---|---|---|
| Acceptance & Identity | You are a genuine student with a valid reason to be in Canada. | Letter of Acceptance (LOA), Valid Passport |
| Financial Support | You have the funds to cover tuition and living expenses. | Bank Statements, GIC, Sponsorship Letter |
| Ties to Home Country | You intend to leave Canada after completing your studies. | Family Documents, Property Deeds, Job Offers |
This table acts as a great starting point, but we'll explore each of these requirements in much more detail to ensure you're fully prepared.
Confirming You're Eligible to Apply

Before you spend a single Naira on application fees or start chasing down documents, the very first thing you need to do is confirm you actually meet the basic Canada visa requirements for students. Think of it as the security check before you even get to the airport; if you don't have the right papers, the journey stops before it begins.
Immigration, Refugees and Citizenship Canada (IRCC) lays out a clear set of criteria for every international student. These aren't just suggestions or friendly tips—they are strict, mandatory requirements that will make or break your application. Your goal is to tick every single box with confidence before you fill out a single form.
Essentially, the main requirements fall into a few key areas. You'll need an acceptance letter from the right kind of school, enough money to support yourself, a clean bill of health, and no serious criminal history. Let's dig into what each of these really means for you as a Nigerian applicant.
Your School Must Be a Designated Learning Institution
That acceptance letter is your golden ticket, but not all schools are created equal in the eyes of Canadian immigration. The institution you plan to attend must be a Designated Learning Institution (DLI). Simply put, a DLI is a school that has been approved by the government to host international students.
If your school isn't on the official DLI list, you cannot get a study permit. It’s that black and white. Always double-check your school's DLI status on the official Government of Canada website before you even think about paying a tuition deposit.
I can't stress this enough: this step is non-negotiable. Applying with a letter from a non-DLI school is a guaranteed refusal and a complete waste of your time and money.
Proving You Have Sufficient Financial Support
This is often the biggest hurdle for Nigerian students. You have to prove to the visa officer, beyond any doubt, that you can cover your tuition fees and living expenses without needing to work illegally or rely on Canadian public funds.
For 2024, a single student applying to study anywhere in Canada (except Quebec) must show they have funds for:
- Your first year of tuition fees (the exact amount will be on your Letter of Acceptance).
- CAD $20,635 to cover your living expenses for the first year.
So, if your tuition is CAD $18,000, you need to show proof of at least CAD $38,635. But it's not just about having the money in an account. It's about proving where it came from. Large, last-minute deposits into your bank account just before applying are a massive red flag for visa officers.
A strong financial profile tells a story of stability. The visa officer wants to see that these funds are genuinely yours (or your sponsor's) and have been sitting in the account for a reasonable amount of time—not just borrowed for the application.
Meeting Health and Character Requirements
Canada is serious about protecting the health and safety of its people. As an applicant, you have to show that you're in good health and are a law-abiding individual.
This usually comes down to two main checks:
- A Medical Examination: You will most likely need to do an upfront medical exam with an IRCC-approved doctor (called a panel physician) in Nigeria. The exam checks for any health conditions that could be a risk to public health or put a heavy strain on Canada's healthcare system.
- Police Certificates: You must prove you don't have a serious criminal record that would make you inadmissible to Canada. While you might not need this right away, be prepared to provide police clearance certificates from Nigeria and any other country where you've lived for six months or more since you turned 18.
Nailing these basic eligibility points is the foundation of your entire application. For a wider view of the entire process, have a look at our comprehensive guide on how to relocate to Canada from Nigeria, which covers more aspects of the journey.
Your Essential Document Checklist

Alright, now that you've confirmed you’re eligible, it’s time to get down to the practical stuff: gathering your documents. Think of it like assembling all the ingredients for a complex recipe. Each document is crucial, and forgetting just one can mess up the entire application.
This checklist is your game plan for every single piece of paper you'll need. We’ve laid it out logically, starting with the absolute must-haves before getting into the details that Nigerian students often find the most challenging.
The Non-Negotiable Core Documents
These first two documents are the bedrock of your application. Without them, you’re not going anywhere. A visa officer looks for these first, and any problem here means an instant "no".
- Valid International Passport: This might seem obvious, but you’d be surprised. Your passport must be valid for the entire time you plan to study in Canada. If it’s expiring anytime soon, renew it before you apply. Also, make sure it has at least one completely blank page for the visa stamp.
- Letter of Acceptance (LOA): This is the golden ticket from your Designated Learning Institution (DLI). It’s the official proof that you've been accepted into a programme and the main reason you're going to Canada in the first place.
Mastering the Proof of Funds Requirement
For many Nigerian applicants, this is where the real work begins. It’s easily the most stressful and most important part of the application. You're not just showing you have money; you're telling a convincing story about where it came from.
One of the best ways to nail this is with a Guaranteed Investment Certificate (GIC). A GIC is an investment you make with a Canadian bank, which basically proves your funds are locked in and ready for your living expenses. Purchasing a GIC of CAD $20,635 shows the visa officer, without a doubt, that your living costs are covered. It seriously strengthens your application.
Your financial documents need to be perfect. Here’s what to gather:
- Bank Statements: You or your sponsor will need to provide bank statements for at least the last six months. These statements have to show a steady and consistent financial history.
- Sponsorship Letters: If a parent or family member is footing the bill, you need a formal sponsorship letter from them. It should clearly state their relationship to you and their promise to cover all your tuition and living expenses.
- Proof of Sponsor’s Income: The letter alone isn't enough. You have to back it up with hard evidence of your sponsor’s finances, like their employment letter, recent pay stubs, or business registration documents if they're self-employed.
A visa officer is trained to spot funny business. If a huge sum of money suddenly appears in your account a few weeks before you apply with no clear explanation (like proof of a property sale), it’s a massive red flag. They want to see financial stability built over time, not a last-minute cash injection.
Supporting Documents That Tell Your Story
Beyond the core papers, you’ll need a few more documents to paint a full picture of who you are. These help the visa officer understand your intentions and why you’re a good candidate to come to Canada.
Get these ready:
- Letter of Explanation (SOP): Your Statement of Purpose is your one chance to talk directly to the visa officer. Use it to explain why you chose Canada, that specific school and programme, and how this education will help your career back home in Nigeria. This is key to proving you have strong ties to your home country and intend to return.
- Passport Photographs: You'll need two recent photos that meet the exact IRCC specifications—size, background colour, even your facial expression. Don’t try to use old ones; go get new photos taken just for this.
- Medical Exam Confirmation: You must have a medical exam done by an IRCC-approved doctor in Nigeria. You’ll submit the confirmation document from the clinic along with your application.
- Biometrics: After you submit your application online, you’ll get a letter telling you to go give your fingerprints and photo at a Visa Application Centre (VAC). You'll need to include the receipt for the biometrics fee with your initial application package.
It also helps to know what's happening on a larger scale. For instance, in 2025, the Canadian government is set to issue 437,000 study permits, which is a 10% drop from the 2024 cap. This change means permits are being shifted around between provinces. Some places like Newfoundland and Labrador will get more, while popular provinces like Ontario and British Columbia will see cuts as part of a plan to manage student populations.
To build a solid case, you need to pull all these pieces together carefully. If you want to dive even deeper, check out our essential Canada student visa requirement guide for more expert tips.
Navigating the Online Application Process
Alright, you’ve got all your documents scanned and ready to go. Now for the main event: the online application itself. This part can feel a bit daunting, but trust me, it’s just a matter of following the steps methodically. I’ll walk you through everything, from creating your account to finally hitting that submit button.
Think of the IRCC online portal as the official counter where you hand over your carefully prepared file to the visa officer. Your job is to make that file neat, complete, and incredibly easy for them to understand. A well-organised application says a lot about you before they even read a single word.
This handy visual breaks down the three main stages of the journey you're about to embark on.
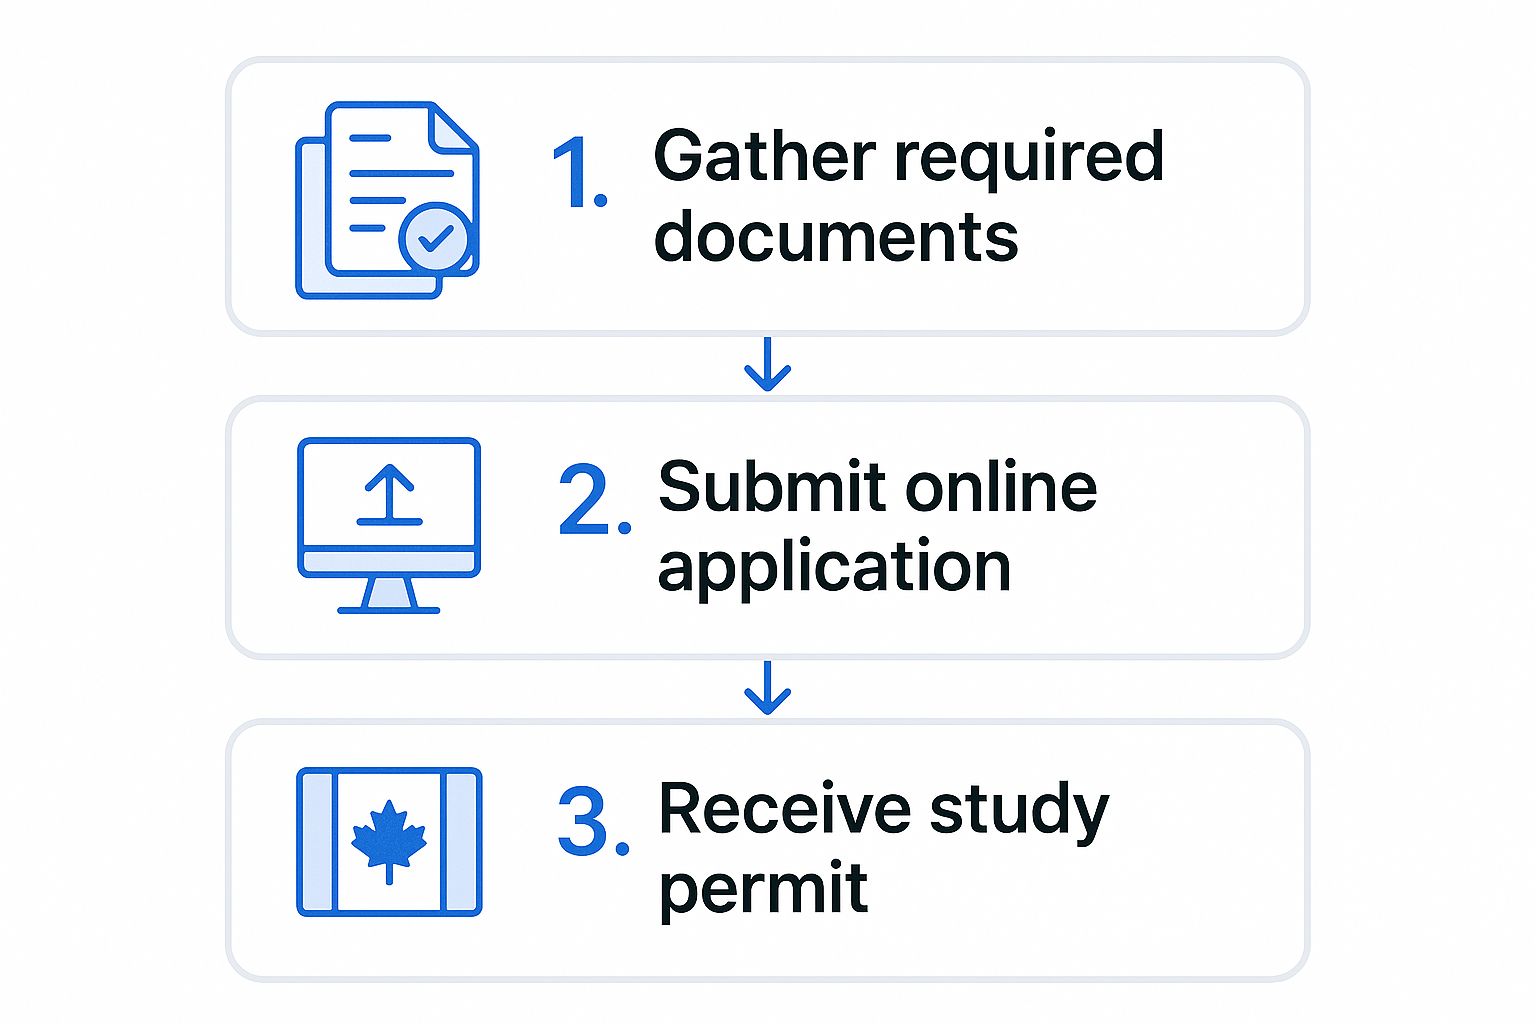
As you can see, everything flows logically from preparation to submission and finally, to the decision. Each step truly builds on the one before it.
Creating Your Secure IRCC Account
First things first, you need to create a secure online account with Immigration, Refugees and Citizenship Canada (IRCC). This account is your personal command centre for the entire process. It’s where you'll upload your documents, get messages from IRCC, and anxiously check the status of your application.
You have two options to sign in: a GCKey or a Sign-In Partner. For almost everyone applying from Nigeria, creating a GCKey is the most direct route. It’s a simple process of choosing a username, a password, and setting up a few security questions.
Treat your GCKey login details like your ATM pin. You'll need them every time you want to access your file, so keep them somewhere safe but memorable. Losing access can create a massive headache and cause serious delays.
Once your account is live, the system will ask you a series of questions about yourself. Your answers will automatically generate a personalised document checklist. This list should line up perfectly with the documents you’ve already gathered.
Filling Out the Application Forms Correctly
The core of your submission is the set of official application forms. These forms dig into the details of your personal background, family, education, and financial situation. Your mantra here should be 100% accuracy. No shortcuts.
You’ll typically need to complete these key forms:
- IMM 1294: This is the main one, the "Application for Study Permit Made Outside of Canada".
- IMM 5645: The "Family Information" form, where you list your parents, siblings, spouse, and children.
- IMM 5257: Often called "Schedule 1," this form details your personal history and past travels.
Take your time with these. A simple mistake—a wrong date, a misspelled name—can cause major issues and could even lead to a refusal. The best practice is to download the PDF forms, fill them out carefully on your computer, validate them (there’s a button for this on the form), and save the final versions before you start uploading.
Uploading Your Documents and Paying the Fees
With your forms filled and saved, it's time to upload all your supporting documents. The IRCC portal has a designated slot for everything, like "Proof of Financial Support" or "Passport". It’s crucial that you upload each document into its correct category. Double-check before moving on.
After all your files are uploaded, you’ll be prompted to pay the fees. There are two different costs you need to settle:
- The Study Permit Application Fee: This is the primary fee for IRCC to process your application.
- The Biometrics Fee: This covers the cost of getting your fingerprints and photograph taken.
You have to pay both of these online using a credit or debit card (like a Visa or Mastercard). As soon as the payment goes through, you'll get a receipt. Save a copy immediately! Within 24 hours, you should receive a Biometrics Instruction Letter (BIL) in your IRCC account. You'll need this letter to book your biometrics appointment, which is the final step before an officer begins reviewing your file.
Understanding Costs and Processing Times
Let's talk about the two most practical parts of your study permit application: your money and your time. Getting a handle on these from the very beginning will save you a world of stress and let you plan your move to Canada with real confidence.
Think of your application fees as the non-refundable investment in your Canadian education. These are the costs you pay directly to the Canadian government just to get your file opened and reviewed.
Breaking Down the Application Costs
The main fees are pretty straightforward, and everyone has to pay them. As of early 2025, here’s what you need to budget for:
- Study Permit Application Fee: This is the core fee for an immigration officer to review your case. It currently stands at CAD $200.
- Biometrics Fee: This covers getting your fingerprints and photo taken at a Visa Application Centre (VAC) in Nigeria. For one person, this is CAD $85.
But these government fees aren't the full picture. You'll also need to factor in the cost of a mandatory medical exam with an IRCC-approved doctor in Nigeria, which can be a significant expense. You might also have smaller costs for things like translating documents or using courier services.
While you're focused on the visa, it's smart to think about other ways to manage your money. You can find some great deals on discount software for students that will come in handy later. For a complete financial overview, our guide on the cost of relocating from Nigeria to Canada is a must-read.
How Long Will My Application Take?
This is the million-Naira question, and the honest answer is… it depends. Processing times aren't set in stone. They constantly shift depending on how many applications IRCC is dealing with globally and the specific details they see in applications coming from Nigeria.
You can always check the official IRCC website for the latest estimates, but please, treat that number as a guideline, not a guarantee. Your application might be quicker, but it's often more likely to take a bit longer.
Lately, things have gotten a lot more competitive. In early 2025, study permit approval rates for new students dropped to about 33%, with fewer than 31,000 new permits issued between January and April. This is a direct result of new government caps and stricter rules, which means visa officers are looking at every single application more carefully than ever before.
Key Takeaway: With lower approval rates, timelines are becoming less predictable. A perfectly prepared application that's easy for an officer to approve has the best shot at moving quickly. Any missing document or confusing information will almost certainly slow things down.
Your best strategy? Apply early. I mean, really early. Give yourself at least four to six months before your programme starts. This buffer provides crucial breathing room for any unexpected delays and gives you enough time to sort out your travel plans once you get that wonderful approval letter. Plan ahead, and you'll manage your own expectations much better.
Answering Your Top Application Questions

Trying to figure out the Canada visa requirements for students can feel like you're navigating a maze. It’s completely normal to have a long list of questions, especially when official guidance doesn't cover your specific situation.
This section is all about tackling the most pressing questions we hear from Nigerian applicants. We’re here to give you direct, clear answers to help you grasp the finer details of the process and sidestep common mistakes that can delay or even derail your application.
Think of this as your personal FAQ, built from the real-world experiences of thousands of students who have been exactly where you are now. Let's clear up the confusion so you can push forward with confidence.
How Much Proof of Funds Is Really Enough?
This is probably the number one question we get, and for good reason. IRCC sets a minimum amount, but just hitting that target isn't always a guaranteed win, particularly for applicants from Nigeria.
For a single student, you need to show you can cover your first year's tuition plus at least CAD $20,635 for living expenses. But here's the crucial part: the visa officer is just as interested in the source and history of those funds as they are in the total amount. They want to see genuine financial stability, not a sudden pile of cash that appeared out of nowhere.
For instance, a huge, recent deposit into your bank account without a clear paper trail—like documents from a property sale or an inheritance—is a massive red flag. It instantly makes the officer wonder if the money was just borrowed for the application.
The strongest financial proof tells a clear story. It shows that the funds are genuinely yours (or your sponsor's) and have been built up over time. Stability is far more persuasive than a large, last-minute sum.
To make your case as solid as possible, focus on these points:
- Show the History: Provide bank statements for both you and your sponsor that cover at least six months. This paints a picture of consistent financial health.
- Get a GIC: Purchasing a Guaranteed Investment Certificate (GIC) for CAD $20,635 is one of the most effective ways to prove your living expenses are sorted. It's a direct signal to the visa officer that the money is locked in and ready for your upkeep in Canada.
- Explain Everything: If you have any large transactions, don't leave them open to interpretation. Include a short note and supporting documents to explain what they are.
Can I Work in Canada on a Student Visa?
Yes, you can! This is one of the major perks of studying in Canada. Most full-time international students at an eligible Designated Learning Institution (DLI) can work off-campus without needing a separate work permit.
The rules are quite specific, though, so it's vital you understand them properly.
Your study permit will usually come with a condition that authorises you to work. The standard rule allows you to work up to 20 hours per week during regular school semesters. During scheduled breaks, like the summer or winter holidays, you can work full-time.
But here’s a critical point to remember: you cannot count potential income from a part-time job as part of your initial proof of funds. You have to prove you have all the money needed for tuition and living costs before you even land in Canada. The opportunity to work is there to help you supplement your funds and gain experience, not to be your main source of financial support.
What Are the Most Common Reasons for Refusal?
Understanding why other people's applications were rejected is one of the smartest ways to strengthen your own. For Nigerian students, visa refusals often boil down to two key areas: finances and showing you intend to return home.
A visa officer’s job is to assess risk. Any grey area or uncertainty in your application can easily lead to a "no." Knowing the common pitfalls means you can address them head-on.
Here are the top reasons for study permit refusals:
- Questionable Financials: This is the big one. It's not always about not having enough money, but about the source being murky or unverified. As we mentioned, large, unexplained deposits are a classic deal-breaker.
- Weak Ties to Home Country: You have to convince the officer that you have strong reasons to return to Nigeria after you graduate. This could be family responsibilities, property you own, or a solid career plan that your Canadian degree will boost back home. A vague plan just won't cut it.
- Choice of Programme: If the course you've chosen has no logical link to your past education or work history, the visa officer might doubt your real motives for coming to Canada. Your Statement of Purpose (SOP) is your golden opportunity to connect the dots and passionately explain why this specific programme is essential for your future career in Nigeria.
By carefully building your case around these key areas, you dramatically boost your odds of getting that approval. Every single document you submit should work together to tell a convincing and trustworthy story.
Planning your move to Canada involves a lot of moving parts, and getting clear, reliable answers is key. JapaChat is Nigeria's first AI immigration expert, created to give you instant and accurate guidance on your journey. From document checklists to specific visa questions, we're here to help you plan with confidence. Start a conversation and get the answers you need today by signing up for free at JapaChat.
Leave a Reply