Creating Express Entry Profile from Nigeria | Easy Guide

Alright, let's get down to business. Creating your Express Entry profile is where the rubber meets the road on your journey to Canadian permanent residency. This isn't just another online form; it’s your professional resume submitted directly to the Canadian government, making a case for why you're a great fit for the country.
Your digital profile is what showcases your skills, education, work experience, and language abilities. Think of it as your entry ticket into a highly competitive pool of talented people from all over the world, all aiming for the same goal.
Your First Real Step To Canadian Residency
For anyone in Nigeria dreaming of a life in Canada, the Express Entry system is your starting point. But don't just jump in and start filling things out. You need a strategy. This system is how Canada manages applications from skilled workers, and you need to position yourself perfectly to get noticed.
The system handles three main federal immigration programmes:
- Federal Skilled Worker Program (FSWP): This is the go-to pathway for most skilled Nigerian professionals who have valuable work experience from back home.
- Federal Skilled Trades Program (FSTP): This one is for people with qualifications in specific skilled trades, like electricians or welders.
- Canadian Experience Class (CEC): This is for those who are a step ahead and have already gained skilled work experience inside Canada.
For the vast majority of us applying from Nigeria, the Federal Skilled Worker Program (FSWP) is the one that matters most. Before you even get to the profile creation stage, you have to prove you're eligible for this programme.
Clearing The First Hurdle: FSWP Minimum Requirements
This initial eligibility check is a critical, non-negotiable step. It's the gatekeeper. Passing it means you have the foundational skills and experience Canada is actively looking for. If you don't meet these minimums, you simply cannot enter the Express Entry pool. It’s that black and white.
Let’s quickly break down the core requirements for the Federal Skilled Worker Program. This table summarises what you absolutely must have in place before you begin.
FSWP Eligibility Checklist for Nigerian Applicants
| Requirement | What You Need | Key Tip for Nigerians |
|---|---|---|
| Skilled Work Experience | At least 1 continuous year of paid, full-time work (or part-time equivalent) in the last 10 years. The job must be in TEER 0, 1, 2, or 3 of the NOC. | Your work experience letter must be detailed and match your chosen NOC. Get this from your employer early on. |
| Language Ability | A minimum score of Canadian Language Benchmark (CLB) 7 in all four sections of an approved English test (IELTS or CELPIP). | Don't underestimate the IELTS. Practice extensively. A higher score here can significantly boost your overall points later. |
| Education | A Canadian diploma/degree or an Educational Credential Assessment (ECA) report for your Nigerian qualifications from an approved body like WES. | Start your WES evaluation immediately. It can take several months to get your transcripts from Nigerian universities and for WES to process them. |
| The 67-Point Grid | You must score at least 67 out of 100 points on the FSWP selection grid, which assesses age, language, experience, etc. | Use the official IRCC calculator to check your score. Be honest with yourself—this is a pass-or-fail test. |
Getting these four things in order is your first major milestone. Without them, you can't move forward.
Key Takeaway: The 67-point grid is purely a pass/fail test. It determines if you are eligible to create a profile. It is completely different from the CRS score, which later decides if you are competitive enough to get an invitation.
Understanding The Comprehensive Ranking System (CRS)
Once you’ve passed the 67-point test and successfully created your profile, you'll be assigned a score out of 1,200 points. This is your Comprehensive Ranking System (CRS) score.
This score is what ranks you against every other candidate in the Express Entry pool. Unlike the 67-point grid, the CRS is a fierce competition where every single point counts. For a more detailed look at the entire journey, our guide on the Canadian permanent residency application is a great resource.
Ultimately, a higher CRS score dramatically increases your chances of receiving an Invitation to Apply (ITA) for permanent residence in one of the regular draws held by the Canadian government.
Assembling Your Application Documents

Before you even touch the IRCC portal to create your Express Entry profile, there's some serious homework to do. Getting your documents in order first isn't just a good idea; it's the bedrock of your entire application. I've seen too many strong candidates stumble at this stage because of simple, avoidable mistakes.
Think of it like cooking a pot of jollof rice. You wouldn’t start frying the onions without having your tomatoes, peppers, and rice all washed and ready to go. Jumping into the profile creation process with half-ready documents is a recipe for pure frustration and, worse, could make you ineligible later on.
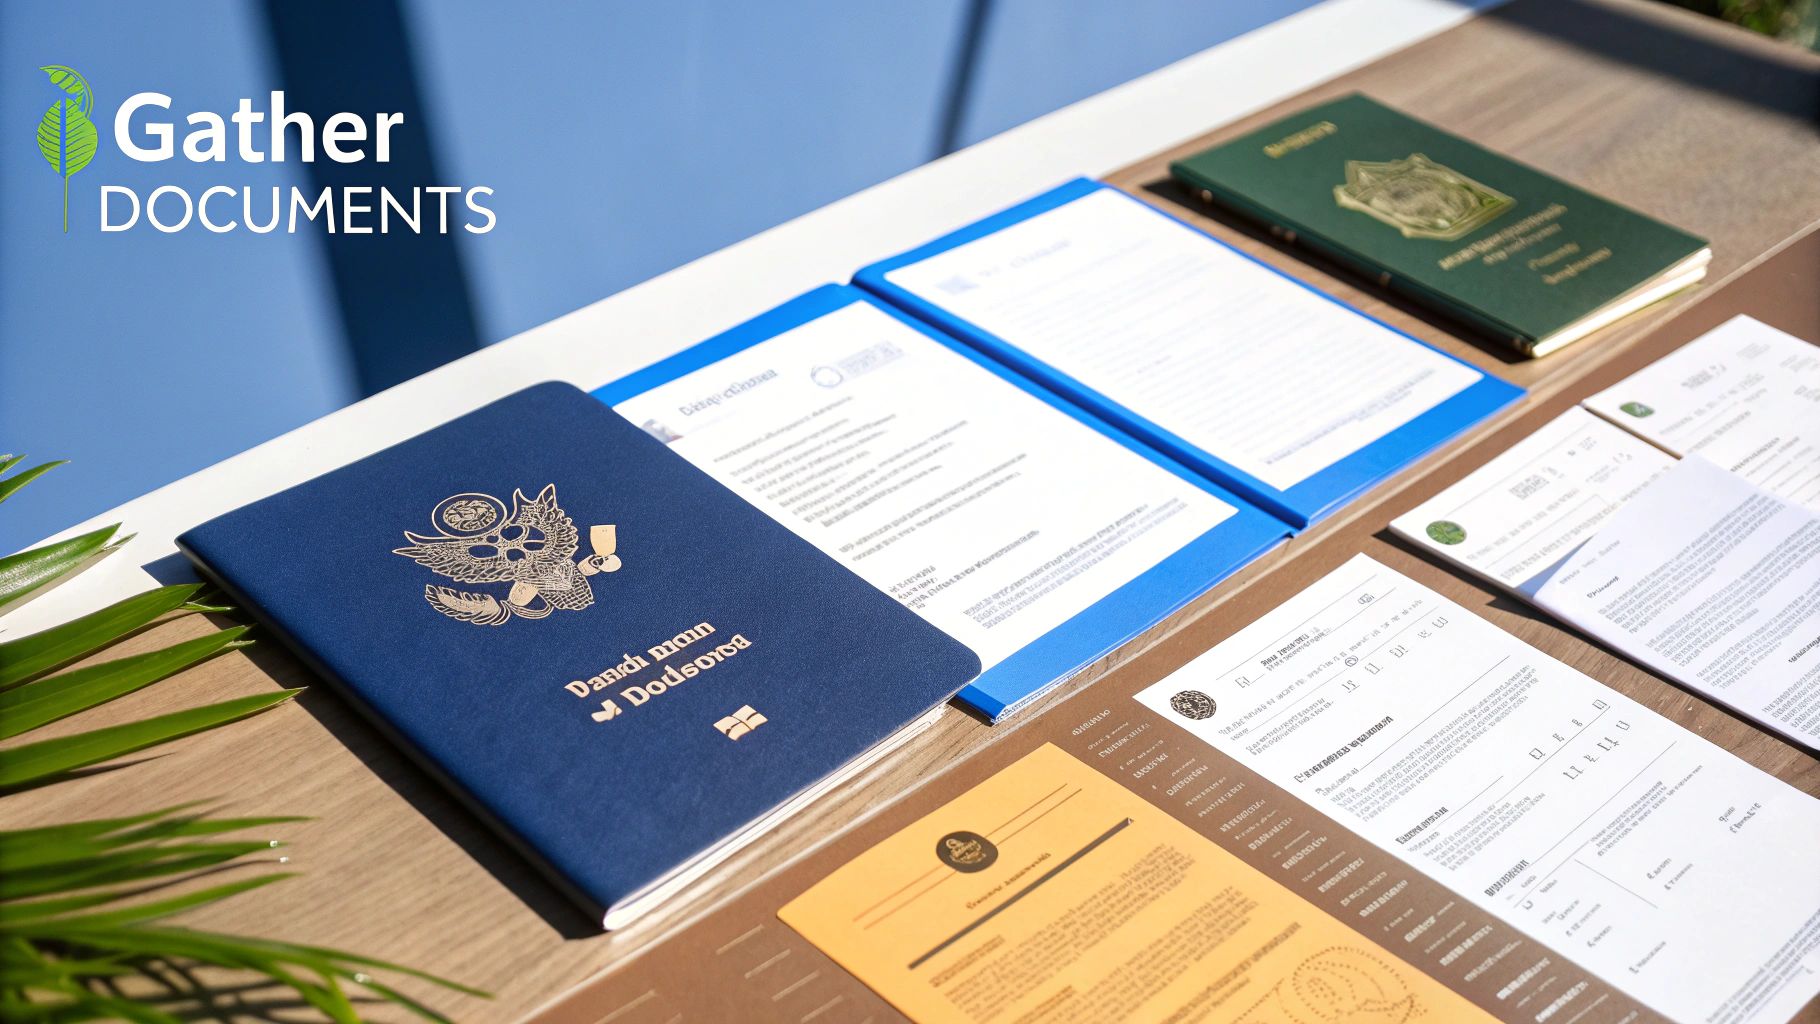
The Non-Negotiable Document Checklist
Let's talk about the absolute essentials. You cannot, and should not, attempt to enter the Express Entry pool without these three items finalised and in your hands. They are the pillars that hold up your eligibility and your entire profile.
-
International Passport: Take a look at your passport right now. Is it valid? Does it have at least two years left before it expires? Applying with a passport that's about to expire is a classic rookie mistake that can create major headaches if you get an Invitation to Apply (ITA).
-
Language Test Results: You need your official Test Report Form (TRF) from either IELTS (General Training) or CELPIP. This isn't optional. Without the scores from this test, you can't even get into the pool, as they're crucial for meeting the Federal Skilled Worker Program (FSWP) 67-point pass mark and for your CRS score.
-
Educational Credential Assessment (ECA) Report: That final, completed ECA report from an approved body like World Education Services (WES) must be physically or digitally in your possession. Just having a WES application "in progress" won't cut it. You need the final report and its reference number to move forward.
A word of advice specifically for my fellow Nigerians: Chasing transcripts from your university and then waiting for WES to do their thing can take months. Honestly, sometimes it feels like forever. Start this particular process long before you even dream of creating your profile. Trust me, it will save you a world of stress.
Proving Your Work Experience
This is where the real work begins and where many applications from Nigeria hit a snag. Proving your work experience to IRCC's standard requires meticulous detail. A simple "To Whom It May Concern" letter confirming you worked somewhere just won't do.
Your primary evidence is your reference letter from each employer. It's not just a letter; it's a detailed account of your professional life. Make sure each one is on official company letterhead and contains:
- Your full name
- The company's full contact details (address, phone number, official email)
- The signature of your direct manager or an HR officer
- Your exact job title and the dates you worked there
- A detailed breakdown of your main responsibilities and duties
- Your annual salary and any other benefits
- The number of hours worked per week (e.g., 40 hours/week)
Here's the most critical part: the duties you list must line up with the lead statement and main duties for the National Occupational Classification (NOC) code you've chosen. If there’s a mismatch, a visa officer will spot it immediately. For example, if your Nigerian job title was "Business Analyst" but your actual tasks were all about managing project timelines and budgets, you should align your reference letter's duties with the "Project Manager" NOC code.
While you're putting these professional documents together, it’s a smart move to get your resume in shape for the Canadian job market. Many Canadian companies use software to screen CVs, so you'll want to optimise your resume with ATS checker tools to make sure it gets past the bots and into human hands.
Gathering Your Supporting Personal Documents
You won't need these just to get into the Express Entry pool, but you will absolutely need them once you get an ITA. Gathering them now means you won't be scrambling against the clock later. Think of it as being prepared for the good news.
Key Supporting Documents to Get Ready:
- Birth Certificate: A clear, easy-to-read copy.
- Marriage Certificate: This is essential if you're applying with your spouse.
- Proof of Funds: This isn't just a bank statement. You'll need official, signed letters from your bank(s) detailing your account history and confirming that the funds are yours, available, and not tied up in debt.
By methodically gathering all these documents before you start, you're setting yourself up for a much calmer, more successful application journey. This early effort is what separates a smooth process from a stressful one.
Getting Your Profile Set Up on the IRCC Portal
Alright, with your documents in hand, it's time to move from preparation to action. This is where your Canadian journey truly begins to take shape online. You’ll be working exclusively on the official Immigration, Refugees and Citizenship Canada (IRCC) secure portal. This is the one and only place to create your Express Entry profile, so be sure you're on the correct government website.
Your first step is to create a secure account. For most of us coming from Nigeria, this means setting up a GCKey. Just think of it as your unique digital key—a username and password combination that unlocks access to Government of Canada services, including your immigration application.
The IRCC website has a straightforward process for creating your GCKey. You'll pick a username, create a password, and answer a few security questions. Let me give you a piece of advice born from experience: write these details down. Store them somewhere incredibly safe, like a password manager or a secure physical location. Losing your GCKey details can lead to some serious headaches and delays you really don't need.
The Final Check: Using the Eligibility Tool
Before IRCC lets you build your profile, they have one final checkpoint. You'll need to use their "Come to Canada" tool. It's essentially an online questionnaire that double-checks your eligibility based on the details you provide about your age, education, language scores, and work experience.
This part is absolutely vital. Once you complete the questionnaire and are confirmed as eligible, the system will generate a personal reference code. This code is your golden ticket. It connects your eligibility results directly to the profile you’re about to build, and you can't move forward without it.
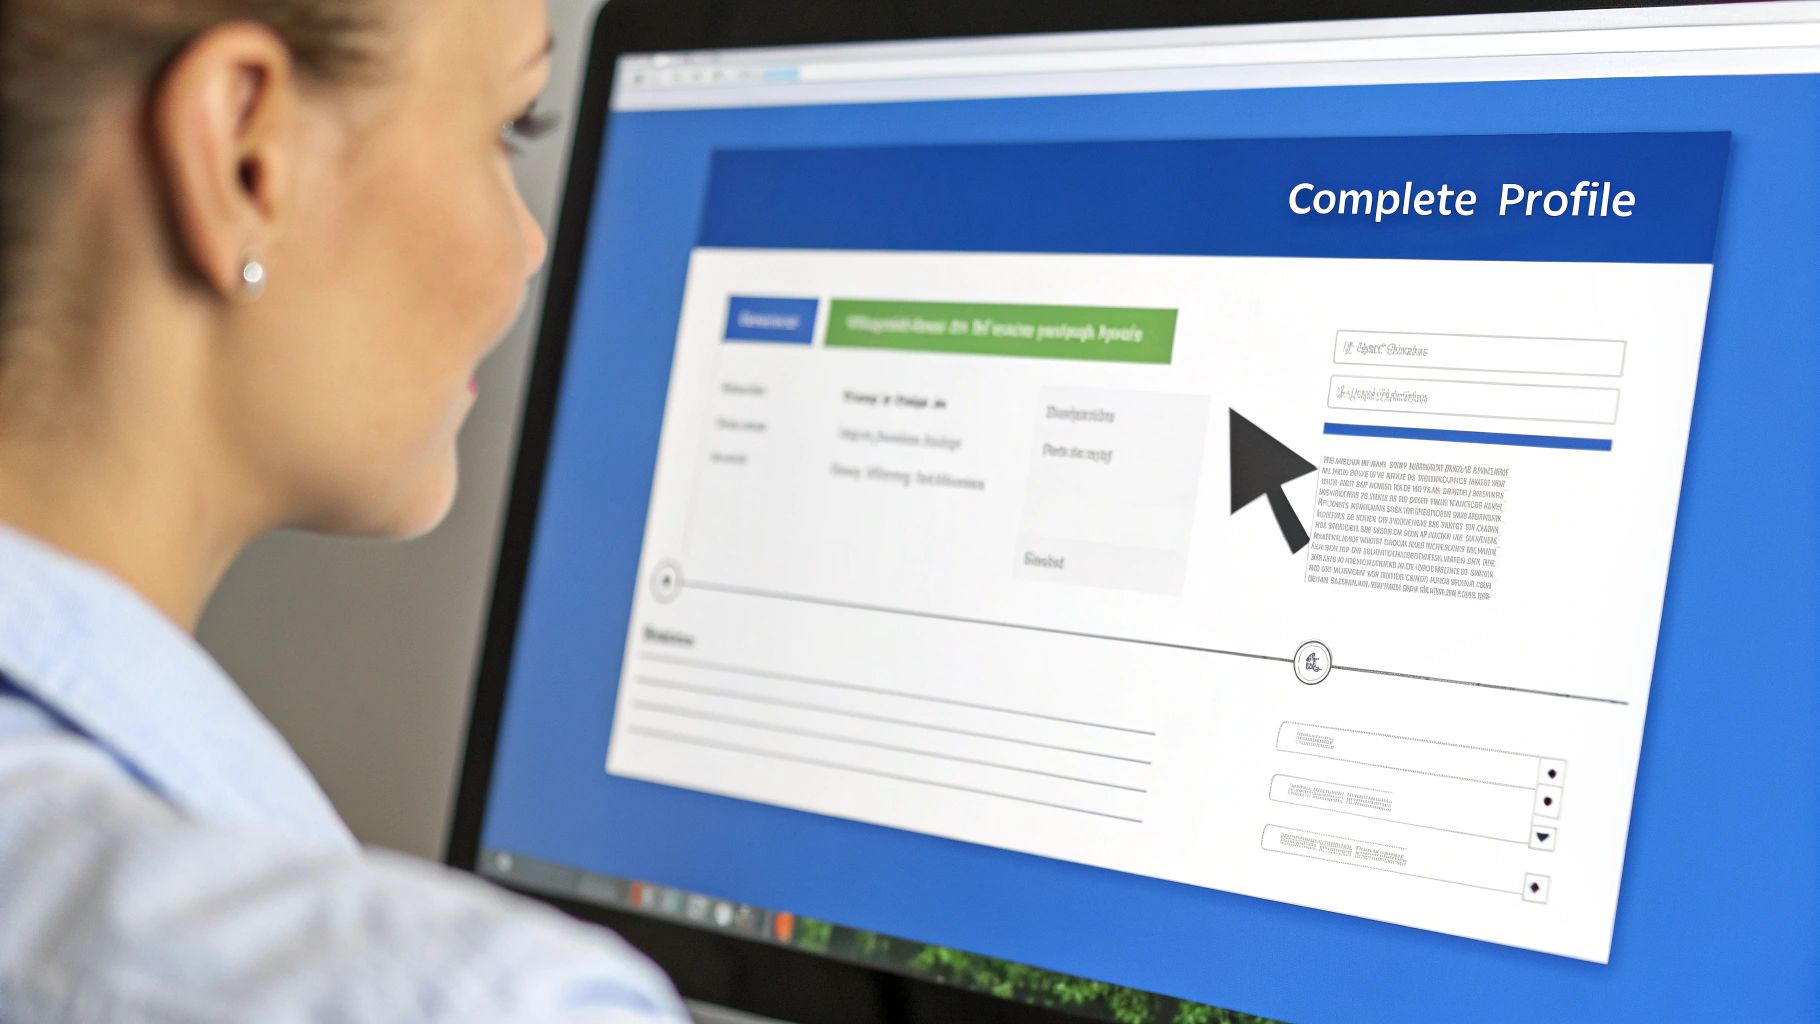
This is the main portal page you'll get very familiar with. It's where you'll either sign in with your GCKey or register for a new one.
This simple-looking page is the gateway to your entire application, so it's your first real step on the portal.
Filling Out the Different Profile Sections
After you've entered your personal reference code, the system will take you to the profile builder. The online form is smartly divided into several modules or sections. You're meant to fill it out step-by-step, but the good news is you can save your progress and come back to it. You have 60 days from the day you start to finish and submit your profile.
Here are the main sections you’ll work through:
- Personal Details: This is for your basic identity, contact info, and passport details.
- Education History: You’ll input the details straight from your ECA report here.
- Work History: Time to list your skilled work experience and match it to your chosen NOC codes.
- Language Proficiency: Enter your scores directly from your IELTS or CELPIP test result form.
- Canadian Connections: This section is for any relatives in Canada or if you have prior Canadian education or work experience.
I can't stress this enough: accuracy is everything. Go back and double-check every single date, the spelling of every name, and every reference number. What looks like a tiny typo to you could be flagged as an inconsistency by an immigration officer.
A Crucial Reminder: Be completely honest. This is the most important asset you have in this process. Trying to inflate your work experience or provide misleading information can be flagged as misrepresentation. This is a very serious offence in Canadian immigration law and can result in a five-year ban from applying for any Canadian visa. It's just not worth the risk.
Navigating Common Sticking Points
Let's walk through a common situation. Imagine you worked as an "Account Manager" in Lagos for three years. On paper, that’s your title. But in reality, your day-to-day duties involved deep financial analysis and reporting, which perfectly matches the "Financial Analyst" (NOC 11101) code. When creating your Express Entry profile, you must use the NOC code that reflects your actual duties, not just your job title.
The work history section is often where people get tripped up. You have to be precise when calculating your hours. In Canada, full-time work is defined as 30 hours per week. If you worked 40 hours a week for one year, that counts as one year of full-time experience. But if you worked part-time at 20 hours per week, you would need 18 months to get the equivalent of one full year of experience (30 hours/week x 52 weeks = 1560 hours).
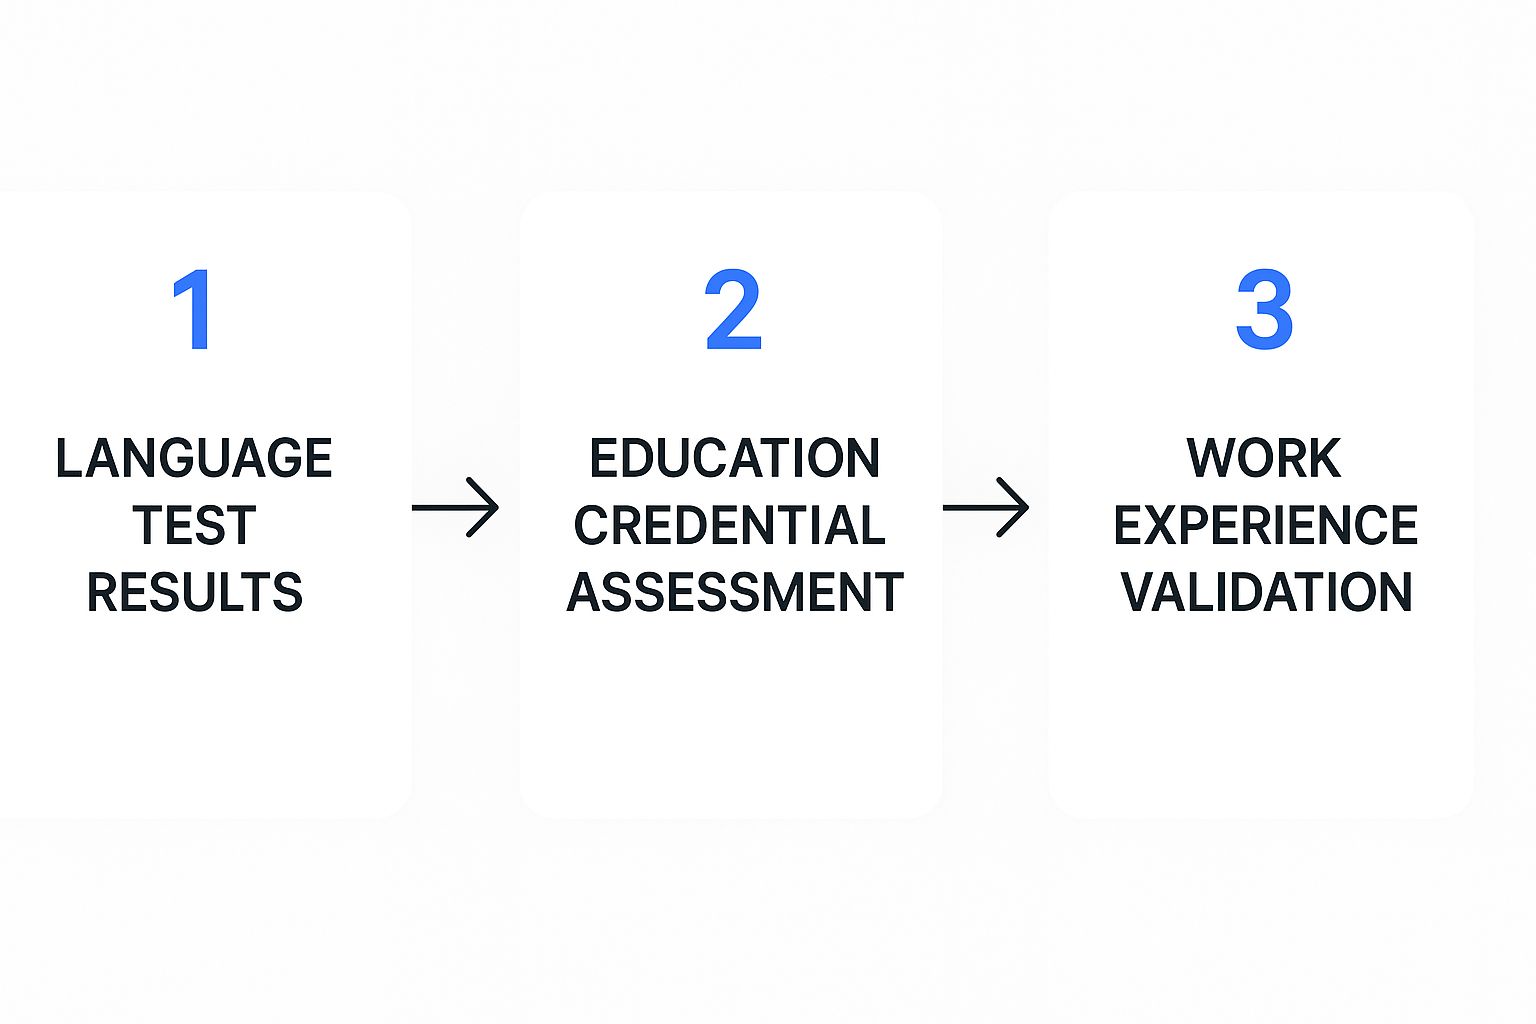
This visual flow shows how all your foundational data must be finalised before you can properly fill out these sections.
Your profile is only ever as strong as the verified documents you have to back it up.
It’s a similar story in the education section. Make sure the "Name of Degree" you type into the profile is the exact Canadian equivalency shown on your ECA report. If your WES report says "Bachelor's degree (four years)," you must select that specific option from the dropdown menu, not just write "B.Sc. in Biochemistry." This careful alignment is what ensures you get the correct CRS points for your education.
For more hands-on tips, you can check out our full guide on creating an Express Entry profile, which gets into even more of these details. The key is to take your time, be meticulous, and build a profile that truly and accurately reflects the fantastic skills you have to offer.
Getting to Grips with the Express Entry Pool
Alright, so you've done the hard work and your profile is submitted. What happens next? Your profile doesn't just go into some quiet queue. It lands in the Express Entry pool, which is basically a massive, constantly shifting group of ambitious people from all over the world, all hoping for the same thing.
This is the point where the process stops being about just you and becomes a competition. From here on out, everything comes down to one thing: your Comprehensive Ranking System (CRS) score. That number is king. It decides where you stand in the pool and, ultimately, if you're good enough to get that coveted Invitation to Apply (ITA). It's not a 'first-come, first-served' line; it's a live ranking where your position can move up or down every single day.
The Hard Truth About CRS Score Distribution
Look, having a "good" score is all relative. It only matters how your score stacks up against everyone else's in the pool at that exact moment. To keep your expectations in check and build a smart strategy, you have to look at the real numbers.
The data paints a very clear picture of just how competitive this is. For instance, a look at the pool in mid-2025 showed there were 250,082 profiles all competing for an invitation. The biggest group of candidates, a whopping 53,684 people, had scores between 351 and 400. This tells you that the middle range is incredibly crowded.
What about the top? A tiny handful of people—just 28 profiles—had scores over 600. That shows you how rare those super-high scores really are. You can dig into these numbers yourself and see the composition of the Express Entry pool on CIC News.
The lesson here is simple: just being eligible to enter the pool is not the goal. You need a score that can actually beat the cutoff in the official draws.
The Different Kinds of Draws You Need to Know
Immigration, Refugees and Citizenship Canada (IRCC) doesn't just invite the highest scores from the top down. They have specific needs for Canada's economy, and they use different types of draws to meet them. This is crucial because it directly affects who gets an invitation.
-
General Draws: Think of these as the standard, all-inclusive draws. IRCC sends invitations to the highest-scoring people in the pool, no matter which programme they applied through (FSWP, CEC, or FSTP). The cutoff score in these draws is a pure reflection of who has the highest points at that time.
-
Program-Specific Draws: Sometimes, IRCC needs to fill quotas for a particular programme. They might hold a draw that only invites people eligible for the Federal Skilled Worker Program or, quite often, candidates who have a Provincial Nominee Program (PNP) nomination. A PNP-specific draw is a game-changer because those candidates have an extra 600 points added to their score.
-
Category-Based Draws: This is the newer, more targeted approach that has really shaken things up. Instead of just focusing on the highest CRS score, these draws invite people with specific professional backgrounds or skills that are in high demand in Canada.
Key Takeaway: Category-based selection is a massive deal. It means even if your overall CRS score isn't at the very top, you could still get an ITA if your work experience or language skills match what Canada is looking for right now.
These special categories can include things like:
- French-language proficiency: Inviting strong French speakers to support Francophone communities.
- Work experience in key sectors: Targeting people with experience in high-demand fields like healthcare, skilled trades (plumbing, carpentry), tech, or agriculture.
Understanding these different draw types is a core part of a good Express Entry strategy. It helps you see that there isn't just one path to getting an invitation. You can move from just passively waiting for a high score to actively positioning your profile to get noticed in a specific category-based draw. The pool is always changing, and your strategy needs to be just as flexible.
How to Actively Boost Your CRS Score
Submitting your profile is a huge milestone, but it's really the starting line, not the finish. The real work begins now. You’re in a pool with thousands of other talented candidates, and passively waiting is not a strategy. The key to moving from the middle of the pack to the front of the line is actively working to boost your Comprehensive Ranking System (CRS) score.
This is the part of the journey where you take control. Every single point you can gain pushes you closer to that life-changing Invitation to Apply (ITA). Think of your current score as a baseline—a foundation you can build upon with targeted effort and smart decisions.
Revisit Your Core Strengths
The quickest wins often come from improving the foundational elements of your profile. Before you get into the more complex strategies, start by optimising what you already have.
One of the most powerful levers you can pull is your language score. The difference between a Canadian Language Benchmark (CLB) 8 and a CLB 9 is significant, adding a substantial number of points. If your IELTS results were good but not great, seriously consider retaking the test. A few more weeks of dedicated practice could be the single most effective thing you do for your score.
Similarly, take a hard look at your work experience. Have you gained another year of skilled work since you first created your profile? Make sure you update your profile immediately. That extra year adds valuable points that could make all the difference.
The Power of Provincial Nomination
Without a doubt, the single biggest boost you can get is a Provincial Nominee Program (PNP) nomination. If a Canadian province nominates you through an Express Entry-aligned stream, you receive an extra 600 CRS points. This is a massive advantage that virtually guarantees you an ITA in the next draw.
Each province has its own PNP with various streams designed to attract workers with specific skills. Your mission is to become a researcher.
- Ontario (OINP): Often targets tech workers, French speakers, and those in skilled trades.
- Saskatchewan (SINP): Has a popular "In-Demand Occupations" list that doesn't always require a job offer.
- Alberta (AAIP): Frequently looks for candidates with ties to the province or those in specific sectors like healthcare and technology.
- Nova Scotia & New Brunswick: Have streams that sometimes open for candidates with specific work experience, even without a job offer.
The competition is fierce, and the pool reflects this. By late June 2025, the Express Entry pool had grown to 256,754 candidates. More revealingly, the number of profiles in the top score bracket (601-1200 points) shot up to 471—a huge jump from just 28 in mid-May. This highlights how many people are successfully using strategies like PNPs to dramatically improve their scores.
Pro Tip: Don't just wait for a province to find you. Actively check provincial websites, create expressions of interest where possible, and tailor your profile to align with the needs of a specific province. For example, if you are a software engineer, highlight this prominently to attract attention from tech-focused streams.
Securing a Canadian Job Offer
While not always mandatory, securing a valid job offer from a Canadian employer can add between 50 and 200 points to your CRS score. This is a significant advantage that can make a huge difference.
Start by networking on platforms like LinkedIn and tailoring your CV to Canadian standards. While a strong profile on the IRCC portal is essential, enhancing your CRS score might also involve securing a job offer, for which you may consider exploring professional resume writing services tailored to the Canadian market. They can help you craft a document that resonates with Canadian recruiters.
Other Avenues for Points
Don't overlook other potential point sources. If you have a spouse or common-law partner, their language skills and education can also contribute to your total score if they take the language tests and get an ECA.
Could you pursue another educational credential? A second degree or diploma can add more points. While this is a longer-term strategy, it could be a worthwhile investment if your score is stalled. You can play around with different scenarios to see how these changes would affect your score by using a reliable https://blog.japachat.com/express-entry-calculator/ to model potential improvements.
Common Questions from Nigerian Applicants
When you're deep in the process of creating your Express Entry profile, certain questions always seem to pop up. For Nigerian applicants, getting these right is crucial—it can be the difference between a smooth application and a major headache. Let’s tackle some of the most common ones I hear all the time.
A big one I see people ask is whether they can create more than one profile. The answer to this is a hard no. Creating multiple Express Entry profiles is a serious violation of IRCC rules. Don't do it. It can get you flagged and even banned from the system.
If something changes in your life – maybe you get married, finish a Master's degree, or hit a new milestone in your work experience – the right move is to update your single, existing profile. Never, ever create a new one to reflect these updates.
Keeping Your Key Documents in Order
"What if my passport or IELTS is about to expire?" This is a massive point of concern, and for good reason. These documents are the bedrock of your profile.
If either your passport or your language test results expire while you're in the pool, your profile will instantly become ineligible. That's it. You're out.
It's completely up to you to stay on top of these dates. You must renew your passport or retake your language test before they expire and update your profile with the new details immediately. This is the only way to stay in the pool and be considered for an Invitation to Apply (ITA).
A Key Takeaway: The IRCC system is automated. It won't send you a friendly reminder that your documents are about to expire. If you're serious about this journey, proactively managing your document validity isn't just a good idea—it's essential.
Nailing the Proof of Funds
Another area that trips people up is the "proof of funds" requirement. The amount you need to show isn't just a random number; it's tied directly to the size of your family. This includes you, your spouse or partner, and any dependent children, even if they aren't coming with you.
IRCC updates these settlement fund figures from time to time to keep up with the cost of living. You’ll need to prove you have access to these funds through official, signed letters from your bank showing your account balances over the past six months. It can't be borrowed money, and you absolutely must check the latest required amounts on the official Government of Canada website before you hit submit.
Planning your move abroad can be full of questions and uncertainty. Get instant, reliable answers tailored for your journey with JapaChat, Nigeria's first AI immigration expert. Start planning with confidence by visiting JapaChat today.
Leave a Reply