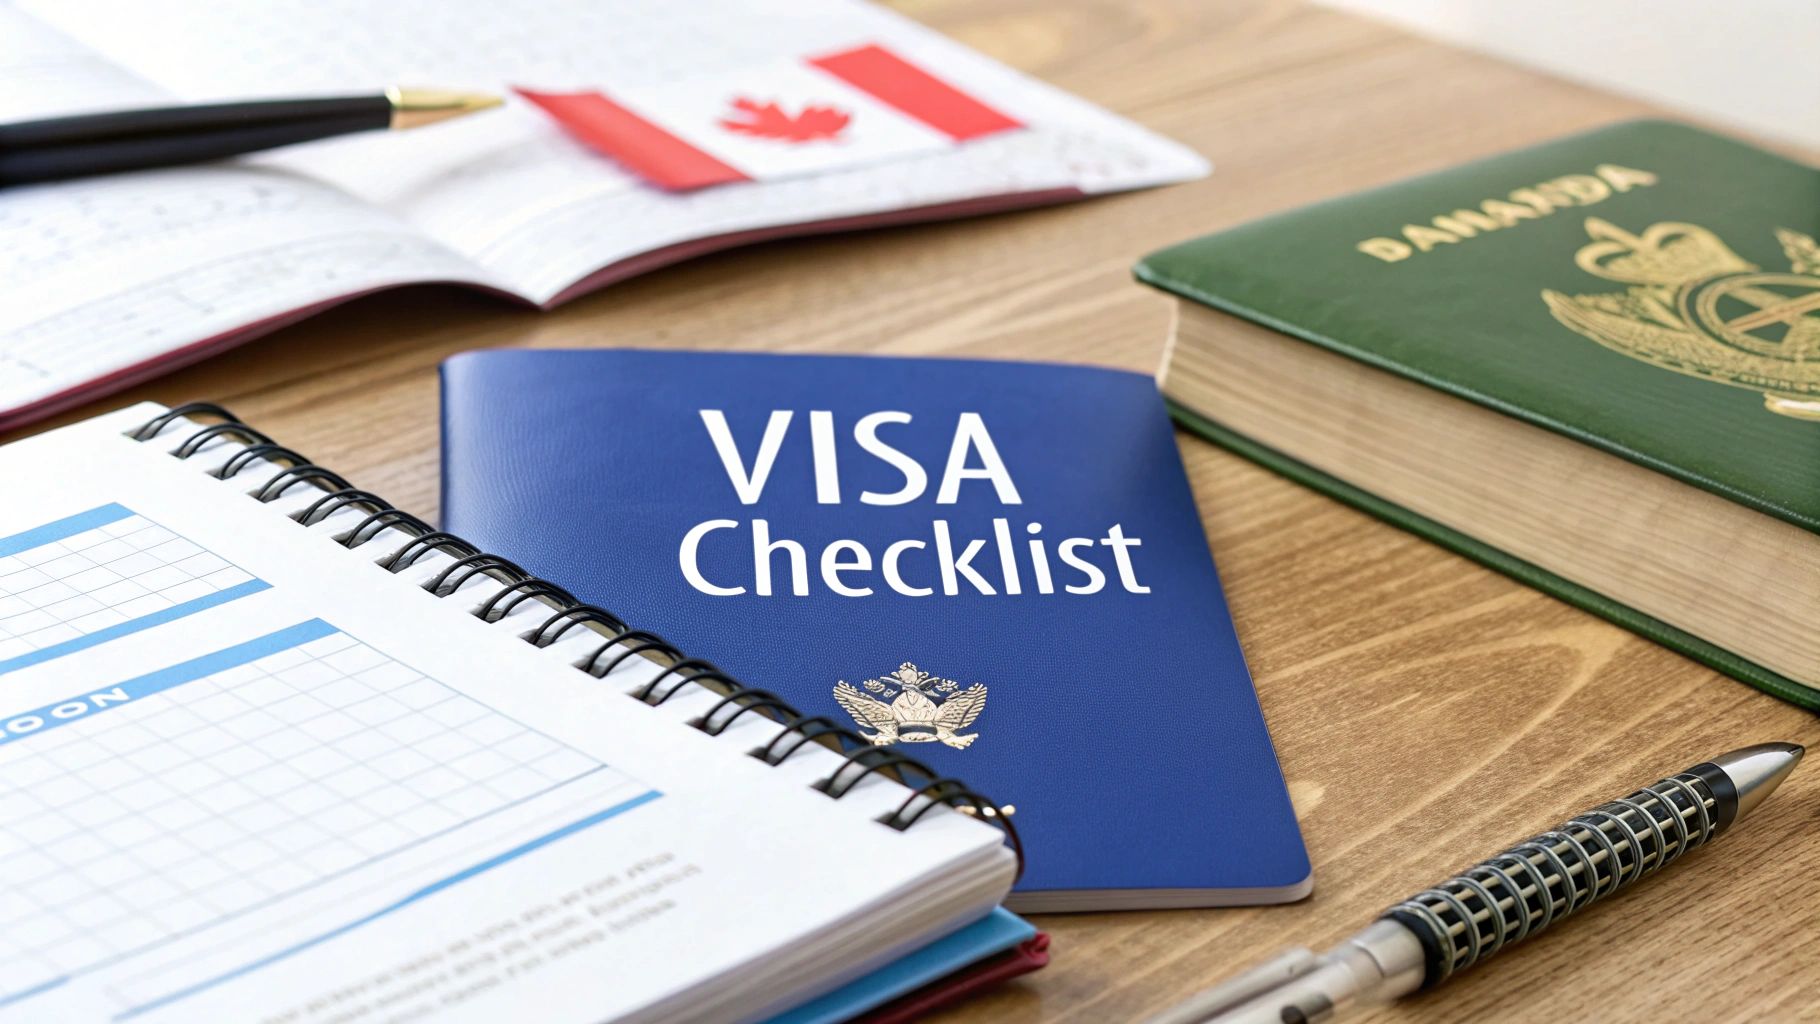
Documents Required for Canada Visitor Visa: A Complete Guide for Nigerians
Planning a trip to Canada from Nigeria can feel like a huge challenge, especially when it comes to gathering the correct paperwork. The visa application process is very detailed, and a single missing document or a small error could unfortunately lead to a disappointing refusal, delaying your "japa" plans. But there is no need to worry, as we have got your back completely.
This guide is your ultimate checklist, breaking down every single one of the documents required for a Canada visitor visa. We will go beyond just listing the items; we will provide practical, Nigerian-focused examples to make everything clear. For instance, we will discuss how to present proof of funds from a GTBank or Zenith Bank account or what constitutes strong ties to home for a professional working in Lagos or an entrepreneur in Abuja.
We will also highlight common mistakes Nigerians make and share expert tips to make your application as strong as possible. Whether you are visiting family in Toronto, exploring the sights of Vancouver, or attending a business conference in Calgary, this is the only guide you will need. Consider this your step-by-step manual for preparing an application that is ready for a 'YES'.
1. Your Nigerian International Passport: The Golden Ticket
First on the list of documents required for a Canada visitor visa is your Nigerian international passport, often called the "green book". This isn't just a travel booklet; it's your primary identification and the foundation of your entire application. Without a valid passport, your application cannot proceed. It proves your identity, nationality, and, crucially, that you have a country to which you can return—a key consideration for the visa officer.

The Canadian High Commission requires your passport to be valid for the entire duration of your planned stay. However, the unofficial "golden rule" is to have at least six months of validity remaining beyond your intended departure date from Canada. This buffer is critical because it avoids any potential issues or questions about your ability to travel or return home.
Key Actions and Best Practices
To ensure your passport meets the stringent requirements, follow these actionable steps:
- Check the Expiry Date First: Before you even pay the application fees, check your passport's expiry date. If it has less than a year left, seriously consider renewing it. A passport close to expiry can be a red flag. You can learn more about renewing your Nigerian passport online to start the process early.
- Digital and Physical Copies: Make high-quality, full-colour scans and photocopies of the bio-data page (the page with your photo and information). Save the digital copies in a secure cloud storage service like Google Drive or Dropbox for easy access.
- Ensure Name Consistency: The name on your passport must be exactly the same as on all other supporting documents, including your birth certificate, bank statements, and letter of employment. Any variation, even a misplaced initial like "Adekunle J." instead of "Adekunle John," can cause delays.
- Show Your Travel History: If you have previous, expired passports, especially those with visas or stamps from countries like the UK, USA, or Schengen states, include clear photocopies of their bio-data pages and every single stamped page. This provides strong evidence of your travel history and compliance with immigration laws.
2. Completed Visa Application Form (IMM 5257): Your Digital Handshake
The second crucial item on your checklist of documents required for a Canada visitor visa is the Application for Visitor Visa form, also known as IMM 5257. This document is your official introduction to Immigration, Refugees and Citizenship Canada (IRCC). It's where you provide your personal background, travel history, and the specific reasons for your visit. Accuracy and honesty here are non-negotiable, as this form sets the tone for your entire application.
This form must be completed electronically using Adobe Reader, not your web browser's built-in PDF viewer. After you fill it out completely, you must click the "Validate" button, which generates a page with barcodes. This barcode page is vital as it contains all your entered data in a machine-readable format, which speeds up the processing of your application at the visa office.
Key Actions and Best Practices
To avoid common errors that lead to application rejection or delays, follow these steps meticulously:
- Use the Right Software: Download the latest version of Adobe Acrobat Reader for free. Filling out the form in a web browser can lead to data loss or validation errors. Save the blank form to your computer first, then open it with Adobe Reader.
- Be Consistent and Truthful: The information on this form must align perfectly with your other documents. If you state you work at "ABC Limited" on the form, your employment letter must say "ABC Limited," not "ABC Ltd." or "ABC Group." Any inconsistency is a major red flag.
- Gather Information Beforehand: Before you start, have all your details ready: passport information, travel history dates for the last 10 years, educational history, and employment details. This prevents you from rushing and making mistakes.
- Validate and Print Correctly: Once you've double-checked every entry, click the "Validate" button. This will generate the barcode pages. Print the entire document, including the barcode pages, on clean white paper. Sign and date the form in the designated space. Keep a digital and a physical copy for your records.
3. Proof of Financial Support: Show Them the Money
Next up in your list of crucial documents required for a Canada visitor visa is your proof of financial support. This is your opportunity to show the visa officer that you have sufficient funds to cover your entire trip. It proves you can afford your flight, accommodation, daily expenses, and return ticket without needing to work illegally in Canada—a major concern for immigration officials. This isn't about being a "big man"; it's about demonstrating financial stability and the ability to fund your visit responsibly.

The Canadian government doesn't specify an exact amount, but a good rule of thumb is to show you have enough for your planned activities. For instance, a two-week tourist trip might require showing between CAD $3,000 and $5,000 (roughly ₦3 million to ₦5 million, depending on the exchange rate). The key is that the funds must be readily accessible and the source must be legitimate.
Key Actions and Best Practices
To present a convincing financial profile, focus on these actionable steps:
- Provide Official Bank Statements: Submit certified bank statements for the last four to six months. These should be on your bank's official letterhead, stamped, and show a consistent closing balance. Avoid large, sudden deposits just before applying, as these "sponsorship" or "borrowed" funds are a significant red flag.
- Create a Clear Narrative: Don't just submit the statements. Include a cover letter that briefly explains your financial situation. If you have a large sum of money from the sale of a property or a recent bonus ("13th month"), attach evidence like a deed of sale or a letter from your employer.
- Show Multiple Income Streams: Your financial strength is more than just your bank balance. Include recent payslips, a letter of employment stating your salary, evidence of investments (e.g., Stanbic IBTC mutual funds), property ownership documents (e.g., C of O), or business registration certificates (CAC documents). This paints a complete picture of your financial ties to Nigeria.
- If Sponsored, Be Detailed: If a family member or company is sponsoring your trip, you must provide a formal sponsorship letter. This letter should detail the relationship and the exact expenses they will cover. The sponsor must also provide their own financial documents, such as their bank statements and proof of employment, to validate their capacity to support you. You can learn more about the specifics of proof of funds for Canada to ensure you meet all requirements.
4. Letter of Invitation (if applicable): A Personal Endorsement
When your purpose for visiting Canada is to see family or friends, a Letter of Invitation is a powerful document that adds a personal, credible touch to your application. While not always mandatory, this formal letter written by a Canadian citizen or permanent resident serves as a personal endorsement. It explains to the visa officer who you are, why you are coming, and confirms you have a genuine connection and place to stay in Canada.

This document is crucial because it helps establish the legitimacy of your visit. For example, if your adult child in Canada is inviting you for Omugwo (post-natal care), or a sibling invites you for their wedding, this letter provides context and corroborates the information in your application. It essentially tells the visa officer, "This person is my guest, and I am vouching for their visit."
Key Actions and Best Practices
To ensure your Letter of Invitation is effective and meets Canadian immigration standards, your host should follow these steps:
- Include All Essential Details: The letter must contain full information for both you (the applicant) and the host: full names, addresses, phone numbers, and the relationship between you (e.g., "my mother," "my childhood friend"). It must also clearly state the purpose and exact duration of your visit.
- Provide Host's Proof of Status: Your host must attach clear, scanned copies of their proof of status in Canada. This could be their Canadian passport bio-data page, birth certificate, or Permanent Resident (PR) card. This is non-negotiable.
- Demonstrate Financial Support (if applicable): If your host intends to cover some or all of your expenses, they should include proof of their financial capacity, such as a recent letter of employment, pay stubs (T4 slips), or a Notice of Assessment (NOA) from the Canada Revenue Agency.
- Get it Notarised: While not always required, having the letter sworn before a notary public in Canada adds a significant layer of authenticity. This shows the visa officer that the host has taken a formal, legal step to verify the contents of the invitation. If you're unsure how to structure this crucial document, reviewing some formal invitation letter examples can provide excellent guidance.
5. Travel Itinerary and Purpose of Visit Documentation
Your travel itinerary is the roadmap of your trip, providing the visa officer with a clear picture of your intentions in Canada. This set of documents is a critical part of the papers required for a Canada visitor visa because it proves your visit is temporary, well-organised, and has a legitimate purpose. A detailed plan demonstrates that you are a genuine visitor who intends to respect the terms of your visa and return home after your trip.
This documentation should align perfectly with the purpose of your visit stated in your application. For a tourist, this means showing planned sightseeing, while a business visitor must provide proof of their professional engagements. Essentially, your itinerary brings your application's narrative to life, showing the visa officer exactly what you plan to do, where you will stay, and how you will spend your time.
Key Actions and Best Practices
To compile a compelling itinerary that strengthens your application, follow these specific steps:
- Book Flexibly, Not Fully: Secure flight reservations or holds rather than purchasing non-refundable tickets. Many travel agencies in Lagos or Abuja offer this service for a small fee. The same principle applies to accommodations; use booking platforms that offer free cancellation. This shows commitment without unnecessary financial risk.
- Structure a Day-by-Day Plan: Create a logical, detailed schedule. For example, if you're visiting Toronto for a week, your plan could include: Day 1: Arrive at Pearson Airport, check into hotel. Day 2: Visit the CN Tower. Day 3: Day trip to Niagara Falls (include tour booking confirmation). This level of detail shows you have thoroughly researched your trip. A well-planned itinerary is crucial; for more ideas on structuring your travel, you can consult a general itinerary planning guide.
- Align Documents with Purpose: Your evidence must match your reason for visiting. If it's for a wedding, include the invitation card. For a business conference, attach your registration confirmation and a schedule of events. If visiting family, clearly state you will be staying at their residence and perhaps include a loose plan of family activities.
- Connect to Your Letter of Explanation: Your itinerary should visually represent the plans you describe in your cover letter or letter of explanation. This consistency reinforces your credibility and makes your application easier for the visa officer to understand. You can learn more about writing a compelling purpose of travel letter to ensure all your documents tell a unified story.
6. Passport-Sized Photographs: Your Official Identity Snapshot
Among the crucial documents required for a Canada visitor visa are your passport-sized photographs. These are not just any pictures from your phone; they are your official identity snapshot for the Canadian authorities. These photos must meet very precise specifications, as a rejection due to a non-compliant photo is a common and entirely avoidable reason for application delays. The photo serves as a primary biometric identifier and must be a true, current representation of your appearance.
The Canadian government has strict rules for visa photos, covering everything from the exact dimensions (35mm x 45mm) to the background colour (plain white). The photo must be recent, taken within the last six months, to ensure it accurately reflects how you look now. Submitting an old or improperly formatted picture will almost certainly result in your application being returned, wasting your time and money.
Key Actions and Best Practices
To ensure your photographs pass the strict scrutiny of the visa officer, follow these actionable steps:
- Use a Professional Service: Don’t try to take these photos yourself or go to a regular roadside photographer. Visit a reputable photo studio in Nigeria and specifically state you need "Canadian visa-compliant passport photos." Professionals are familiar with the specific requirements for size, lighting, and head positioning.
- Maintain a Neutral Expression: Your photo must show a neutral facial expression. This means no smiling and keeping your mouth closed. Your eyes must be open and clearly visible. If you wear glasses daily, you may wear them, but ensure there is absolutely no glare on the lenses that obscures your eyes.
- Follow Appearance Guidelines: You must remove hats and any items that obstruct your face. The only exception is for religious head coverings (like a hijab), which are permitted if worn daily, but your full face must remain visible. Avoid heavy makeup or anything that significantly alters your natural appearance.
- Check the Photo Quality: Ensure the final prints are clear, sharp, and in colour. They should be printed on high-quality photographic paper, not regular A4 paper. It’s a good practice to order a few extra copies, just in case you need them for other purposes or a resubmission.
7. Proof of Ties to Nigeria: Your Reason to Return
Of all the documents required for a Canada visitor visa, this is arguably the most critical. Proof of ties to Nigeria is the evidence you present to convince the visa officer that you have strong, compelling reasons to leave Canada at the end of your visit. It directly addresses their primary concern: that you will not overstay your visa. Strong ties are the backbone of a successful application, demonstrating that your life, responsibilities, and future are firmly rooted in Nigeria.
The Canadian High Commission scrutinises this aspect heavily. They want to see a clear picture of your economic, social, and professional life in Nigeria. The more evidence you provide that you have something significant to return to, the higher your chances of approval. This isn't about one single document, but a collection of evidence that tells a cohesive story of your established life back home.
Key Actions and Best Practices
To build a compelling case, focus on providing a variety of documents that prove your deep connections to Nigeria:
- Demonstrate Professional Stability: If you are employed, provide a detailed employment letter on a company letterhead. This should state your position, salary, date of employment, and, crucially, confirm that you have an approved leave for the duration of your trip and are expected to resume work on a specific date. Also include your last six months' payslips.
- Showcase Economic Roots: Evidence of property ownership (Certificate of Occupancy, deed of assignment) or significant investments in Nigeria is powerful. For business owners, provide your CAC registration documents, business bank statements, and evidence of ongoing operations like recent invoices or client contracts.
- Highlight Family and Social Bonds: Strong family ties are a key factor. Include your marriage certificate and the birth certificates of your children. If you are a primary caregiver for elderly parents, a doctor's letter detailing their dependence on you can be very effective.
- Prove Ongoing Obligations: If you are a student, provide an official letter from your university (e.g., University of Lagos, ABU Zaria) confirming your current enrolment and stating the date you are expected to resume studies. If you have a rental agreement or mortgage, include it to show financial commitments that require your return.
8. Previous Travel History Documents: Proving Your Global Footprint
Your previous travel history is one of the most compelling documents required for a Canada visitor visa. It acts as your travel CV, showing the visa officer that you are a genuine globetrotter who understands and respects international immigration laws. A strong history, especially with visas from countries like the USA, UK, or Schengen states, demonstrates a pattern of compliance and timely returns, significantly boosting your credibility.
This evidence assures the officer that you are not seeking to remain in Canada illegally, as you have had opportunities to do so elsewhere but have always returned to Nigeria. For instance, a Lagos-based business professional with multiple UK business visas and entry stamps has a proven track record that a visa officer will find highly reassuring. This history serves as third-party validation of your trustworthiness as a traveller.
Key Actions and Best Practices
To effectively showcase your travel experience, you need to be meticulous in your presentation. Follow these steps to make your travel history a powerful asset:
- Compile All Stamped Pages: Don't just copy the bio-data page. Scan and photocopy every single page of your current and previous passports that contains a visa, an entry stamp, or an exit stamp. This comprehensive view tells your full travel story.
- Highlight Key Visas: Organise your scanned copies to place visas from the UK, USA, Schengen area, Australia, or New Zealand at the forefront. These are considered "tier-one" travel destinations, and having these visas carries significant weight.
- Don't Hide Old Passports: If your expired passports contain your best travel history, they are crucial. Submit clear, full-colour copies of their bio-data pages and all stamped pages to provide a complete and long-term view of your travel patterns.
- Explain Your Travels Clearly: In your letter of explanation, briefly mention your travel history. For example, you could state, "As demonstrated in my attached travel documents, I have travelled to the United States three times for business conferences and have always complied with my visa conditions, returning to Nigeria before my authorised stay expired."
Required Documents Comparison for Canada Visitor Visa
| Item | Implementation Complexity 🔄 | Resource Requirements ⚡ | Expected Outcomes 📊 | Ideal Use Cases 💡 | Key Advantages ⭐ |
|---|---|---|---|---|---|
| Valid Passport | Low – Obtain or renew passport with set procedures | Moderate – Requires official documents, fees, time | Essential proof of identity and nationality | All international travellers applying for Canada visitor visa | Universally recognized ID document; renewable; valid for multiple trips |
| Completed Visa Application Form (IMM 5257) | Medium – Requires precise electronic completion and validation | Low – Free form download, time to complete accurately | Accurate, validated visa application form | All visitor visa applicants | Built-in error checks, multiple languages, electronic validation |
| Proof of Financial Support | Medium – Collect and organize financial documents | Moderate to High – Requires significant funds and documentation | Demonstrates financial stability and return ability | Visitors needing to prove they can self-support or have sponsor | Reduces refusal risk; allows combined income sources |
| Letter of Invitation (if applicable) | Medium – Requires host cooperation and notarization | Low to Moderate – Host must provide documents and notarize | Strengthens application with host support | Visitors sponsored/invited by Canadian resident | Shows host’s commitment; can reduce visitor’s financial burden |
| Travel Itinerary and Purpose of Visit Documentation | Medium – Requires detailed planning and collecting bookings | Moderate – Booking costs, reservations needed | Proves genuine, temporary visit intent | Tourists, business visitors, family visits | Demonstrates organization; supports stated visit purpose |
| Passport-Sized Photographs | Low – Must meet strict photo specifications | Low – Costs vary for professional photos | Provides official applicant identification | All visa applicants | Standardized format; easily accessible |
| Proof of Ties to Home Country | Medium – Collect various verifiable documents | Low to Moderate – Depends on documentation access | Demonstrates intent to return home | Applicants needing to prove non-immigrant intent | Addresses overstaying concerns; diverse evidence types |
| Previous Travel History Documents | Low to Medium – Gather past passports and stamps | Low – Documents already possessed | Shows compliance with visa rules | Returning travelers or those with prior international travel | Enhances credibility; offsets weaker ties |
Bringing It All Together for Your Successful Application
Navigating the extensive checklist of documents required for a Canada visitor visa can feel like a monumental task, but you have now covered every essential piece of the puzzle. From the foundational requirement of a valid passport to the nuanced details of proving your ties to Nigeria, each document serves a single, crucial purpose: to present a clear, consistent, and credible narrative to the visa officer. Think of your application not as a random collection of papers, but as a compelling story about your visit and your unwavering intention to return home.
The journey from gathering documents to submitting your application is one of meticulous preparation. The key is to move beyond simply ticking boxes. Instead, focus on the quality and clarity of each piece of evidence you provide. A well-written purpose of travel letter, backed by a detailed itinerary and verifiable bookings, is far more powerful than a vague statement. Similarly, demonstrating financial capacity isn’t just about showing a large bank balance; it's about proving the funds are legitimately yours and sufficient for your planned trip without depleting your life savings.
Key Takeaways for Nigerian Applicants
For applicants from Nigeria, the emphasis on proving strong ties to your home country cannot be overstated. Visa officers need to be completely convinced that your life, responsibilities, and future opportunities are firmly rooted in Nigeria. This is where your application can truly stand out.
- Be Meticulous: Double-check every field in your IMM 5257 form. A small error or inconsistency can raise unnecessary questions.
- Tell a Cohesive Story: Ensure your purpose of visit, financial documents, and proof of ties all align. If you say you are visiting for a two-week holiday, your bank statements and leave approval from your employer should support this timeline.
- Don't Underestimate "Ties": This is often the make-or-break section. Go beyond just property documents. Think about family responsibilities (like caring for elderly parents), community involvement, and professional commitments that require your return.
- Organise for Clarity: Arrange your documents logically. Use a cover letter to summarise your application and guide the visa officer through your submitted evidence. This simple step demonstrates organisation and seriousness.
Ultimately, a successful application is a direct result of careful planning and transparent documentation. By addressing each requirement with thoughtful detail and providing concrete evidence, you significantly strengthen your case and move one step closer to your Canadian journey. The effort you invest in preparing a thorough and well-organised application package is your best strategy for a positive outcome.
Feeling overwhelmed by the sheer volume of documents required for a Canada visitor visa? You don’t have to navigate this complex process alone. Let JapaChat be your smart companion, helping you organise your checklist, understand specific requirements, and prepare a stronger application with AI-powered guidance tailored for Nigerians. Start simplifying your visa application process with JapaChat today!
Leave a Reply