How Do I Apply for a Canadian Visa? A Step-by-Step Guide for Nigerians

So, you’re thinking about applying for a Canadian visa from Nigeria. The very first thing to get right is matching your reason for travel—be it for a holiday, to study, or for a job—with the correct visa. This isn't just a small detail; getting it wrong means an almost certain rejection, and nobody wants to waste their time and money.
Your Canadian Visa Journey Starts Here
Navigating the Canadian visa process can feel overwhelming, especially with all the different stories you hear from friends and on social media. But here’s the reality: thousands of Nigerians do it successfully every year. There's no secret handshake or "connection" needed. The key is simply to understand the official requirements and present your application clearly and honestly.
Before you touch a single form, take a moment and ask yourself one fundamental question: "Why exactly am I going to Canada?" Your answer to this question is the foundation of your entire application.
Finding Your Visa Path
Your reason for travelling to Canada points you directly to a specific visa category. Nailing this choice from the get-go will save you a world of trouble down the line.
To give you a better idea of the options, here's a quick rundown of the most common Canadian visa types for Nigerians.
Quick Guide to Canadian Visa Types for Nigerians
| Visa Category | Primary Purpose | Who It's For |
|---|---|---|
| Visitor Visa (TRV) | Tourism, family visits, short business meetings | Someone attending a cousin's wedding in Toronto, a 3-day tech conference, or visiting family for Christmas. |
| Study Permit | Post-secondary education | A student with an admission letter from a Canadian university like the University of Waterloo or McGill. |
| Work Permit | To work for a Canadian employer | A professional with a valid job offer, often backed by a Labour Market Impact Assessment (LMIA). |
Getting familiar with these categories helps you pinpoint exactly where you fit in.
My Two Kobo: The Canadian visa system is built on intent. You have to prove that your primary reason for visiting lines up perfectly with the visa you're asking for. A common trip-up I see is when an applicant's story doesn't match their documents. For example, claiming tourism but the bank statement shows they just quit their job.
This simple infographic breaks down that initial decision-making process.
As you can see, figuring out your "why" is the cornerstone of your application. Understanding the various pathways to relocate to Canada from Nigeria is a non-negotiable first step.
For more general travel tips and interesting reads on a variety of subjects, you might also want to check out Recapio's Blog.
Now, let's dive into the first real step of putting your application together.
Are You Actually Eligible? Let's Be Honest
Before you even think about paying a single Naira for application fees or spending hours on those forms, we need to have a serious chat. You have to ask yourself, with brutal honesty, if you're truly eligible for this visa. This isn't just about ticking boxes; it's about seeing your application the way a Canadian visa officer would.
For us Nigerians, this is where most applications live or die. A lot of refusals aren't because of a missing document. They happen because the applicant failed to answer the one question always on the officer's mind: "Is this person going to go back to Nigeria after their visit?" Every single piece of paper you submit needs to scream a confident "YES!" to that question.
Proving Your Roots are Deep in Nigeria
This idea of "ties to home" is the absolute heart of your application. You have to prove, beyond a shadow of a doubt, that you have compelling reasons to return to Nigeria. Imagine you're building a case in court. The verdict you want is that your life, your work, and your future are firmly planted on Nigerian soil.
So, what does this look like in real life? It's so much more than just saying you have family here.
-
A Secure Job is Your Anchor: A letter from your employer in Lagos or Abuja is a start, but it needs to be detailed. It should clearly state your role, your salary, the exact dates of your approved leave, and when you are expected back at your desk. This shows you have a career to return to. If you’re a business owner, you’ll need your CAC documents, business account statements, and maybe even your tax clearance certificate.
-
Assets and Property Show Stability: Do you own a piece of land in Lekki or a flat in Port Harcourt? Get the deeds and official documents ready. Proof of significant property or investments is a massive signal that you have too much to lose by not returning.
-
Family is More Than a Word: Don't just mention you have a spouse and kids; prove it. Include your marriage certificate and the birth certificates for your children. Are you the main person looking after your elderly parents? A letter explaining this responsibility can add serious weight to your application.
Your goal here is to paint a vivid picture of a stable, established life in Nigeria—a life you would never just walk away from.
"Show Me the Money": Getting Your Finances Right
The proof of funds requirement is a huge deal for a Canadian visa application. They need to be sure you can comfortably cover your entire trip—flights, hotels, food, sightseeing—without any chance of you working illegally or needing financial help in Canada. It’s not about having billions in the bank; it's about having a sensible and accessible amount of money for the trip you've planned.
Naturally, the funds expected for a two-week holiday are very different from a three-month stay. A classic mistake we see all the time is a sudden, huge deposit into an account right before applying. Visa officers have a name for this ("funds parking"), and it’s a giant red flag. They want to see a consistent, believable financial history.
Here’s what a solid proof of funds looks like:
-
Your Bank Statements: You’ll need to provide six months of official, stamped statements from your Nigerian bank (like GTBank, Zenith, or Access Bank). These statements need to show a regular pattern, like your salary coming in each month, and a healthy balance that doesn’t look like it appeared overnight.
-
Explain the Source: Be ready to show where any large sums of money came from. If you sold a property, include the sales agreement. If a family member gave you a gift, you'll need a proper gift deed from them, plus evidence that they could actually afford to give it to you.
-
Using a Sponsor: If someone else is paying for your trip, they become part of the application. They must provide their own proof of funds, a formal letter of sponsorship explaining their relationship to you and why they're footing the bill, and proof of their own status (like their passport).
For Nigerian applicants, the key is total financial transparency. Visa officers are trained professionals who can spot inconsistencies from a mile away. Your bank statements must tell a story that matches your job and your reason for travelling.
Your Travel Plans and Past Trips Matter
Finally, your reason for visiting Canada must be completely clear and believable. A vague plan like "I want to see Canada" just won't cut it. It sounds weak and unplanned.
Be specific. Something like, "I am travelling to attend my cousin's wedding in Brampton on July 15th, 2024, and will then spend one week visiting Niagara Falls and Toronto before my flight home" is infinitely stronger. It shows you have a real, time-sensitive reason to be there.
Your travel history also plays a big part. If you've been to places like the UK, USA, or Schengen countries before and you followed the rules and came back, that builds trust. Include copies of those old visas and the entry/exit stamps in your application. It proves you're a genuine traveller who respects immigration laws.
But don't panic if you have a "virgin passport." It's not an automatic 'no.' It just means that the other parts of your application—your ties to Nigeria and your proof of funds—have to be rock-solid. In this case, that specific, detailed itinerary becomes even more important to convincing the visa officer.
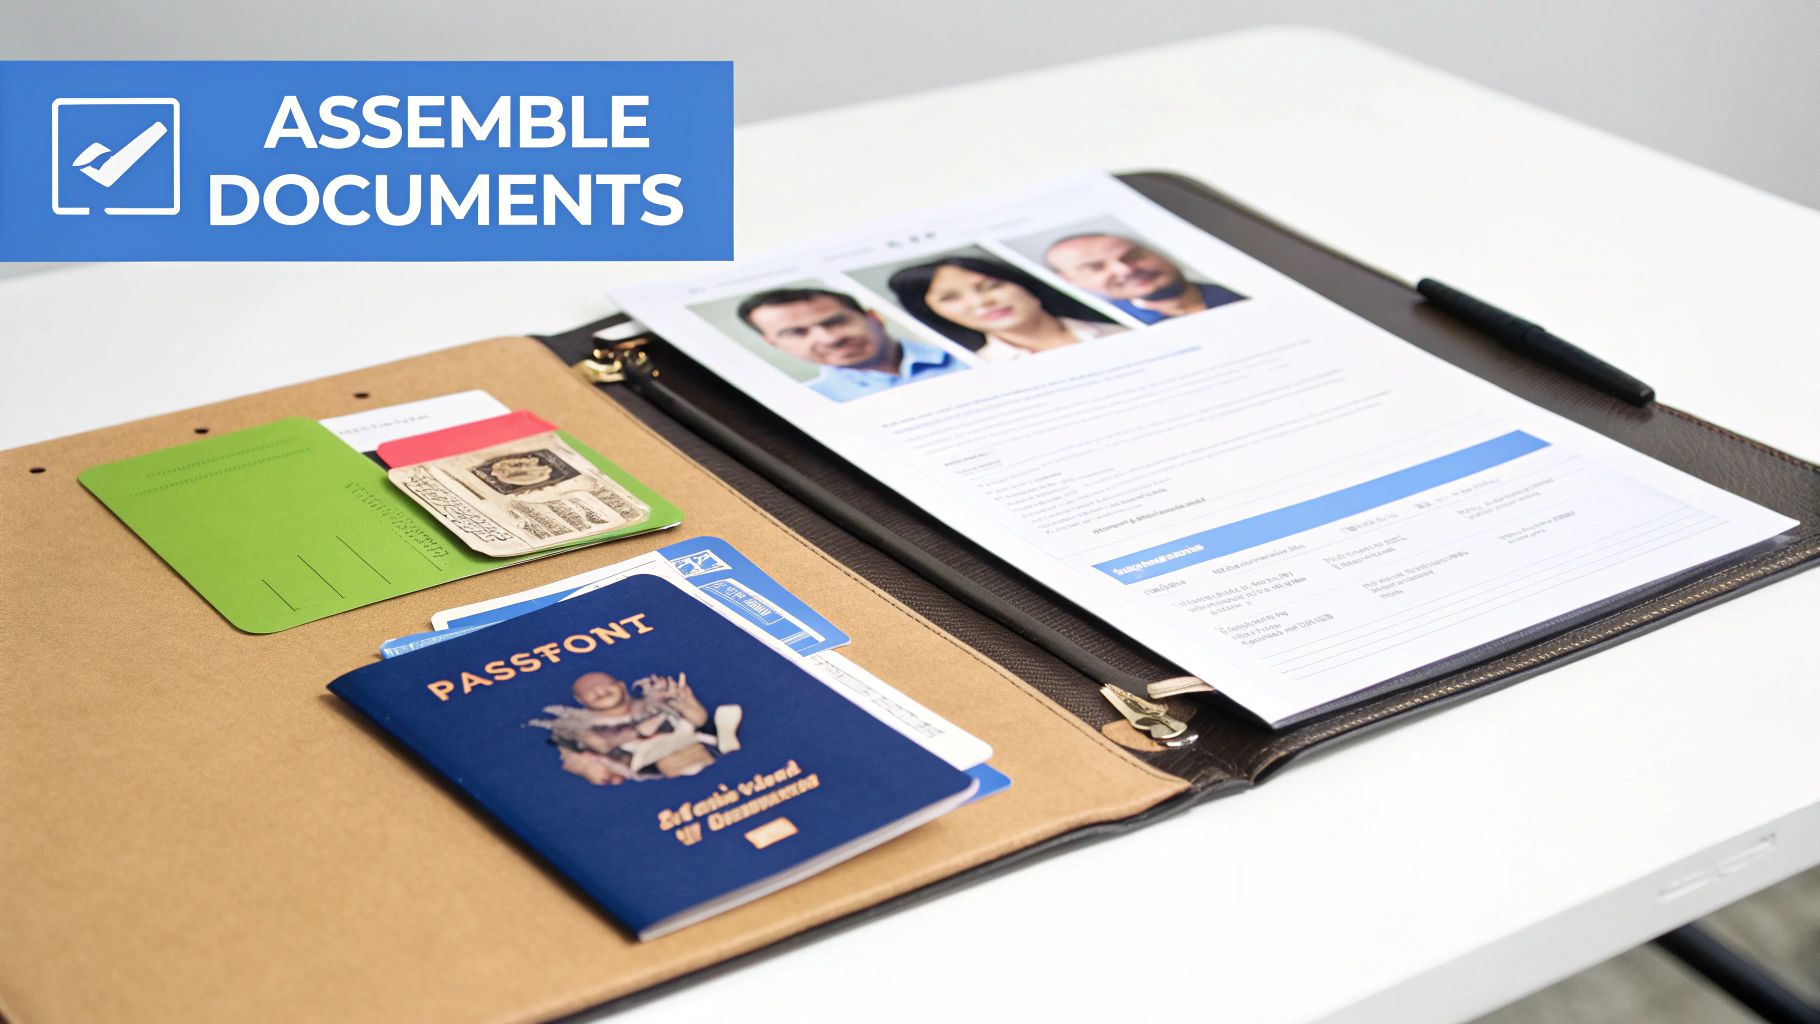
Putting Your Application Documents Together
Think of your application documents as telling a story to the visa officer. Each document is a piece of the puzzle, and if anything is missing, blurry, or doesn't quite fit, the whole picture falls apart. A well-organised and complete set of documents is your best chance to prove your application is genuine and that you're a serious applicant. This is where you back up every claim with solid proof.

For those of us applying from Nigeria, this stage is all about being meticulous. I've seen applications get refused over simple mistakes like a bank statement that wasn't stamped or a scan that was too blurry to read. These little details can genuinely be the difference between getting that approval or a disappointing refusal.
Let's walk through exactly what you need to gather.
The Absolute Essentials
No matter what type of Canadian visa you're applying for, there's a core set of documents that everyone must provide. If you get these wrong or forget one, your application could be sent right back to you or refused without even a proper review.
Here’s what you absolutely must have:
- Your International Passport: This is your golden ticket. Make sure it’s valid for at least six months after the date you plan to leave Canada. You’ll need to scan the main bio-data page (the one with your photo) and any other pages that have visas or travel stamps.
- Properly Sized Photos: Canada is very particular about this. Your photos must be recent (taken in the last six months), set against a pure white background, and be exactly 35mm x 45mm. Don't try to use an old passport photo. Find a good photo studio in a place like Ikeja or Wuse and tell them you need official Canadian visa photos. They'll know the specs.
- Proof of Financial Support: This is where you show you can afford your trip. As mentioned, this means getting your bank statements for the last six months, and crucially, they must be stamped by your Nigerian bank. This is non-negotiable.
- Completed Application Forms: For a visitor visa, you'll mainly be dealing with the IMM 5257 (Application for Temporary Resident Visa) and the IMM 5707 (Family Information) forms. Always, and I mean always, download the latest versions straight from the official IRCC website. Using an old form is a surefire way to get delayed.
Documents That Match Your Reason for Visiting
Once you have the basics, the next layer of documents needs to be tailored to your specific travel purpose. This is how you make your application believable and strong.
If you’re going for tourism, you need more than just a vague idea of what you'll do. Create a detailed day-by-day itinerary. Include flight reservations (not paid tickets!) and confirmed hotel bookings. A reservation from a site like Booking.com works perfectly well, just make sure it covers your entire stay and the name on the booking is exactly as it appears on your passport.
For those visiting family or friends, a Letter of Invitation is a game-changer. Your relative or friend in Canada needs to write a formal letter that includes:
- Your full name, date of birth, and home address in Nigeria.
- Their complete name, Canadian address, and phone number.
- Proof of their status in Canada (a copy of their Canadian passport or PR card).
- The purpose of your visit and how long you plan to stay.
- Clear details on where you'll be staying and who is covering your expenses.
This letter isn't just a friendly note; it's a key piece of evidence for the visa officer.
A common slip-up is submitting a casual, informal invitation letter. Treat this like a formal document. A well-written letter shows that both you and your host are serious about the application and understand the responsibilities involved.
Special Documents for Study and Work Applicants
If you’re heading to Canada to study or work, your document checklist gets a bit longer. These applications hinge on proving you have an official, confirmed place at a Canadian school or company.
For students, the most important document is your Letter of Acceptance (LOA) from a Designated Learning Institution (DLI). This is non-negotiable. Without an LOA, you don't have a study permit application. It's the official confirmation that a Canadian school has accepted you.
For those applying for a work permit, you will generally need:
- A valid Job Offer Letter from your Canadian employer.
- A copy of the Labour Market Impact Assessment (LMIA), if required for your role.
- Proof that you are qualified for the job, like your degree certificates or letters of reference from past employers in Nigeria.
These documents are your proof that you have a legitimate reason to be in Canada, one that has already been vetted by a Canadian organisation.
Finally, a quick technical tip for the online portal. IRCC has strict file size limits for uploads, and a high-quality scan of a six-month bank statement can easily be too large. To get around this, you'll likely need to use online tools to compress PDF files without making them unreadable. Doing this beforehand will save you a lot of headaches during the submission process.
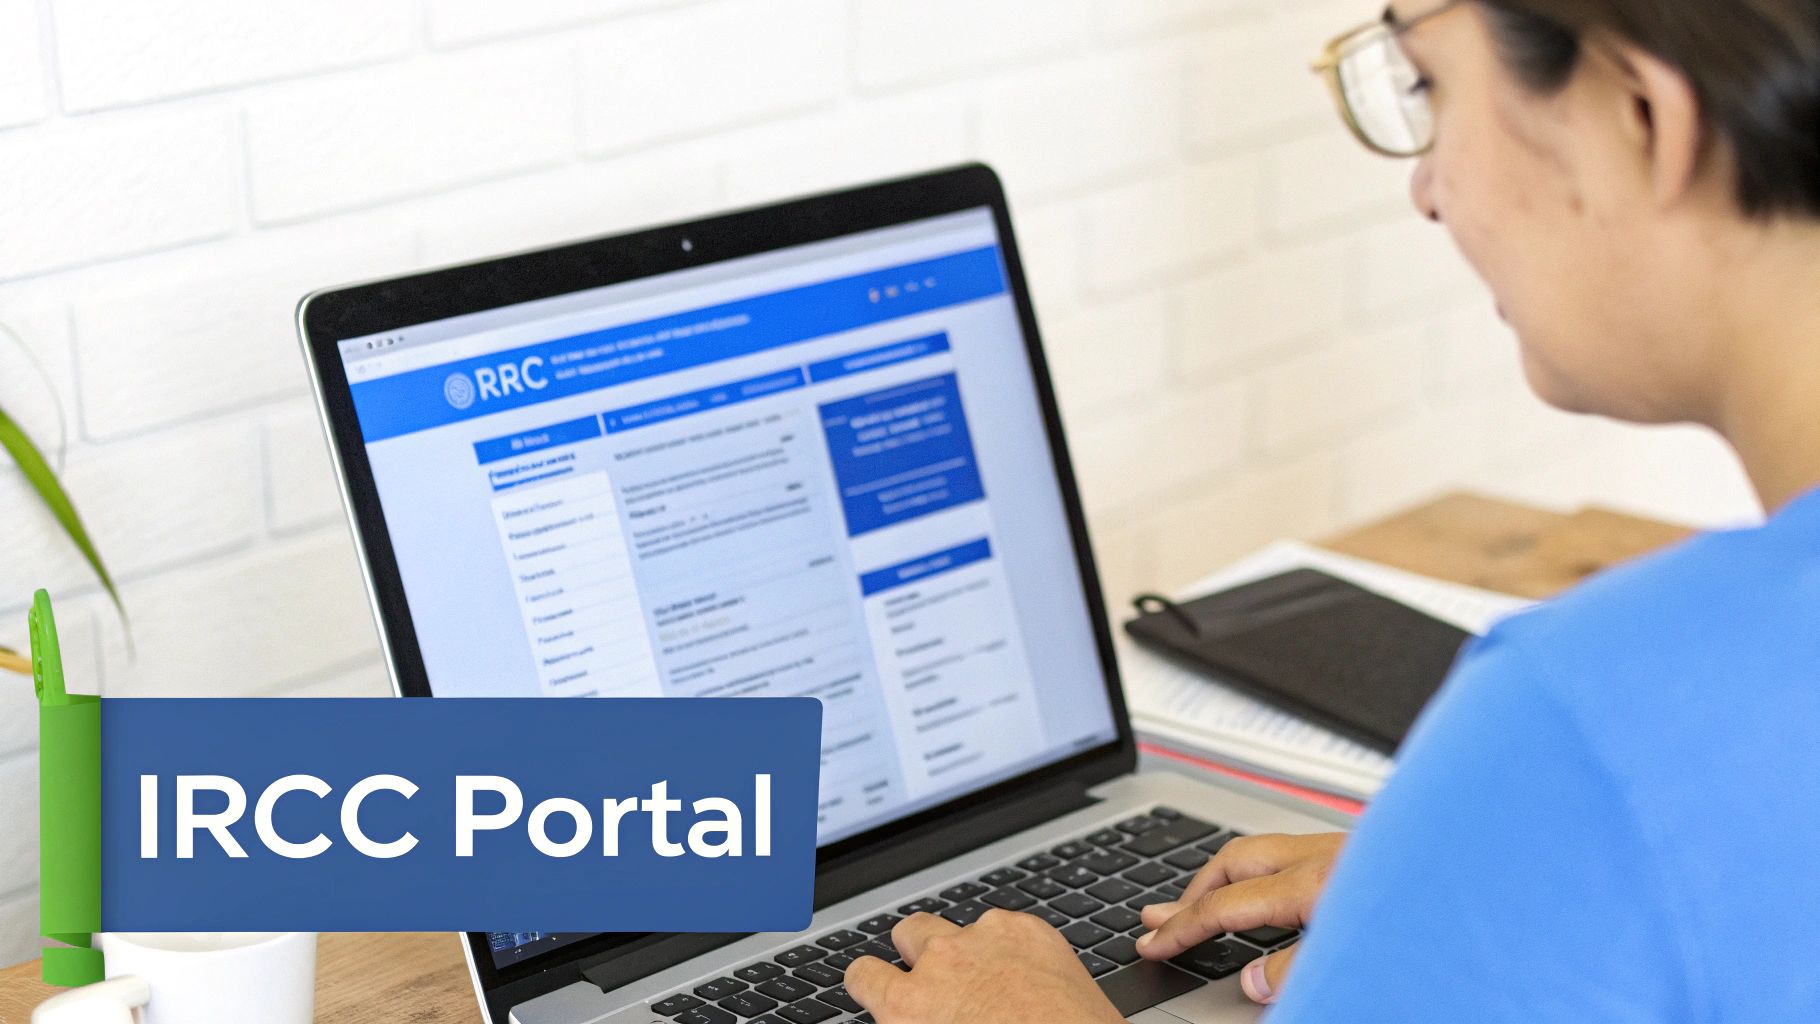
Tackling the Online IRCC Application Portal
Okay, you've got all your documents scanned and sorted. Now it's time to face what can feel like the final boss: the official Immigration, Refugees and Citizenship Canada (IRCC) online portal. For a lot of Nigerians, this is where the nerves kick in. The website can seem a bit much at first, but trust me, once you get the hang of it, it’s a pretty logical system.
Let's break down this stage together. I'll guide you through setting up your account, filling out those all-important forms without making common mistakes, and getting everything uploaded and paid for. Think of this as your step-by-step walkthrough to get the technical stuff out of the way, so you can focus on making your application shine.
First Things First: Creating Your Secure IRCC Account
Your very first step is to create a secure online account. This isn't just for this one application; it's your personal hub for any future dealings with IRCC. You’ll see two options to sign in: GCKey or Sign-In Partner.
For pretty much everyone applying from Nigeria, the GCKey is the way to go. It's the most direct and simple route. A GCKey is just a unique username and password you create to access Canadian government services online.
A couple of quick tips here:
- Pick a strong username and password that you'll actually remember. You don't want to be locked out later.
- Take your security questions seriously. These are your lifeline if you forget your password. Choose questions and answers that are easy for you to recall but impossible for someone else to guess.
Once that's done, you'll land on your main dashboard. This is where you'll kick off the actual application. You'll answer a few questions that help the system figure out exactly what you need and generate a personalised document checklist just for you.
Filling Out the Forms: Precision is Everything
The portal will give you a list of forms to complete online. The big one for a visitor visa is the IMM 5257 (Application for a Temporary Resident Visa). This is where you need to slow down and be incredibly precise. Every single detail you enter must match what’s in your supporting documents. No exceptions.
I've seen a few areas where Nigerian applicants tend to slip up. Let's look at those.
- Employment History: Don't just put "Manager." You need to be thorough. List your employer's full name, their complete address, and your exact start date. If you've had a few jobs in the last ten years, you have to list them all, starting with the most recent. The information here must line up perfectly with what's in your employment letter and even reflect in your bank statements.
- Purpose of Visit / Travel Itinerary: A vague answer like "tourism" is a red flag. You need to be specific and paint a clear picture. For instance: "To attend my brother's convocation at the University of Toronto from June 5-10, 2024. I then plan a 4-day trip to see Niagara Falls and explore downtown Toronto before my return flight on June 15." This shows you have a genuine, well-researched plan.
Your application forms are more than just data entry. They're your first chance to tell a compelling story to the visa officer. Every field should build a consistent, believable narrative about why you want to visit Canada.
The Final Stretch: Uploading Documents and Paying Fees
After the forms are done, you’ll move to the document upload section. The system creates specific slots for each document—passport, proof of funds, photo, etc. Be very careful with the file requirements, particularly the format (usually PDF or JPG) and the maximum file size. If your file is too big, it simply won't upload.
With all your documents in place, the last step is payment. You'll need to pay both the application processing fee and the biometrics fee.
Paying Online from Nigeria
The good news is you can pay these fees directly through the portal with a Nigerian bank card (debit or credit), as long as it's set up for international transactions. Most Mastercard and Visa cards from Nigerian banks will work just fine.
- Application Fee: The standard charge to process your application.
- Biometrics Fee: A separate, mandatory fee for getting your fingerprints and photograph taken.
If your card gets declined, don't panic. It happens, often due to bank security measures. The first thing to do is call your bank and confirm that your card is enabled for international online payments. If you still have trouble, you may need to try a different card. Once your payment goes through, a receipt will be generated. Save it immediately—it's your official proof of payment.
So, You've Submitted Your Application. What Now?
Hitting that "submit" button brings a huge wave of relief, doesn't it? You’ve put in the work, double-checked everything, and sent your application off. But the journey isn't quite over. The next phase is a mix of appointments, waiting, and knowing how to stay updated without driving yourself crazy.
This part of the process can be a real test of patience. Let's break down exactly what to expect so you can navigate it with confidence.
Next Up: Your Biometrics Appointment
Almost as soon as your payment is confirmed, a Biometric Instruction Letter (BIL) will appear in your IRCC account. This letter is your golden ticket—you absolutely cannot book your biometrics appointment without it. For nearly all applicants from Nigeria, this is a non-negotiable step.
You’ll need to schedule this appointment at a Visa Application Centre (VAC), which has offices in Lagos and Abuja. Be sure to book it online through the official VFS Global website, as they are the Canadian government's authorised partner in Nigeria.
When you go for your appointment, make sure you have these three things:
- Your original International Passport (photocopies won't cut it).
- A printed copy of your Biometric Instruction Letter (BIL).
- The Appointment Confirmation Letter you received after booking your slot.
The actual biometrics collection is pretty quick. They'll scan your fingerprints and take a digital photo. It’s a simple identity verification process, and the staff there will guide you through it all.
The Waiting Game: How to Track Your Status
Once your biometrics are in the system, your application is officially in the queue for review. This is where the real waiting begins, and frankly, it can be the hardest part. Processing times can be all over the place, depending on how many applications IRCC is juggling at that moment.
While the official IRCC website provides estimated processing times for applications from Nigeria, think of these as a rough guide, not a firm deadline. Some applications move faster, some take longer.
My Personal Advice: Don't get into the habit of checking your application status every day. It’s a surefire way to increase your anxiety. Once a week is plenty. The status only changes when a major milestone is reached, like a medical request or a final decision.
The only trustworthy source for updates is your secure IRCC portal. You'll get an email alert anytime there's a message for you or if a visa officer needs more documents. For a deeper dive into making sense of the updates, our guide on effective visa application tracking is a great resource.
Keeping a Cool Head and Dodging Scams
While you wait, it’s crucial to manage your expectations. The interest from Nigeria in moving to Canada is massive. In 2023, Nigeria was the 4th largest source country for new permanent residents to Canada. This high demand means the system is always busy, so patience really is a virtue here.
Be on high alert for anyone who claims they can speed up your application for a fee. Any message you get about "inside connections" at the embassy is a flat-out scam. No one outside of IRCC can influence the processing timeline or the visa officer’s decision. All official communication will come only through your IRCC account. Stay vigilant.
Got Questions? Let's Get Them Answered
Even after you’ve ticked every box and uploaded every document, a few questions always linger. It's completely normal. These are the practical, real-world concerns we see from Nigerian applicants trying to get their Canadian visa application just right. Let’s tackle them head-on.
How Much "Proof of Funds" Is Actually Enough?
This is the million-naira question, isn't it? The truth is, there’s no magic number. It's not about having a specific figure like ₦10 million or ₦20 million in your account. What matters is that the amount you have is logical and believable for the trip you’ve planned.
Think of it this way: if you say you’re going on a two-week holiday to Toronto, the visa officer immediately starts doing the math. They'll estimate the cost of flights, a decent hotel, food, and activities. If your bank balance can’t comfortably cover all that and leave you with a healthy amount for when you get back, it raises a major red flag.
A good rule of thumb? Aim for enough to cover your trip expenses, plus a buffer that proves you won’t be stranded or broke upon your return. For a short visit, a closing balance between ₦4 million and ₦7 million can be perfectly credible, but only if the account history leading up to it is clean and consistent.
Here's what really counts: The story your bank statement tells is far more important than the final balance. A history of steady income, regular savings, and zero sudden, unexplained cash dumps is infinitely more convincing than a massive balance that just appeared last week.
What are the Top Reasons Nigerian Applications Get Refused?
Knowing where others have gone wrong is one of the smartest ways to get your own application right. From my experience, visa refusals for Nigerians often come down to a handful of predictable—and avoidable—issues.
Here are the usual suspects:
- Weak Ties to Nigeria: This is the big one, the number one reason for refusal. It happens when an applicant fails to convince the officer they have compelling reasons to come back home. This could be anything from an unstable job and no property to weak family connections presented in the application. You have to prove your life is in Nigeria.
- Questionable Finances: This covers what we call "miracle money"—large, last-minute deposits that appear out of nowhere without a clear paper trail. It also includes having a bank balance that just doesn't add up when compared to your declared salary or the cost of your proposed trip.
- Vague Purpose of Visit: A poorly documented travel plan is a fast track to a 'no'. Simply writing "tourism" won’t cut it. You need a credible itinerary, complete with flight and hotel reservations, that shows you’ve actually thought this through.
- Inconsistent Information: This is a silent application killer. If the dates on your leave letter from work don't match your flight booking, or the name on your hotel reservation is different from what’s on your passport, it creates serious doubt. Everything must align perfectly.
Can I Really Do This Myself Without an Agent?
Yes, you absolutely can. In fact, thousands of Nigerians successfully secure their Canadian visas every single year without paying a kobo to an agent. The official IRCC website is designed for you, the applicant, to use directly.
Now, whether to use an agent is a personal choice, not a requirement. A great agent can be a lifesaver, helping you organise your documents and avoid common mistakes. But a bad one? They can destroy your application with sloppy work or, even worse, by providing false information.
If you decide to handle it yourself, the key is meticulous attention to detail. Read every single instruction on the IRCC website, fill out the forms with 100% honesty, and double-check that you’ve provided every required document.
How Long Should I Realistically Expect This Whole Process to Take?
Patience is your best friend here. While IRCC gives out estimated processing times, you should treat them as just that—estimates. For an application coming from Nigeria, it’s smart to mentally prepare for a few months from the day you submit to the day you get a decision.
Here’s a rough timeline of what to expect:
- Submission to Biometrics: After you submit online, you'll usually get your Biometric Instruction Letter (BIL) within a week or two.
- Biometrics to Final Decision: This is the long haul and the most unpredictable stage. It can take anywhere from 4 to 12 weeks, and sometimes even longer, especially during busy travel seasons.
My most practical piece of advice is this: apply way ahead of when you plan to travel. Giving yourself a 3 to 4-month buffer is a safe bet. It covers you for any unexpected delays and will save you a world of stress. And please, don't book non-refundable flights or make concrete financial commitments until that visa is stamped in your passport.
Navigating the Canadian visa process requires careful planning and accurate information. For instant answers to your specific immigration questions, get personalised guidance from JapaChat, Nigeria's AI immigration expert. Start planning your journey with confidence today at https://japachat.com.
Leave a Reply