How to Apply for Canada Work Permit from Nigeria: A Step-by-Step Guide
So, you're looking to get a Canadian work permit. It's a goal for many Nigerian professionals, but let's be honest, the process can feel like a maze. The good news? It's completely doable once you understand the path.
This guide is built for you, breaking down the application process into clear, manageable steps. Your journey starts with figuring out which of the two main streams you fall into.
Your Pathway to Working in Canada
Your application for a Canadian work permit will almost certainly go down one of two roads: the Temporary Foreign Worker Program (TFWP) or the International Mobility Program (IMP).
The TFWP is the most common route for Nigerians. It’s what we call 'employer-driven,' meaning your Canadian employer has to do some legwork first. They usually need something called a Labour Market Impact Assessment (LMIA). This is basically a document that proves they tried to hire a Canadian or permanent resident for the job but couldn't find anyone suitable. Think of roles in tech, healthcare, or skilled trades where Canada has a shortage.
On the other hand, the IMP is for situations that are exempt from the LMIA. A common example is an intra-company transfer—if you work for a multinational company in Lagos or Abuja, like an international bank or tech firm that also has an office in Canada, this might be your route.
Understanding which program applies to your job offer is absolutely crucial because it dictates the documents and steps you'll need to follow.
TFWP vs IMP: Which Path is Right for You?
To help you see the difference more clearly, here’s a quick comparison of the two main work permit streams. This should help you pinpoint which one fits your situation.
| Feature | Temporary Foreign Worker Program (TFWP) | International Mobility Program (IMP) |
|---|---|---|
| Main Purpose | To fill labour shortages when no qualified Canadians are available. | To support Canada's broad economic, social, and cultural interests. |
| LMIA Required? | Yes, in most cases. The employer must prove the need to hire a foreign worker. | No, this is the key difference. The position is LMIA-exempt. |
| Who Drives It? | Employer-driven. The employer starts the process by applying for an LMIA. | Can be applicant or employer-driven, depending on the specific stream. |
| Common Examples | Skilled trades, caregivers, agricultural workers, tech roles where there's a talent gap. | Post-Graduation Work Permit (PGWP), spousal open work permits, intra-company transfers. |
| Employer Compliance | Employers face strict conditions and compliance reviews to protect workers. | Employers still have compliance obligations, but the process is generally less complex. |
Ultimately, your job offer letter should give you a clue. If it mentions an LMIA number, you're on the TFWP track. If not, you're likely in the IMP category. For a deeper dive into all the relocation steps, our complete guide on how to relocate to Canada from Nigeria is a great resource.
What Are Your Chances of Success?
It's natural to wonder, "What are my actual chances?" Well, let's look at realistic, up-to-date figures.
Based on recent data, the approval rate for Canadian work permits for Nigerian applicants has seen some fluctuation, but with a strong application, your chances are favourable. In recent quarters, well-prepared applications have seen significant success.
Even better, the TFWP—that common, employer-led route—boasted a success rate of over 90% globally. This tells us that once an employer secures an LMIA, the path for the applicant from Nigeria is significantly smoother.
One of the most critical parts of your application is proving you can support yourself (and your family, if they're coming with you). This is where the 'proof of funds' comes in, or what many Nigerians call "show money".
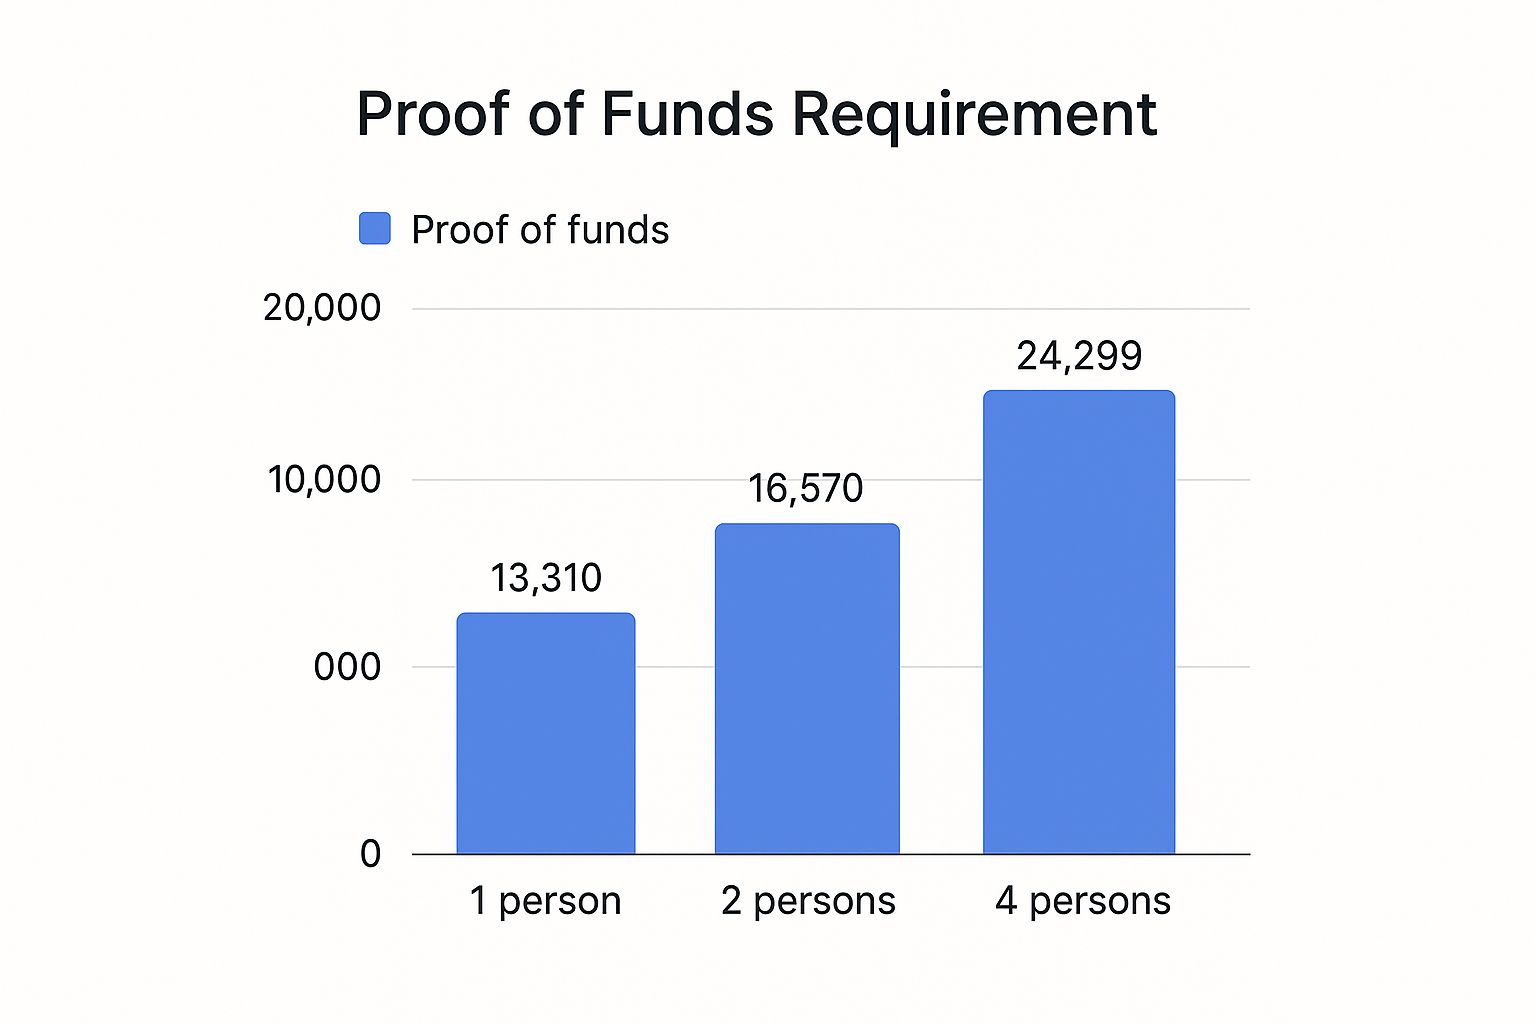
As you can see, the required amount goes up quite a bit for each family member. It's essential to get this right, as insufficient or questionable funds is a very common reason for refusal for Nigerian applicants.
Confirming Your Eligibility for a Canadian Work Permit
Before you even think about paying application fees or chasing down documents, take a moment for a serious reality check. The very first step—and honestly, the most important one—is figuring out if you actually meet Canada's requirements for a work permit. This is more than just a checklist; it's about building a strong case that you're a genuine temporary worker who will leave when your permit is up.
For many Nigerians, this is the biggest challenge: convincing a visa officer that you have every intention of returning home. Canada needs to see solid proof that you have strong ties pulling you back to Nigeria.
Demonstrating Your Ties to Nigeria
Think of it like you're a lawyer building a case. Your goal is to prove, with concrete evidence, that your life is firmly planted in Nigeria. Vague promises just won't cut it.
So, what does real proof look like? Here are some examples of what visa officers find convincing:
- Family Responsibilities: Are you married? Do you have children? Provide their birth certificates and your marriage certificate. If you're the main person caring for your elderly parents, get documents to show that, like a sworn affidavit. These are powerful ties.
- Property Ownership: Owning land or a house in Nigeria is a massive plus. Have your Certificate of Occupancy (C of O), deeds, and property documents ready. It shows a significant financial and personal investment back home.
- A Job to Return To: A letter from your current Nigerian employer can be your strongest piece of evidence. It needs to state clearly that you’re on an approved leave (like a sabbatical) and that your job is waiting for you when you get back.
A huge mistake people make is thinking that a Canadian job offer is the only thing that matters. Visa officers are trained to look for immigration intent. Your reasons for returning to Nigeria are just as important as your reasons for going to Canada.
Getting the Proof of Funds Right
Your financial situation is under a microscope. When you submit your bank statements, the visa officer isn't just looking at the final balance. They're looking for a stable, consistent financial history.
A large sum of money that suddenly appears in your account right before you apply is a major red flag. It screams "borrowed funds," maybe from a family member just to "show money," and it can sink your application. What they want to see is a steady pattern of savings and income over several months. This proves you can actually support yourself and builds trust.
Proving You’re Admissible to Canada
Finally, you have to be considered "admissible" to enter Canada. For Nigerian applicants, this boils down to two non-negotiable checks: a medical exam and a police clearance certificate.
You can't just walk into any clinic for the medical exam. It must be done by a panel physician in Nigeria who has been approved by Immigration, Refugees and Citizenship Canada (IRCC). You'll find approved centres in places like Lagos and Abuja.
Likewise, you’ll need to get a police clearance certificate from the Nigeria Police Force Criminal Investigation Department (FCID) in Alagbon, Lagos or the Central Criminal Registry in Abuja to show you don’t have a criminal record that would prevent you from entering the country. These aren't optional steps; they're essential for meeting Canada's health and security standards. For those who may have studied in Canada previously, understanding the eligibility for a Post-Graduation Work Permit can also provide useful context on Canadian immigration requirements.
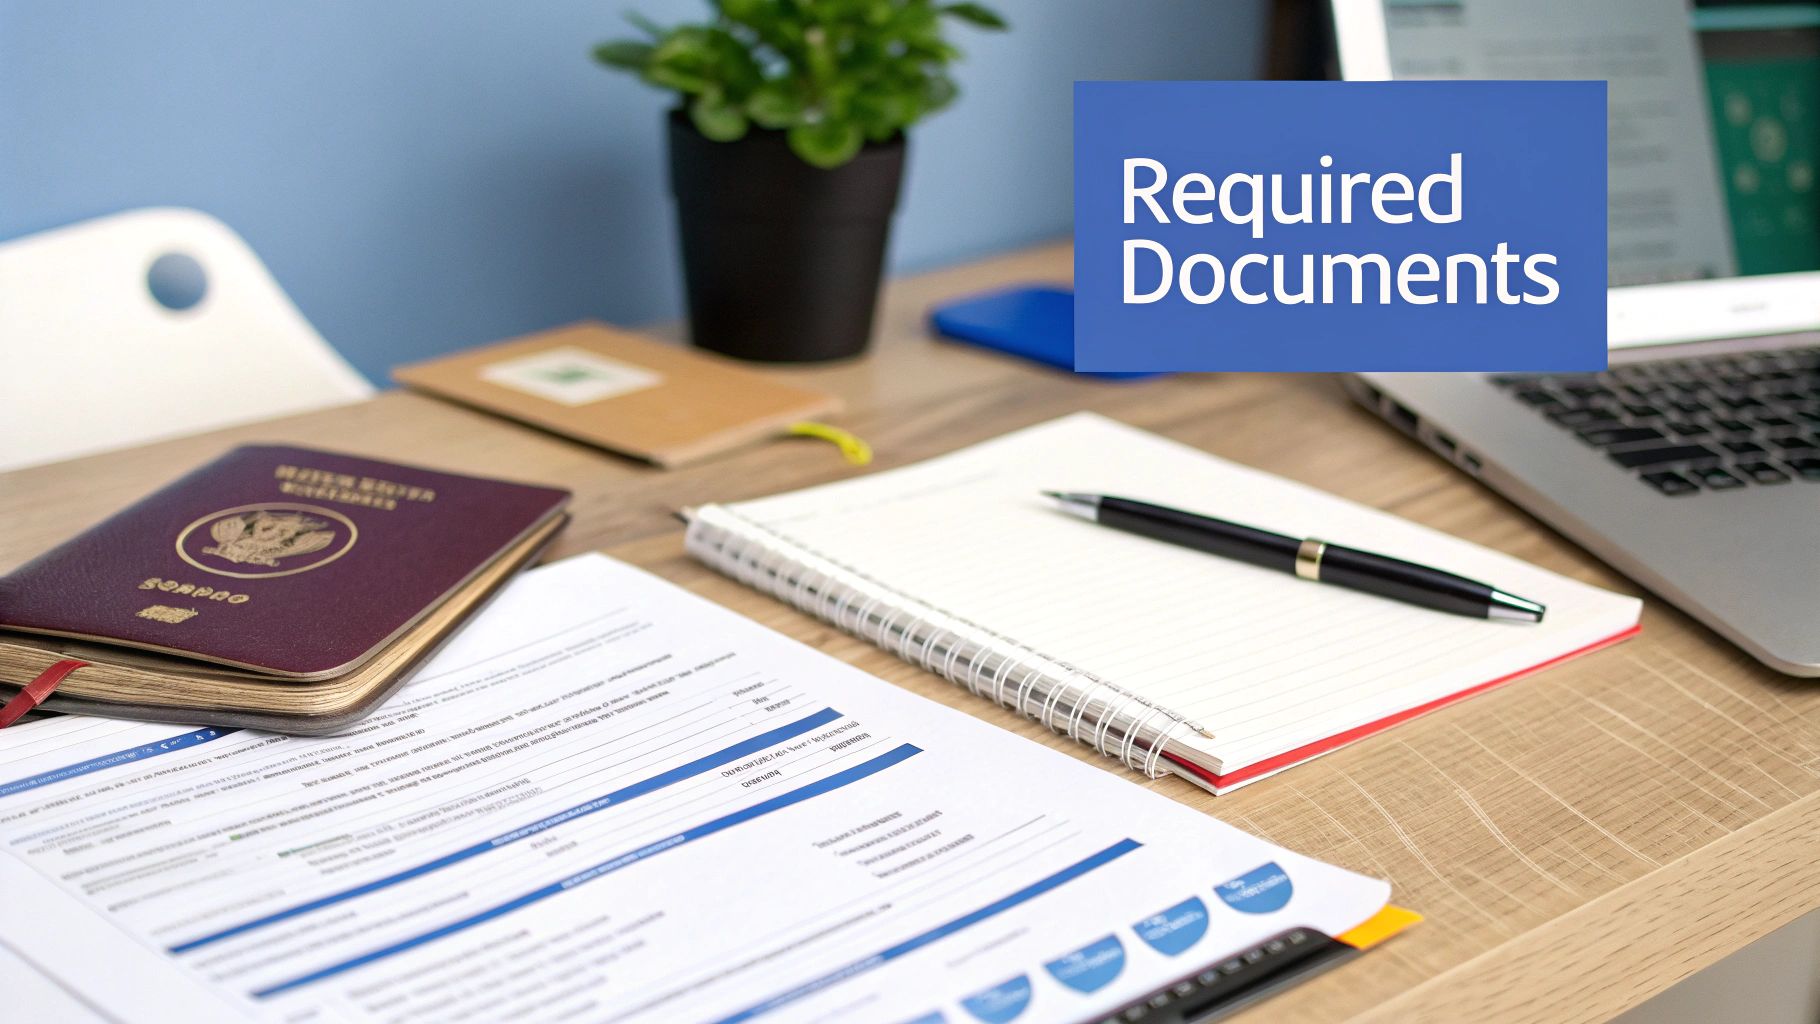
Putting Your Application Together: The Nigerian Document Checklist
A solid Canadian work permit application is all about the paperwork. Think of it as building a case for yourself—every document is a piece of evidence. When you put them all together correctly, you paint a clear, convincing picture for the visa officer. Getting this right isn't just a matter of checking off a list; it’s about making your application undeniable.
Your first step is getting all your documents in order. Seriously, don't even think about hitting that 'submit' button until every single piece of paper is perfectly prepared.
The Absolute Must-Haves
Let's start with the non-negotiables. These are the core documents every applicant needs, but I'll add a few tips specifically for those applying from Nigeria.
-
Your International Passport: This is your golden ticket. Make sure it has at least two blank pages and won't expire anytime near your planned stay in Canada. If it's cutting it close, just renew it now. You don't want your work permit issued for a shorter period just because your passport is about to expire.
-
Application Forms: You’ll be filling out a few of these, including the main one, IMM 1295 (Application for Work Permit Made Outside of Canada). It’s best to fill them out on your computer, validate them (this creates the barcodes), and then print. Be completely honest and make sure your answers are consistent across every form.
-
Passport Photographs: IRCC is incredibly picky about photos. The size, the white background, even your facial expression—it all has to be perfect. Don't just pop into any photo studio; find one that explicitly states they know the Canadian visa photo specs. This isn't the time for a casual picture. Remember, official applications demand a professional look. For some great examples of what a polished photo should look like, you can check out these professional AI headshot examples.
To give you a clearer picture, here’s a quick rundown of the essential documents you’ll need to gather.
Essential Document Checklist for Nigerian Applicants
| Document Category | Required Item | Nigerian-Specific Tip |
|---|---|---|
| Personal Identification | International Passport | Ensure at least 6 months validity beyond your intended stay. |
| Application Forms | IMM 1295, Family Information Form, etc. | Fill digitally, validate to generate barcodes, then print and sign. |
| Photographs | Two recent passport photos | Use a studio familiar with Canadian visa specs (35mm x 45mm, white background). |
| Proof of Financial Support | Bank Statements (6 months) | Include a reference letter from your Nigerian bank. Explain any large, recent deposits. |
| Employment Documents | Job Offer Letter, LMIA (if applicable) | The offer letter must be on official letterhead with all job details. |
| Proof of Ties to Nigeria | Property documents (C of O), family ties (birth/marriage certs), letter from your Nigerian job. | This is crucial to show you intend to return after your work permit expires. |
This table covers the basics, but remember that every application is unique, so you might need additional documents depending on your specific situation.
Proving Your Finances and Other Key Evidence
Beyond the basics, you have to back up everything you claim, especially when it comes to money and your promise to return to Nigeria. This is where a lot of people stumble.
Your bank statements need to tell a story of stability, not just show a healthy closing balance. You'll need at least six months of statements that show a consistent, explainable flow of money. We've actually put together a more in-depth guide on how to build a strong proof of funds for a Canada application.
Pro Tip: Got a huge, sudden deposit in your account? Maybe from selling a car or a cash gift from a relative? Don't just leave it there for the visa officer to question. Get ahead of it. Explain it clearly in your Letter of Explanation and attach proof, like a receipt of sale or a signed gift deed with a sworn affidavit.
The Power of a Well-Written Letter of Explanation
Your Letter of Explanation (LOE) is your one chance to talk directly to the person reviewing your file. This is where you connect the dots for them. It’s where you explain any potential red flags and really drive home your strong ties to Nigeria.
Think of your LOE as the place to address things like:
- Gaps in Your Employment: If you were out of work for a bit, briefly and honestly explain why.
- Your Reason for Going: Clearly state why you want this specific job in Canada and how the experience will boost your career when you return to Nigeria.
- Your Ties to Home: Talk about your family, property, business, or other commitments that guarantee you'll come back.
And if you already have a job offer, the documents from your Canadian employer are just as important. Your offer letter needs to be on official company letterhead, spelling out your salary, duties, and all the terms of your employment. If the job required a Labour Market Impact Assessment (LMIA), you absolutely must include a copy of that positive LMIA confirmation letter and the official number.
Getting Your Application Sorted on the IRCC Portal
Alright, this is the big moment. You’ve put in the hard yards gathering every single document, and now it’s time to submit everything through the official Immigration, Refugees and Citizenship Canada (IRCC) secure portal. This is where your application for a Canada work permit really kicks off, but let's be honest, the online system can be a bit of a maze if you're going in blind.
First things first, you'll need to set up your secure IRCC account. Think of this as your personal command centre for this application and any others you might have down the line. The portal will guide you through a set of questions to create a document checklist just for you. Take these questions seriously—your answers dictate exactly which forms and documents you’ll need to upload, so accuracy is everything.
Tackling the Online Forms Without Mistakes
Once you're logged in, you’ll face the digital application forms. Some of these are quite long, and from my experience, a few sections consistently trip up Nigerian applicants. The key here is to move slowly and check everything twice.
A major hurdle is often the travel history section. IRCC wants a complete record of every trip you've taken outside Nigeria in the past 10 years. Don't estimate or skip anything. Dig out your old passports and list every single trip, even that weekend visit to Cotonou. They cross-reference this information, so being consistent is non-negotiable.
Another section to be extra careful with is your employment history. You need to account for the last 10 years without leaving any unexplained gaps. If you were between jobs for a few months, you must declare it. Just state the period you were unemployed and provide a brief, honest explanation in your Letter of Explanation.
Let this sink in: the online portal is your one shot to make a good first impression. Even small inconsistencies between what you type in the forms and what’s in your uploaded documents can cause serious delays or, worse, a flat-out refusal. Check every entry before you click 'next'.
How to Upload Your Documents the Right Way
After you've filled out all the forms, it's time to upload your documents. This part is more technical than you might think, and it's easy to get it wrong. IRCC is very particular about file formats and sizes.
- File Type: For most of your documents, like your passport pages or bank statements, they need to be scanned and saved as PDFs. Your passport photo, however, must be a JPEG.
- File Size: Here's the kicker – each file has a strict limit of 4 MB. If your scanned bank statement is too big, you'll have to compress it. There are plenty of free online tools that can shrink the file size without making it blurry.
- Clarity: Make sure every single scan is crystal clear. A fuzzy or poorly scanned document is an instant red flag and will get your application pushed to the back of the line.
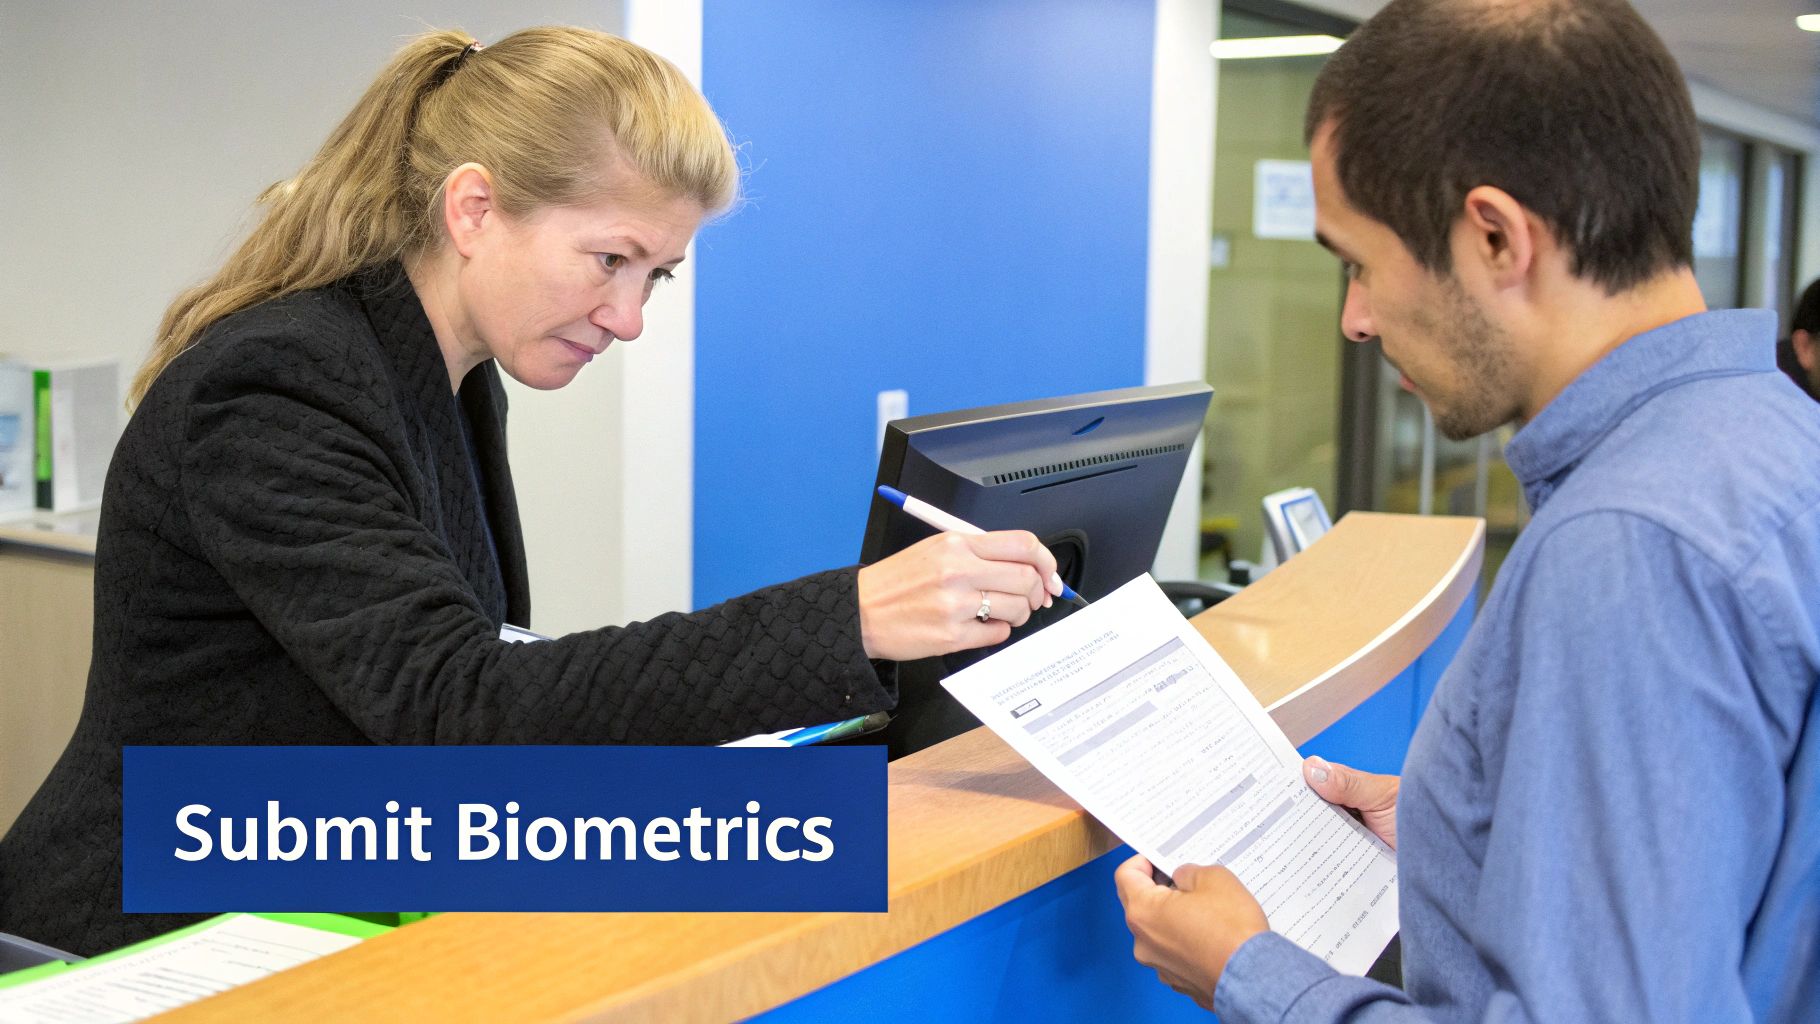
Don’t Forget Your Biometrics Appointment
You’ve paid the fees and hit the submit button. You're done, right? Not quite. The final crucial step is biometrics.
Within about 24 hours, you should see a Biometric Instruction Letter (BIL) pop up in your IRCC account. You absolutely need this letter to book your biometrics appointment.
In Nigeria, you’ll do this at a Visa Application Centre (VAC), with the main ones located in Lagos and Abuja. As soon as that BIL lands in your account, get online and book your appointment. Slots can fill up fast.
When you go for your appointment, you’ll need to have three things with you:
- Your valid international passport.
- A printed copy of your Biometric Instruction Letter (BIL).
- The confirmation letter for your appointment.
At the VAC, they'll take your fingerprints and a photo. Once that’s done and submitted, your application is officially complete and in the queue, waiting for a visa officer to review it. Now, the waiting game begins.
So, You've Submitted Your Application. What Now?
You’ve hit submit and your biometrics are done. Now comes the hard part—the wait. It’s completely normal to feel anxious and want to refresh your IRCC account a dozen times a day. But knowing a bit about what goes on behind the scenes can really help ease your mind.
First things first, processing times for applications from Nigeria can be a bit of a rollercoaster. They change based on how many applications the visa office is dealing with at any given time. My best advice? Try to stay patient and use your account for official updates. Don't get caught up in the unofficial timelines floating around on Nairaland forums; they'll only stress you out.
Keeping Tabs on Your Application
Your secure IRCC account is your direct line to the visa office. This is the only place you'll see genuine progress or requests for more information about your file.
Make it a habit to check your inbox within the portal. It’s actually quite common for an officer to ask for an extra document to clear something up. If you get a message, act on it immediately. A slow response can put your entire application on hold.
Key takeaway: The demand for workers in Canada is real and growing. As of mid-2025, there were 1,494,905 people on work permits alone, up from 1,230,460 at the end of 2023. This shows just how much Canada needs skilled individuals like you. You can find more about Canada's foreign worker statistics and see the bigger picture.
What if They Call You for an Interview?
Honestly, interviews for work permits aren't very common, but they do happen. A visa officer might want to chat if they have questions that your paperwork can't quite answer.
So, what might trigger an interview?
- They might have doubts about whether your job offer is genuine.
- Something in your past travel or immigration history might need clarification.
- They may want to be more certain that you plan to return to Nigeria when your work permit is up.
If you get that interview call, don't panic. The officer just wants to verify the details you’ve already provided. Take some time to go over your entire application again, be ready to answer questions truthfully, and make sure you have copies of all your documents with you.
The Final Decision
One day, you'll log in and see your status has changed to "Final Decision." This is it.
If it's good news, a massive congratulations is in order! You'll receive a Passport Request Letter (PPR) in your account. This letter will give you precise instructions on how to get your passport over to the Visa Application Centre (VAC) in Nigeria for that all-important visa stamp.
On the other hand, if your application is refused, you'll get a letter explaining why. It’s a tough pill to swallow, but don't lose hope. Read the reasons carefully—they are the roadmap to a stronger application. In many cases, you can address the specific points the officer raised and reapply with a much better chance of success.
Questions Nigerian Applicants Often Ask
Going through the Canadian work permit process can feel like a maze, and it’s completely normal to have a lot of questions. I’ve put together answers to some of the most common things I hear from Nigerian applicants, aiming to give you clear, practical advice for what’s on your mind.
Do I Need a Job Offer Before Applying for a Work Permit?
For nearly everyone applying from Nigeria, the short answer is yes. Most of the time, you'll be applying through the Temporary Foreign Worker Program (TFWP), which means you absolutely need a confirmed job offer from a Canadian employer. That offer usually needs to be supported by a Labour Market Impact Assessment (LMIA).
Now, there are a few exceptions. Certain high-skill jobs might fall under the LMIA-exempt International Mobility Program (IMP). Another route is an open work permit, but these are quite specific. You typically only qualify if you’re, say, the spouse of an international student or a skilled worker who is already in Canada. Trying to get an open work permit from Nigeria without one of these special connections is almost unheard of.
How Much "Show Money" Is Actually Enough?
There's no single magic number that works for everyone. The goal is to prove you can easily cover three key costs: your flight to Canada, your living expenses for the first few months before you get paid, and your flight back home to Nigeria. While a figure like C$10,000 for a single applicant is a decent guideline, what really matters to the visa officer is the story behind your money.
Think of it this way: a visa officer is looking for financial stability, not a sudden windfall. A huge chunk of cash appearing in your Nigerian bank account right before you apply is a massive red flag. It immediately makes them think the money is borrowed, which is a fast track to a refusal.
The real power of your proof of funds is in its history. A consistent pattern of savings over several months, coming from a clear source like your salary, is infinitely more believable than a large lump sum that just showed up.
What are the Main Reasons Nigerians Get Refused?
The number one reason, hands down, is failing to convince the visa officer that you'll actually leave Canada when your permit is up. This all comes down to showing you have strong "ties to home."
Beyond that, other common tripwires include:
- Weak Proof of Funds: Either the amount is too low, or the source of the money looks suspicious.
- Questionable Job Offer: The officer isn't convinced the job is real or that you're the right person for it.
- Sloppy Application: Missing documents or details that don’t match up across your forms can doom an otherwise good application.
This is why building a strong case that you have deep roots and responsibilities in Nigeria—like family, property, or a career to return to—is so vital for your application's success.
How Long Does It All Take?
Processing times are a moving target. They change all the time, depending almost entirely on the workload at the visa office handling applications from Nigeria. You could be looking at a few weeks or many months.
Your best bet for a current estimate is the official IRCC processing times tool, which they update frequently. Trying to rush your application won't make it go any faster. In my experience, the only sure way to avoid delays is to get it right the first time with a perfectly complete and well-organised application package.
Ready to take the guesswork out of your Canadian immigration journey? JapaChat provides instant, accurate answers to your questions, helping you build a stronger application with confidence. Plan your move the smart way by visiting us at https://japachat.com.
Leave a Reply