How to Apply for a Canada Work Visa: A Nigerian’s Guide
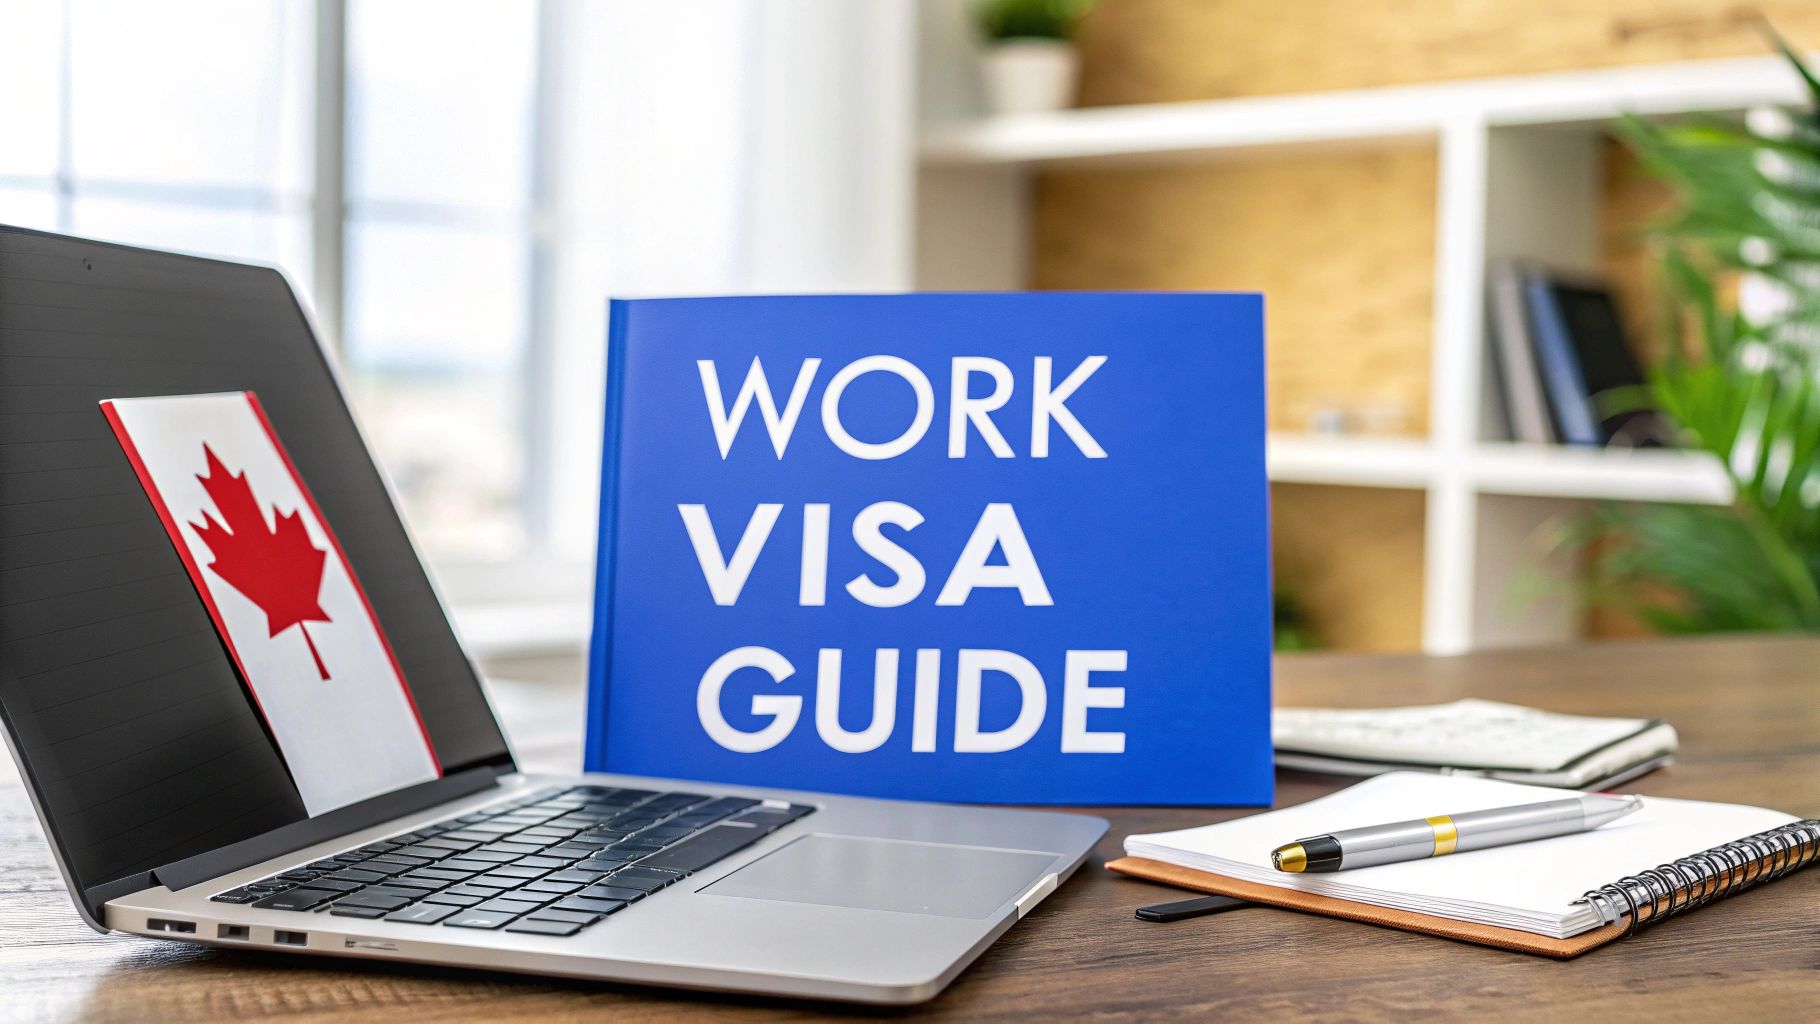
So, you're looking to get a Canada work visa from Nigeria. The whole process boils down to a few key stages: figuring out if you're eligible, gathering a mountain of paperwork, submitting your application online, paying the fees, and getting your biometrics done.
It sounds straightforward, but let's break it down properly, with the realities on the ground for applicants in Nigeria.
Laying the Groundwork for Your Application
Before you even touch an application form, you need to get the basics right. This isn't just about wishing you were in Canada; it’s about meeting some very specific, non-negotiable requirements. For most Nigerians, the journey starts with one crucial question: which work permit pathway is actually for you?
Getting this right from the start is everything. It dictates your entire strategy and saves you from wasting time, money, and hope on a route that was never going to work for your situation.
Employer-Specific vs. Open Work Permits
For most people in Nigeria, the most direct path is the employer-specific work permit. Think of it this way: you have a golden ticket in the form of a job offer from a Canadian company. This isn't just any offer; it usually needs to be backed by a document called a Labour Market Impact Assessment (LMIA), which is the employer’s proof that they couldn't find a Canadian to fill the role.
Then you have the open work permit. This one is the dream—it lets you work for almost any employer in Canada. But it's also much, much harder to get. Open permits are typically reserved for very specific scenarios. For instance, you might qualify if you're the spouse of an international student or skilled worker already in Canada, or perhaps if you just graduated from a Canadian university. If you're in Nigeria without a job offer, getting an open work permit directly is nearly impossible.
Let's make this real. A software developer in Lagos who lands a job with a tech firm in Toronto will apply for an employer-specific permit. On the other hand, if your husband is in Vancouver on a study permit, you might be eligible to apply for an open work permit to go and join him and work.
Why a Job Offer Is Your Strongest Asset
Look at the recent numbers coming out of Canada—they tell a clear story. The government is prioritising applicants who already have jobs lined up.
In the first half of this year, Canada issued 302,280 work permits under the International Mobility Program (IMP). That sounds like a lot, but it's a huge drop from the 410,825 they issued during the same time last year. Meanwhile, permits under the Temporary Foreign Worker Program (TFWP)—the ones tied to specific employers and LMIAs—held steady. This tells us that employer-driven applications are the most reliable bet right now.
Honestly, the best thing you can do is pour your energy into securing a legitimate job offer. It’s not just a box to tick; it’s the single most powerful element that strengthens your application and shows a visa officer you’re serious. For a bigger picture on making the move, have a look at our complete guide on how to relocate to Canada from Nigeria.
Your Nigerian Document Checklist
Getting your documents in order is the foundation of a successful Canadian work visa application. I’ve seen too many promising applications get rejected simply because of a weak or incomplete file. Let's build a rock-solid checklist that goes beyond the generic advice you find online. Think of it as building a case so strong that you answer the visa officer's questions before they even have them.
First up, the non-negotiable: your international passport. It absolutely must be valid for the entire duration you plan to stay in Canada. If it’s cutting it close, don't risk it. Renew it before you start. We have a straightforward guide on how to renew your Nigerian passport online that can save you a lot of last-minute stress.
The path you take for your work permit hinges on whether you have a job offer lined up. This handy decision tree breaks it down clearly.
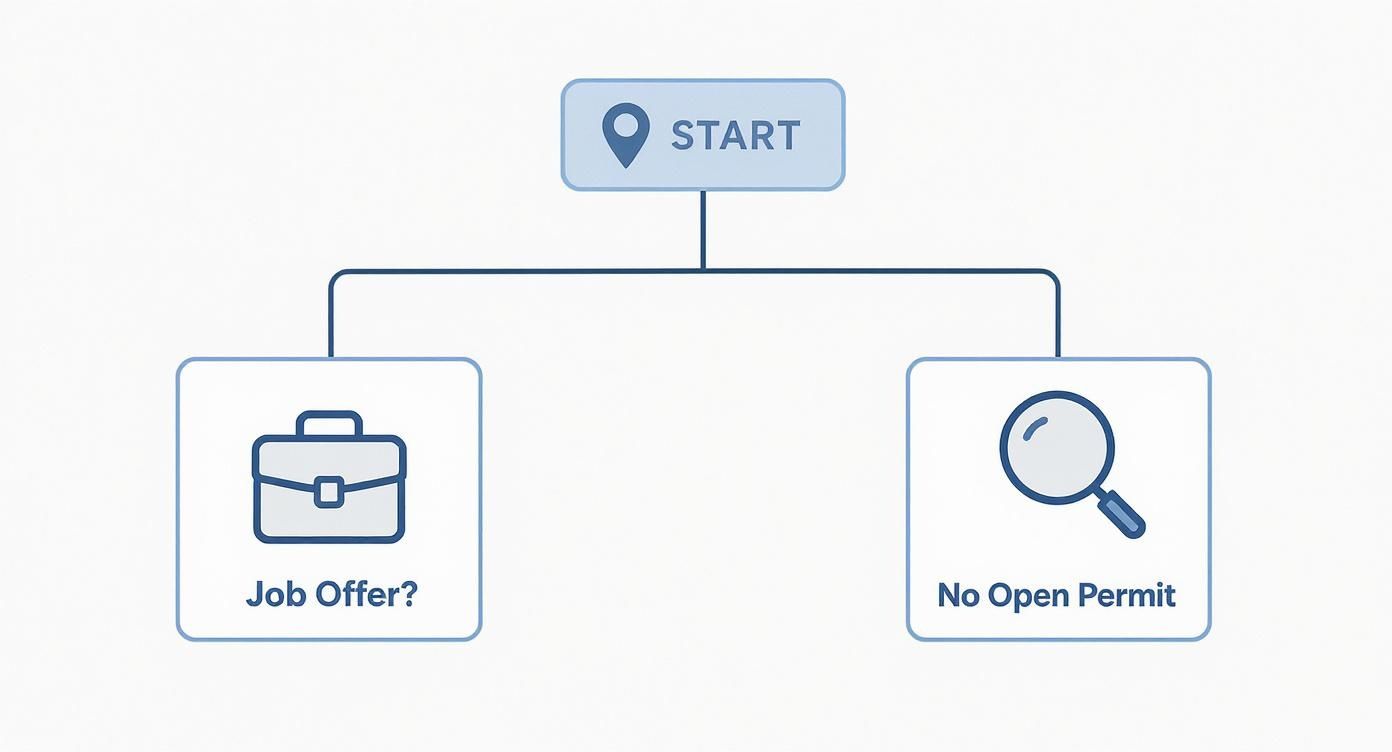
As you can see, securing a job offer puts you on the most direct route—the employer-specific work permit.
Before we dive into the nitty-gritty, here’s a quick-reference table to keep you on track. It covers the essentials and includes specific tips I’ve learned from helping countless Nigerians through this process.
Essential Document Checklist for Nigerian Applicants
| Document | Nigerian-Specific Tip | Common Mistake to Avoid |
|---|---|---|
| International Passport | Check the expiry date! Ensure it’s valid for your entire intended stay. Renew if it's cutting it close. | Applying with a passport that will expire shortly after you arrive in Canada. |
| Proof of Funds | Provide at least six months of detailed bank statements. A consistent savings history is better than a large, recent deposit. | Submitting only a bank reference letter or a statement with a sudden, unexplained lump sum. |
| Proof of Ties to Nigeria | Include a letter from your current employer confirming you're on approved leave and expected back. | Relying only on family ties. Property and employment are much stronger anchors for your application. |
| Police Clearance Certificate | Obtain it directly from the Nigerian Police Force CID headquarters in Alagbon, Ikoyi (Lagos) or Area 10 (Abuja). Don’t use third-party services that might provide invalid documents. | Submitting a local police station report instead of the official certificate from the Force CID. |
| Educational Credential Assessment (ECA) | Start this process early! An ECA from a body like WES can take weeks or even months to process. | Waiting until the last minute to request an ECA, causing major delays in your application submission. |
Now, let's break down some of the most critical areas where applicants often stumble.
Nailing Your Proof of Funds
When IRCC asks for "proof of funds," they want to see more than just a big number in your account. For a Nigerian applicant, this means showing a consistent, logical financial history. A sudden lump sum of ₦10 million appearing a week before you apply is a massive red flag for any visa officer. It just screams "borrowed funds."
You need to provide at least six months of bank statements. The flow of money should make sense—regular salary payments, documented business income, or other explainable deposits. If a family member is sponsoring you, they must provide their own bank statements plus a sworn affidavit of support, legally confirming they'll cover your expenses.
Here's a real-world tip: The visa officer is looking for the story of your money, not just the closing balance. A stable account with a consistent balance of ₦4 million over six months is far more convincing than an account that was empty last month and now mysteriously holds ₦8 million.
Proving Your Ties to Nigeria
This is arguably the most critical part of your application. The visa officer's primary concern is whether you will return to Nigeria when your work permit expires. You have to paint a clear picture of strong connections—or "home ties"—that you wouldn't just abandon.
So, what counts as a strong tie?
- Family: Of course, your marriage certificate and the birth certificates of your children are important. But you can strengthen this by including a letter explaining your responsibilities, especially if you care for elderly parents.
- Employment: A letter from your current Nigerian employer is gold. It should state that you are on approved leave and are expected back in your role. This is powerful evidence of your intention to return.
- Assets: This is huge. Documents proving you own property (like a C of O), have significant investments, or run a registered business in Nigeria all serve as a powerful anchor to your home country.
Essential Supporting Documents
Beyond funds and ties, a few other documents are non-negotiable.
You will need a police clearance certificate. Make sure you get this from the Nigerian Police Force Criminal Investigation Department (CID) headquarters in Alagbon, Ikoyi (Lagos) or Area 10 (Abuja). IRCC is very particular about the authenticity of this document, so only the official version will do.
Finally, if your job offer is in a skilled profession, you'll almost certainly need an Educational Credential Assessment (ECA). This is where an organization like World Education Services (WES) evaluates your Nigerian degrees and confirms their Canadian equivalent. This process isn't quick, so get started on it early. It's a small step that adds massive credibility to your qualifications and shows you're a serious, well-prepared applicant.
Navigating the IRCC Online Portal
With your documents organised and ready to go, it's time to face the main event: the IRCC online portal. For many Nigerian applicants, this is where tiny mistakes can snowball into huge headaches. The golden rule here is 100% consistency. Every single detail you type online must be a perfect match for the documents you’ve spent so much time preparing.
Your first move is to create a secure IRCC account. Think of this as your personal command centre for the entire application journey.
Here’s what the official sign-in page looks like. You'll come back here often to start your application, upload your files, and later on, to check for those all-important updates.
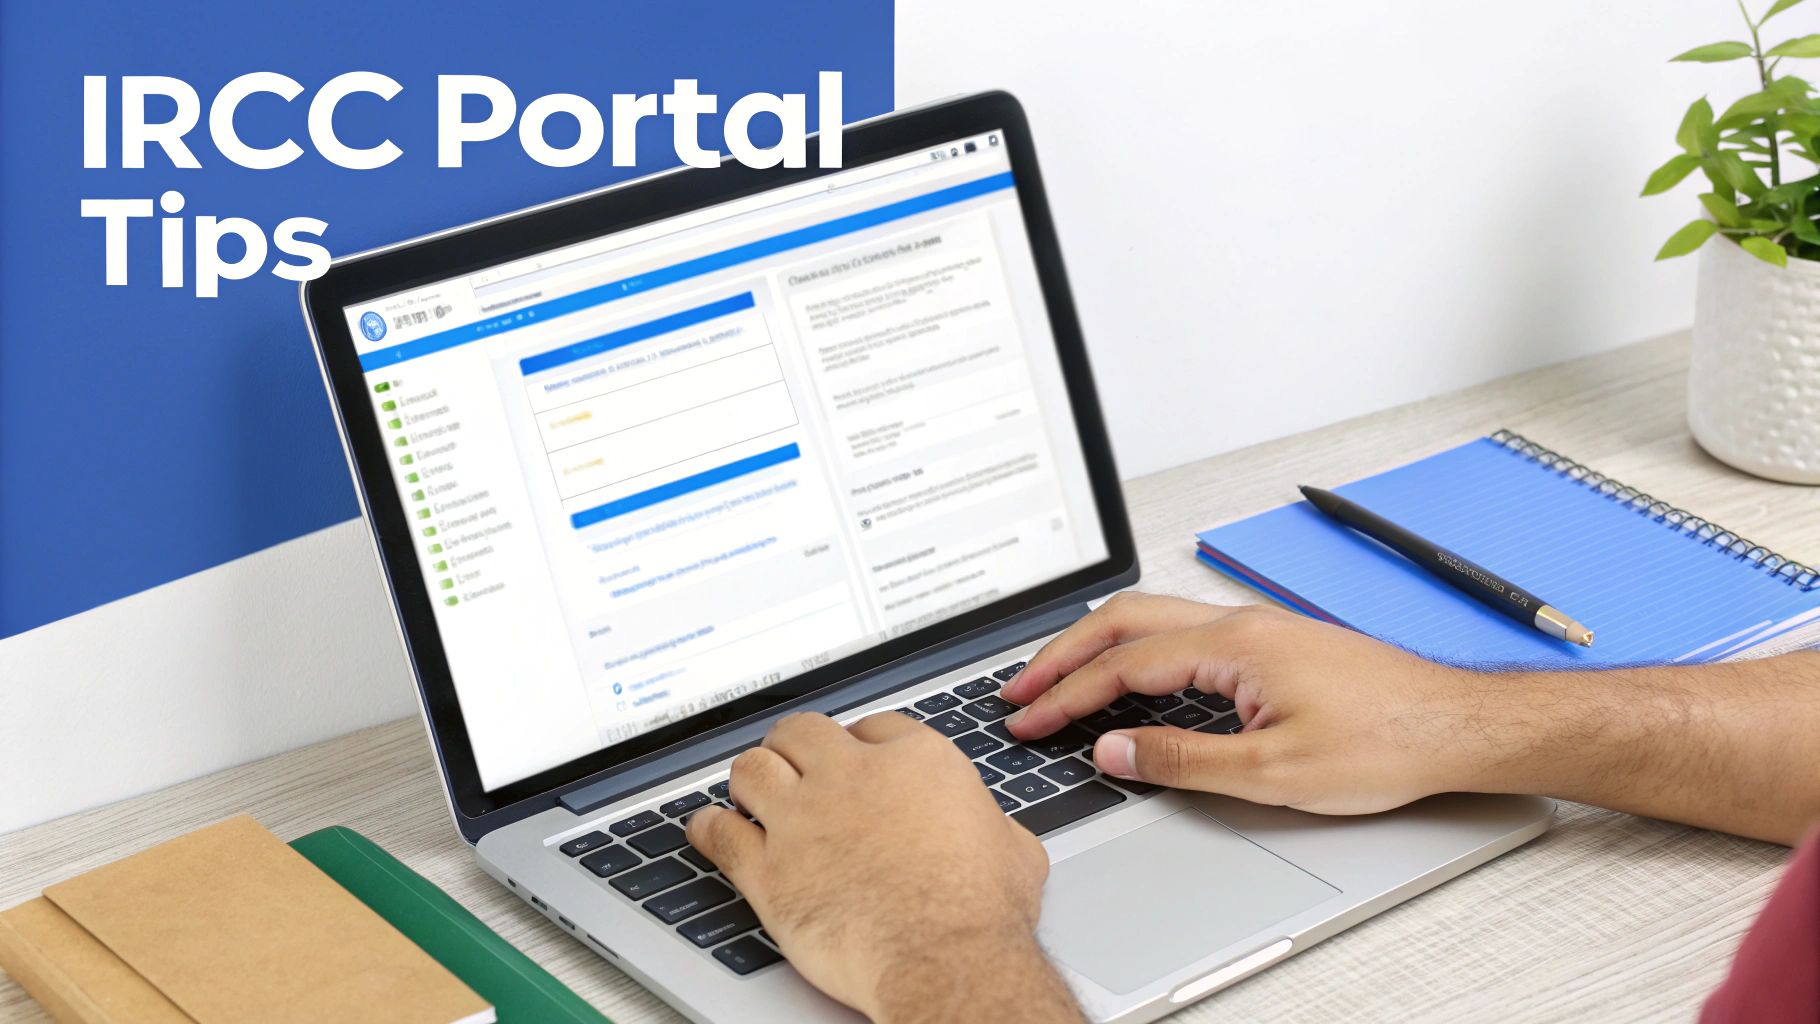
You'll notice two options: GCKey and Sign-In Partner. For almost everyone applying from Nigeria, the way forward is to register for a GCKey. This becomes your unique username and password for all of IRCC's online services, so guard it carefully.
Acing the Online Questionnaire
Once you're logged in, you'll be guided through an online questionnaire. Your answers here are absolutely critical because they automatically generate the personalised document checklist you'll need to follow. Be completely honest and accurate.
If you indicate you're married, the system will create an upload slot for your marriage certificate. If you mention previous travel, you’ll be expected to provide all the details. This isn't the place to be vague.
This is exactly where many people get into trouble. Don't even think about leaving out that short trip you took five years ago just to save time.
The IRCC system is built to spot inconsistencies. A visa officer will literally sit there and compare your travel history form against the stamps in your passport. If a trip to Dubai is clearly stamped in your passport but missing from your form, it immediately raises a major red flag about your credibility.
Common Pitfalls for Nigerian Applicants
From experience, I've seen certain sections of the online form trip up applicants from Nigeria more than others. Let’s break them down so you can avoid them.
- Family Information (IMM 5645): You are required to declare all your family members—parents, siblings, and children—whether they are travelling with you or not. Trying to hide a relative, even if you think it's not relevant, can lead to a finding of misrepresentation. That comes with a heavy penalty: a five-year ban from applying to Canada.
- Employment History: Be meticulous. List your job history chronologically and make sure there are no gaps. If you were unemployed for six months between two jobs, you need to state that clearly. Unexplained gaps can make a visa officer suspicious. Also, double-check that the job titles and duties you enter online are an exact match to what's on your reference letters.
- Travel History: Detail is your friend here. List every single international trip you have taken in the last 10 years. This includes that quick business trip to Ghana or a family holiday in the UK. Honesty is always the best policy.
Finally, when it's time to upload your digital photo, pay very close attention to the strict specifications. The background must be plain white, there can't be any shadows, and your facial expression must be neutral. A photo that gets rejected can cause completely unnecessary delays. Take the time to get it right the first time; it will help your application move forward without a hitch.
Handling Fees and Biometrics in Nigeria
Once you hit that ‘submit’ button on the IRCC portal, you’re immediately faced with your next two tasks: paying the fees and getting your biometrics done. These aren't just tick-box exercises; they're non-negotiable hurdles every Nigerian applicant has to clear. Nailing this part keeps your application on the right track from the get-go.
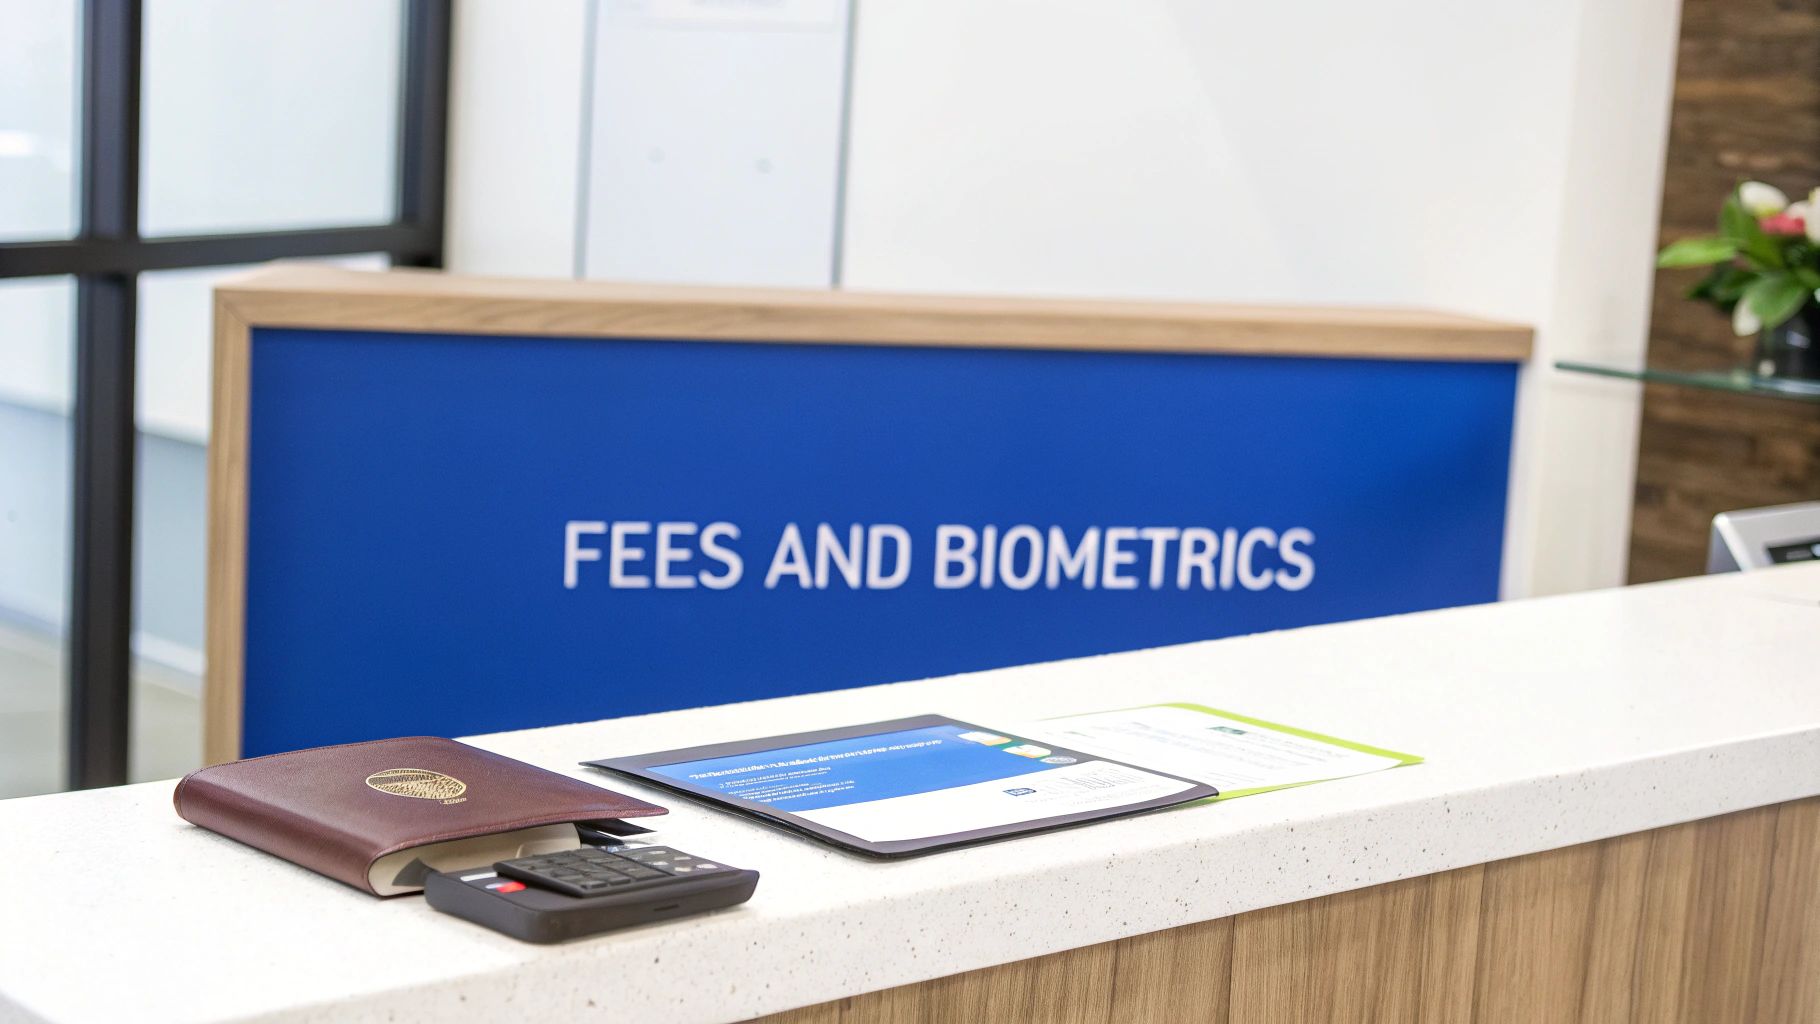
Right there on the portal, you'll be prompted to pay two distinct fees: the application processing fee and the biometrics fee. The only accepted payment methods are MasterCard or Visa, and crucially, your card must be enabled for international transactions. I’ve seen many applications stall here because a standard Nigerian Naira card gets rejected.
My advice? Don't leave this to chance. Your best bet is to use a card linked to a domiciliary account or a fintech card that’s known for handling international payments without a hitch. Get this sorted out before you even start your application to avoid any last-minute panic.
Booking Your Biometrics Appointment
After your payment goes through, you’ll receive a Biometric Instruction Letter (BIL) in your IRCC account. Think of this letter as your golden ticket. It's what you need to book an appointment at a Visa Application Centre (VAC). In Nigeria, the VACs are located in Lagos and Abuja.
As soon as that BIL lands in your inbox, book your appointment. I can't stress this enough. Don't put it off for a few days.
Why the rush? Well, Immigration, Refugees and Citizenship Canada (IRCC) is swamped. The temporary residence category, which covers work permits, has a staggering 42% backlog. This means nearly half of all applications are already taking longer than they should. Booking your biometrics promptly is one of the few things you actually have control over to prevent adding more delays to your timeline. You can get a clearer picture of the situation from the official IRCC inventory update.
Your Appointment Day at the VAC
When your appointment day arrives, you have to show up in person. The actual process is quite straightforward—they'll take a digital photograph and electronically scan your ten fingerprints. It's usually over pretty quickly, but your preparation is what makes the difference between a smooth visit and a frustrating one.
Here’s exactly what you need to have with you:
- Your International Passport: It must be the very same passport you used in your application. No substitutes.
- Biometric Instruction Letter (BIL): Bring a printed copy. A digital version on your phone won't be accepted.
- Appointment Confirmation Letter: You’ll also need to print the email or document confirming your appointment slot.
A final tip from experience: Plan to arrive about 15-30 minutes before your scheduled time. If you get there too early, you'll likely be asked to wait outside. Security at the VAC is tight, so leave any large bags, electronics, or food at home or in your car, as they aren't allowed inside. Getting this done and dusted is a huge milestone passed.
So, You’ve Submitted Your Application. What Now?
Hitting that 'submit' button brings a strange mix of relief and pure anxiety, doesn't it? The hard part is done, but now comes the waiting game, which can honestly be the most stressful part of the whole journey. Your application has officially entered the vast, complex world of Immigration, Refugees and Citizenship Canada (IRCC). Knowing what’s happening behind the scenes can help you keep your sanity.
After you get that submission confirmation, your very first move should be to link the application to your secure IRCC account if you applied through a representative or didn't start it there. This step is absolutely critical. It’s your direct line to real-time updates and messages from IRCC. Staying on top of things is everything, and you can get a full rundown on our guide to effective visa application tracking.
Decoding What IRCC is Telling You
As your file inches along, the status in your account will change. Seeing a new update pop up can make your heart jump, so let’s clear up what these common statuses actually mean.
- Submission Confirmed: This is simple. It just means they have your file. The real review hasn't started yet.
- Biometrics Completed: Good news. Your fingerprints and photo have been successfully attached to your application.
- Background Check in Progress: Don't let this one worry you. This is a routine part of the process where IRCC checks your history to make sure you're admissible to Canada. It’s standard procedure and doesn’t signal a problem.
It’s completely normal for your application to seem frozen on one stage for weeks, or even months. The backlogs are real, so try not to panic.
When IRCC Asks for More Information
It's possible you'll get a request from an IRCC officer during processing. This isn't automatically bad news. More often than not, it just means they need a bit more information to finalize their decision.
The most common requests are for a medical exam or for additional documents. Getting a medical request is often a great sign! They usually only ask for one when your application is getting close to the finish line. If they ask for more documents, respond quickly and provide exactly what they've requested. No more, no less.
The waiting game is tough, especially now. It's so important to set realistic expectations. For the most part, the days of getting a work permit approved in just a few weeks are long gone. You need to mentally prepare for a wait that could easily stretch into several months.
A Reality Check on Processing Times
For Nigerian applicants, the reality is that processing times have gotten significantly longer. Recent policy changes in Canada have made the work permit route more competitive. To give you some perspective, between January and August of this year, the number of new work permit holders in Canada was 16,890, a noticeable dip from previous periods.
This slowdown means every single application is under intense scrutiny. Your patience has never been more vital. You can dig deeper into these immigration statistics and trends directly from the source.
Your Top Questions Answered
Going through the Canada work visa process from Nigeria always brings up a few key questions. It's totally normal. Let's walk through the most common concerns I hear from applicants, so you can feel more confident about your own application.
How Much Money Do I Actually Need to Show?
This is probably the most asked question, and the real answer is, "it depends." There isn't a single magic number that works for everyone. What a visa officer is looking for is a figure that makes sense for your specific situation.
Think about it from their perspective. They'll consider a few things:
- Who's coming with you? If you're applying solo, you'll need far less than someone bringing their spouse and kids along.
- Do you already have a job lined up? With a confirmed job offer, you just need to prove you can handle your initial costs until that first paycheque comes in.
- Where in Canada are you headed? Your money needs to reflect the cost of living. Surviving in downtown Toronto is a world away from setting up in a smaller town like Saskatoon.
As a general benchmark, a single person with a solid job offer should probably aim to show something in the range of ₦3 million to ₦5 million.
But here’s the most important takeaway: how you show your funds is more critical than the final balance. A six-month bank statement with a steady, consistent savings history is a million times more convincing than a huge lump sum that mysteriously lands in your account a week before you apply.
My Application Was Refused. What Now?
Seeing that refusal email is gut-wrenching, I know. But it doesn't have to be the end of your Canadian dream. The absolute worst thing you can do is panic and reapply with the same documents. That's a classic mistake, and it almost guarantees a second refusal.
Your first move? Put on your detective hat. You need to order the Global Case Management System (GCMS) notes. These are the internal, detailed notes from the visa officer who handled your file. They spell out the exact reasons for the refusal.
For Nigerian applicants, refusals often boil down to a few common issues:
- Unconvincing ties to Nigeria (they aren't sure you'll return).
- Proof of funds that looks weak or isn't well-documented.
- Doubts about your job offer or your real intention to work in Canada.
Once you get those GCMS notes, you’ll see the real problem. The only way forward is to build a new application that directly fixes the concerns they raised. Just resubmitting the old stuff is a waste of your time and money.
Can My Family Come With Me on a Work Permit?
Yes, absolutely! Bringing your family is a huge part of the journey for many, but it isn't an automatic right. It all comes down to the skill level of your job in Canada.
Canada uses a system called the National Occupational Classification (NOC) to categorise jobs. Each job gets a TEER code (Training, Education, Experience and Responsibilities).
If your job is considered high-skilled—meaning it falls under TEER 0, 1, 2, or 3—your spouse is likely eligible for an open work permit. This is fantastic because it lets them work for nearly any employer in Canada. Your dependent children can also get study permits to enrol in school.
Just remember, you'll need to apply for their visas either at the same time as yours or right after your own permit is approved. And, of course, you'll need to show you have enough money to support everyone when you first arrive.
Stop guessing and start planning. For instant, accurate answers to your specific immigration questions, chat with Nigeria's first AI immigration expert. Get started for free with JapaChat at https://japachat.com.
Leave a Reply