How to Apply for UK Visa in Nigeria: Complete Guide
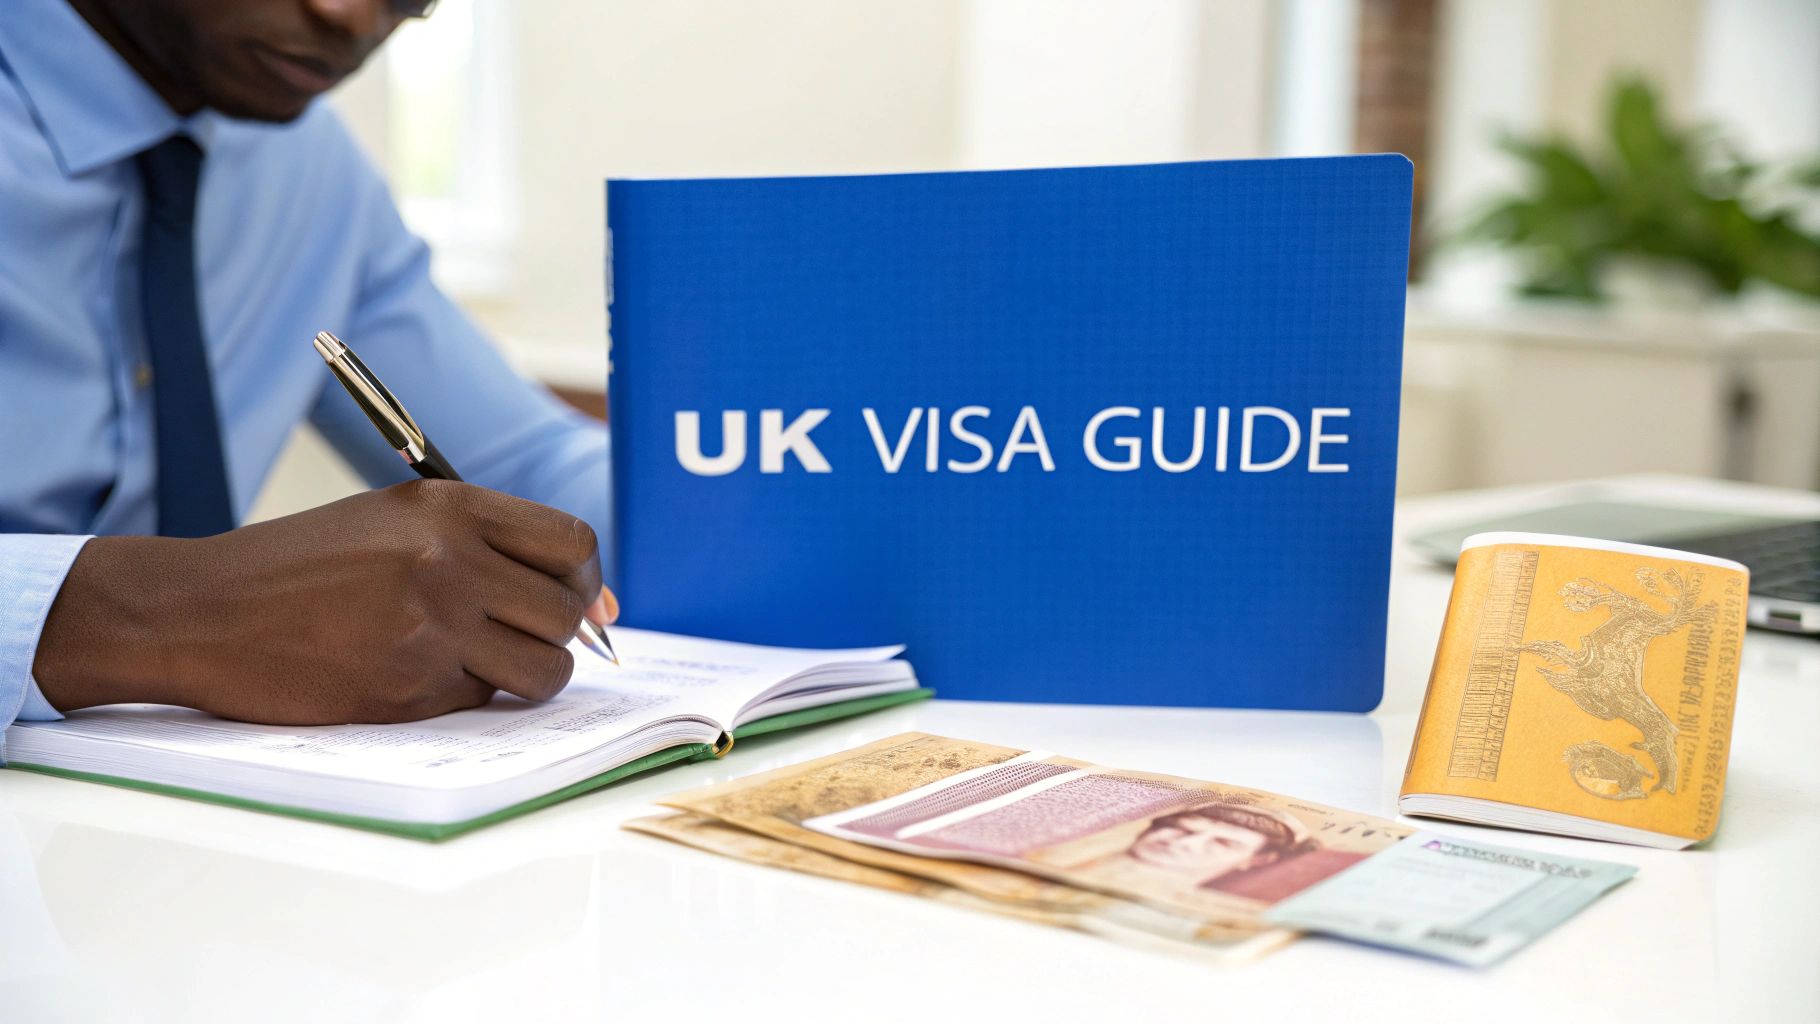
Navigating the UK visa application process in Nigeria really boils down to three core things: filling out the online form correctly on the GOV.UK website, paying the right fees on time, and showing up for your biometric appointment at a TLScontact centre.
Ultimately, your success hangs on providing strong supporting documents that clearly prove you have the funds for your trip and a genuine reason for visiting.
Your UK Visa Application Roadmap From Nigeria
So, you're planning a trip to the UK from Nigeria. The whole process can feel a bit overwhelming at first glance—a mountain of paperwork and steps that aren't always crystal clear. But if you break it down into a clear plan, it's far more manageable. I like to think of it as a roadmap with distinct milestones: getting ready, hitting submit, and waiting for the final decision.
It helps to know who you're dealing with. The final "yes" or "no" comes from UK Visas and Immigration (UKVI), which is part of the UK government. Here in Nigeria, they work with a commercial partner, TLScontact, which runs the Visa Application Centres (VACs). This is where you'll go to give your fingerprints and have your photo taken.
Key Milestones on Your Journey
Let's walk through the main phases of your application journey. Getting these right from the start makes a world of difference.
-
Figuring Out Your Visa Type: This is ground zero. You absolutely have to choose the correct visa category for your trip, whether you're going as a tourist, student, worker, or to join family. Picking the wrong one is an easy way to get an automatic refusal, so double-check you're on the right track.
-
Nailing the Online Application: This is your official pitch to the visa officer, all done through the GOV.UK portal. Be meticulous. Every detail needs to be accurate, and honesty is non-negotiable.
-
Assembling Your Evidence: This is where you back up all the claims you made on your form. You'll need to pull together a solid portfolio of documents—think bank statements, letters from your employer, proof of ties to Nigeria, and your travel history.
-
Booking and Attending Your Appointment: Once the online form is submitted and you've paid the fees, you'll need to book an appointment at a TLScontact centre. This is a mandatory step to provide your biometric information.
To give you a clearer picture, here’s a quick summary of the main stages you'll go through.
UK Visa Application Stages at a Glance
| Stage | What It Involves | Key Tip |
|---|---|---|
| 1. Preparation | Choosing the right visa type and gathering all necessary supporting documents. | Start collecting documents before you even touch the online form to avoid last-minute stress. |
| 2. Online Submission | Completing the application form on the official GOV.UK website and paying the visa fee. | Double-check every single entry for accuracy before you submit. A small mistake can cause big delays. |
| 3. Biometrics Appointment | Booking and attending an appointment at a TLScontact centre to give your fingerprints and photo. | Arrive at the centre at least 15 minutes before your scheduled time. |
| 4. Decision | Waiting for UKVI to assess your application and make a final decision. | You can track your application status online, but be patient as processing times can vary. |
Following these stages logically is the key to a smooth process.
This visual breaks down how these core phases connect.
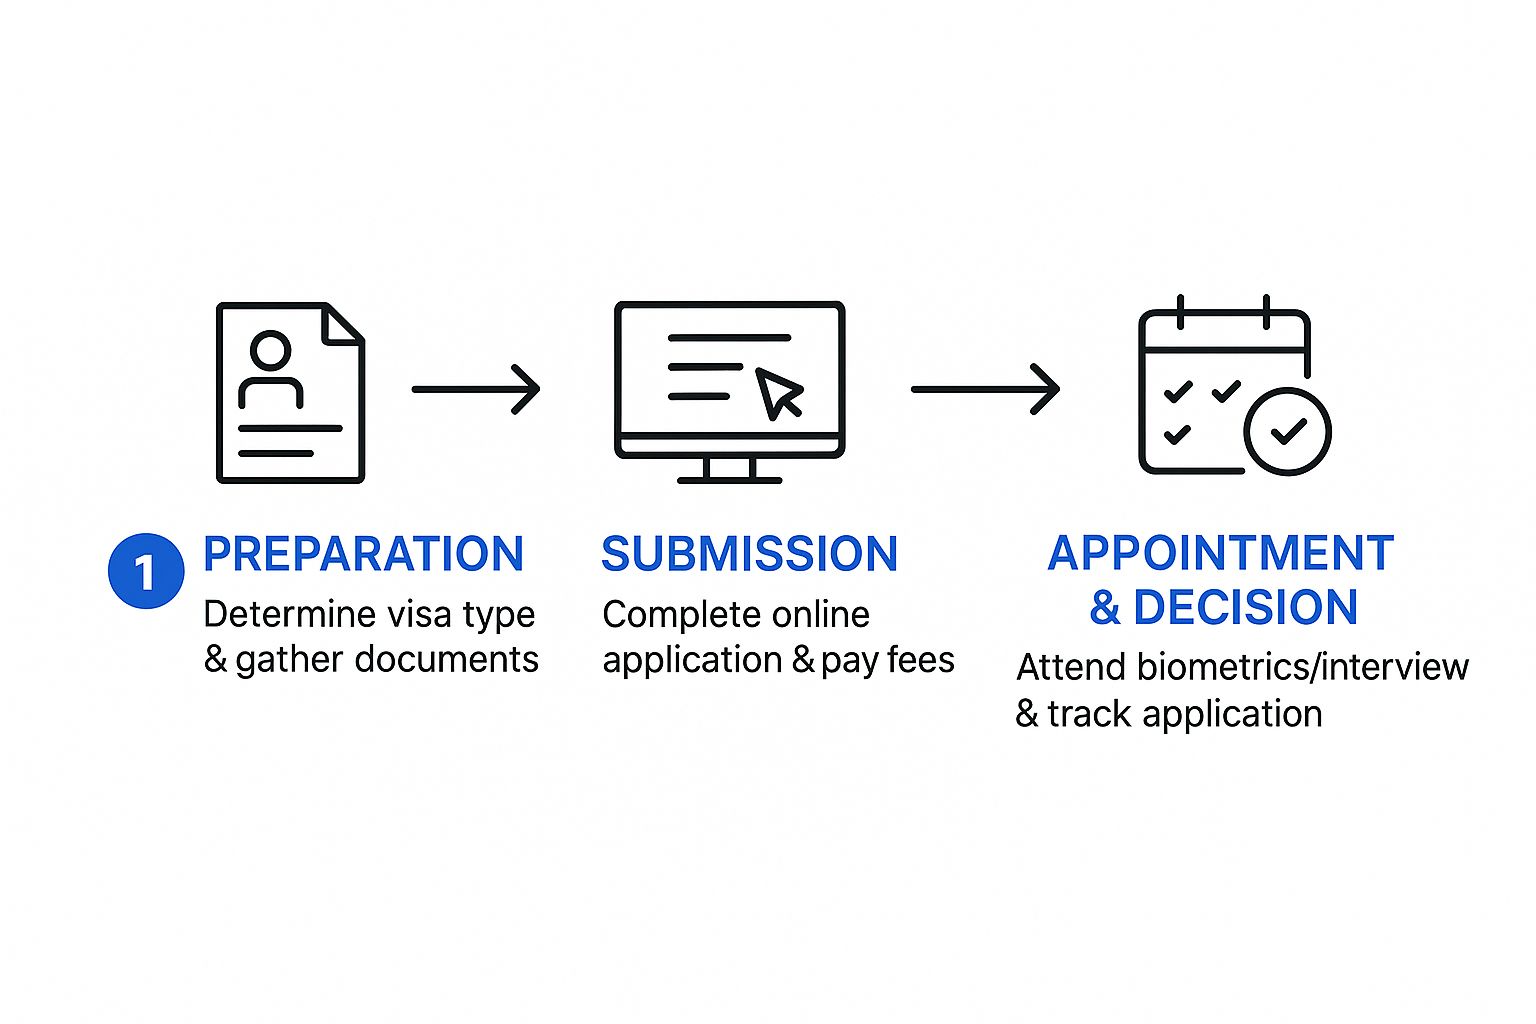
As you can see, it all flows from solid preparation right through to your appointment.
Pro Tip: If I could give just one piece of advice, it would be this: start gathering your documents before you even begin the online application. Honestly, this simple step saves so much last-minute panic and ensures you have strong, compliant evidence ready to go when it’s time to submit.
Choosing the Right UK Visa for Your Trip
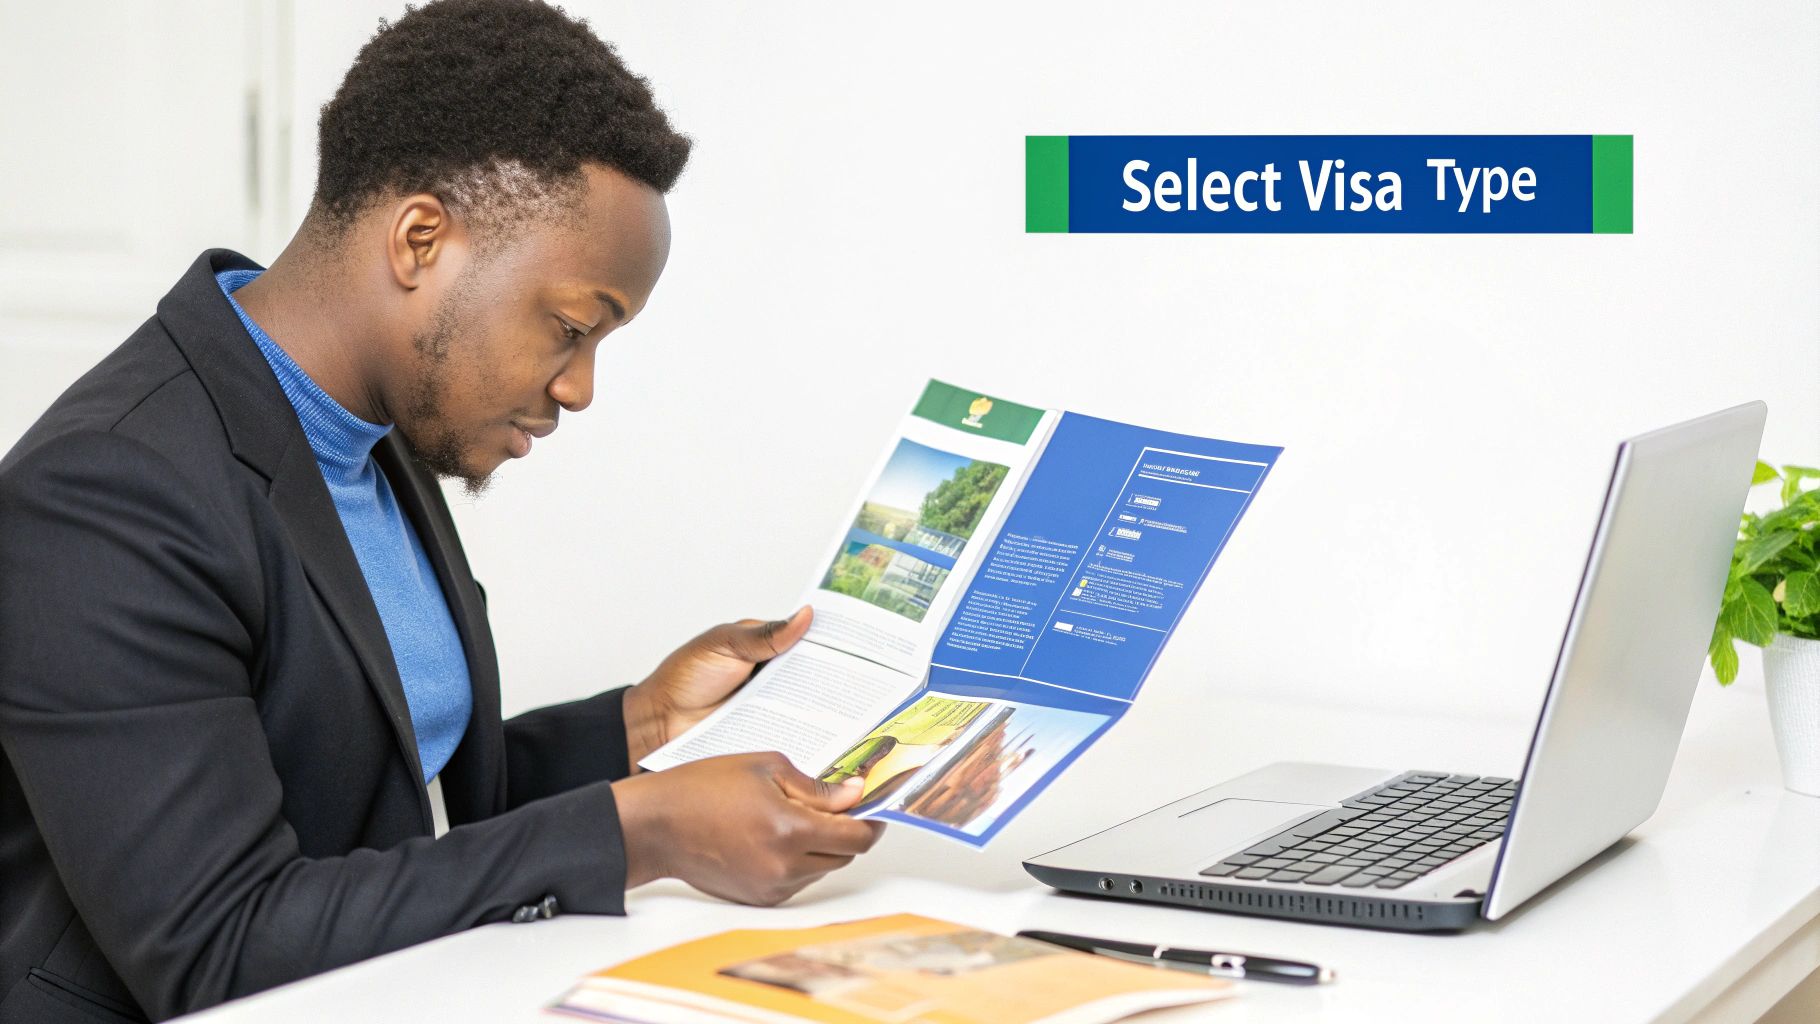
The very first, and most crucial, step in this entire process is picking the correct visa. I can't stress this enough. Getting it wrong isn't a simple mistake you can fix later—it’s an automatic refusal. You lose your time, effort, and all that non-refundable application money.
The UK visa system is incredibly specific. You absolutely must choose the category that perfectly matches your reason for travelling. For most Nigerians, the choice will boil down to one of three main visa types. Let's break them down with some real-life examples so you can be sure you're starting off on the right foot.
The Standard Visitor Visa
This is the go-to visa for almost all short trips to the UK. It covers a surprisingly wide range of activities, but the golden rule is that your visit must be temporary.
You'll need a Standard Visitor Visa if you’re planning to:
- Be a tourist: You’re heading to London to see the sights, maybe catch a football match, or explore the Scottish Highlands.
- Visit family or friends: This could be for a short holiday with your sibling in Manchester or to attend a friend's wedding in Birmingham.
- Handle short-term business: You’re flying in for a three-day industry conference or a crucial meeting with a client. This is a common point of confusion—you do not need a work visa for these kinds of brief business activities.
- Get private medical treatment: You have pre-arranged appointments at a UK hospital or clinic.
The most important thing to remember is that you cannot do any paid work for a UK company on this visa. The Home Office needs to be convinced that you fully intend to return to Nigeria when your visit is over.
The Student Visa
This one is pretty straightforward. It's designed exclusively for people who have a confirmed offer to study at a licensed UK educational institution.
The absolute key to this application is your Confirmation of Acceptance for Studies (CAS). This isn't just a letter; it's a unique reference number given to you by your university or college after you've accepted their admission offer. You simply cannot apply without a valid CAS. It's the official proof to the UK Visas and Immigration (UKVI) that you're a genuine student with a legitimate place on a course.
The Skilled Worker Visa
If you've landed a job with a UK-based company, this is the visa for you. The Skilled Worker route is a long-term visa that allows you to live and work in the UK for the employer who hired you.
For this application, your employer provides the most critical piece of the puzzle: the Certificate of Sponsorship (CoS). Your employer must hold a special sponsor licence from the Home Office to issue this. The CoS is an electronic record with its own unique number, detailing your personal information and everything about the job you've been offered. It’s essentially your employer's official guarantee to the government that you're the right person for the job.
Immigration rules can and do change, sometimes quite suddenly. To get a better grasp on recent policy updates that might impact your application, it's worth reading up on the new UK immigration white paper and what every Nigerian should know.
Making sure your travel plans perfectly align with one of these three routes is the foundation of a successful UK visa application from Nigeria. If there's a mismatch, your application is destined to fail before a visa officer even looks at your bank statements.
Navigating the Online Form and Financial Rules
This is it. The official GOV.UK application form is where your UK visa journey truly begins. Think of this online portal as your first—and most important—conversation with the visa officer. Everything you put here needs to be precise, honest, and paint a consistent picture of who you are.
Every single field matters. From your personal details to your travel history, accuracy is king. Be ready to list every country you’ve set foot in over the past 10 years. Even forgetting a short weekend trip to a neighbouring country can create inconsistencies that raise red flags and make the officer question your credibility. Your goal is simple: present a clear, truthful account of yourself.
Tackling the Application Form
First things first, you’ll need to create an account on the official UK government visa portal. The good news is that the system saves your progress, so you don't have to do it all in one stressful sitting. You can log in and out as you gather your information.
This screenshot shows you exactly what the official starting page looks like. This is where you'll select your visa type and get the ball rolling.
Make no mistake, this is the only legitimate website to start your application. Using this ensures you’re on the correct, secure government service and not a third-party site.
Understanding the Financial Requirements
Let's be blunt: this is where many applications fall apart. Getting the financial rules wrong is one of the most common reasons Nigerians get refused a UK visa. The visa officer needs to be completely convinced that you can support yourself during your stay without needing to access public funds.
This proof comes down to what's known as maintenance funds. How much you need depends entirely on the type of visa you’re applying for.
- Visitor Visa: You have to prove you have enough cash to cover every reasonable cost of your trip—flights, accommodation, food, sightseeing—without working or relying on UK benefits. There's no magic number; it just has to be credible for your planned itinerary.
- Student Visa: The calculation here is more specific. You must show you can pay for one full academic year of your course fees, plus a set amount for living costs. This is £1,023 per month if you're studying outside London, or £1,334 per month inside London, for up to 9 months.
- Skilled Worker Visa: Generally, you'll need to show you have at least £1,270 in your bank account. The only exception is if your UK employer is an A-rated sponsor and has officially stated on your Certificate of Sponsorship that they will cover your maintenance costs for the first month.
The 28-Day Rule: Don't Get Caught Out
For Student and Skilled Worker visas, this is non-negotiable. The full amount of required funds must have been in your bank account for at least 28 consecutive days. The statement you submit must show that this 28-day period ended no more than 31 days before you submit your application. It’s a strict rule with no wiggle room.
Recent policy changes have put an even bigger spotlight on an applicant’s financial stability. While rule changes led to a staggering 84% drop in dependent visas issued to students, the actual rejection rate for genuine student visas remained incredibly low at just 3-5%. This tells us one thing: applicants who meet the tough financial rules are still very likely to be approved. You can find more data on these visa trends to see the bigger picture.
Presenting Your Financial Evidence
Just having the money isn’t enough; you must present the evidence in the exact format UK Visas and Immigration (UKVI) requires. They will only accept official bank statements. No letters from the bank manager, no screenshots—just the proper statements.
Your bank statements must clearly show:
- Your name (or the account holder's name, if it's a parent/sponsor)
- The account number
- The date the statement was issued
- The bank's name and logo
- A clear running balance showing the funds available
A word of advice: avoid sudden, large cash deposits right before you apply. This is a classic red flag for visa officers, as it suggests the money might not genuinely be yours ("funds parking"). They want to see a history that shows the money has been built up or has been sitting in your account for a while. Providing clear, compliant, and credible financial documents is the best way to clear this major hurdle.
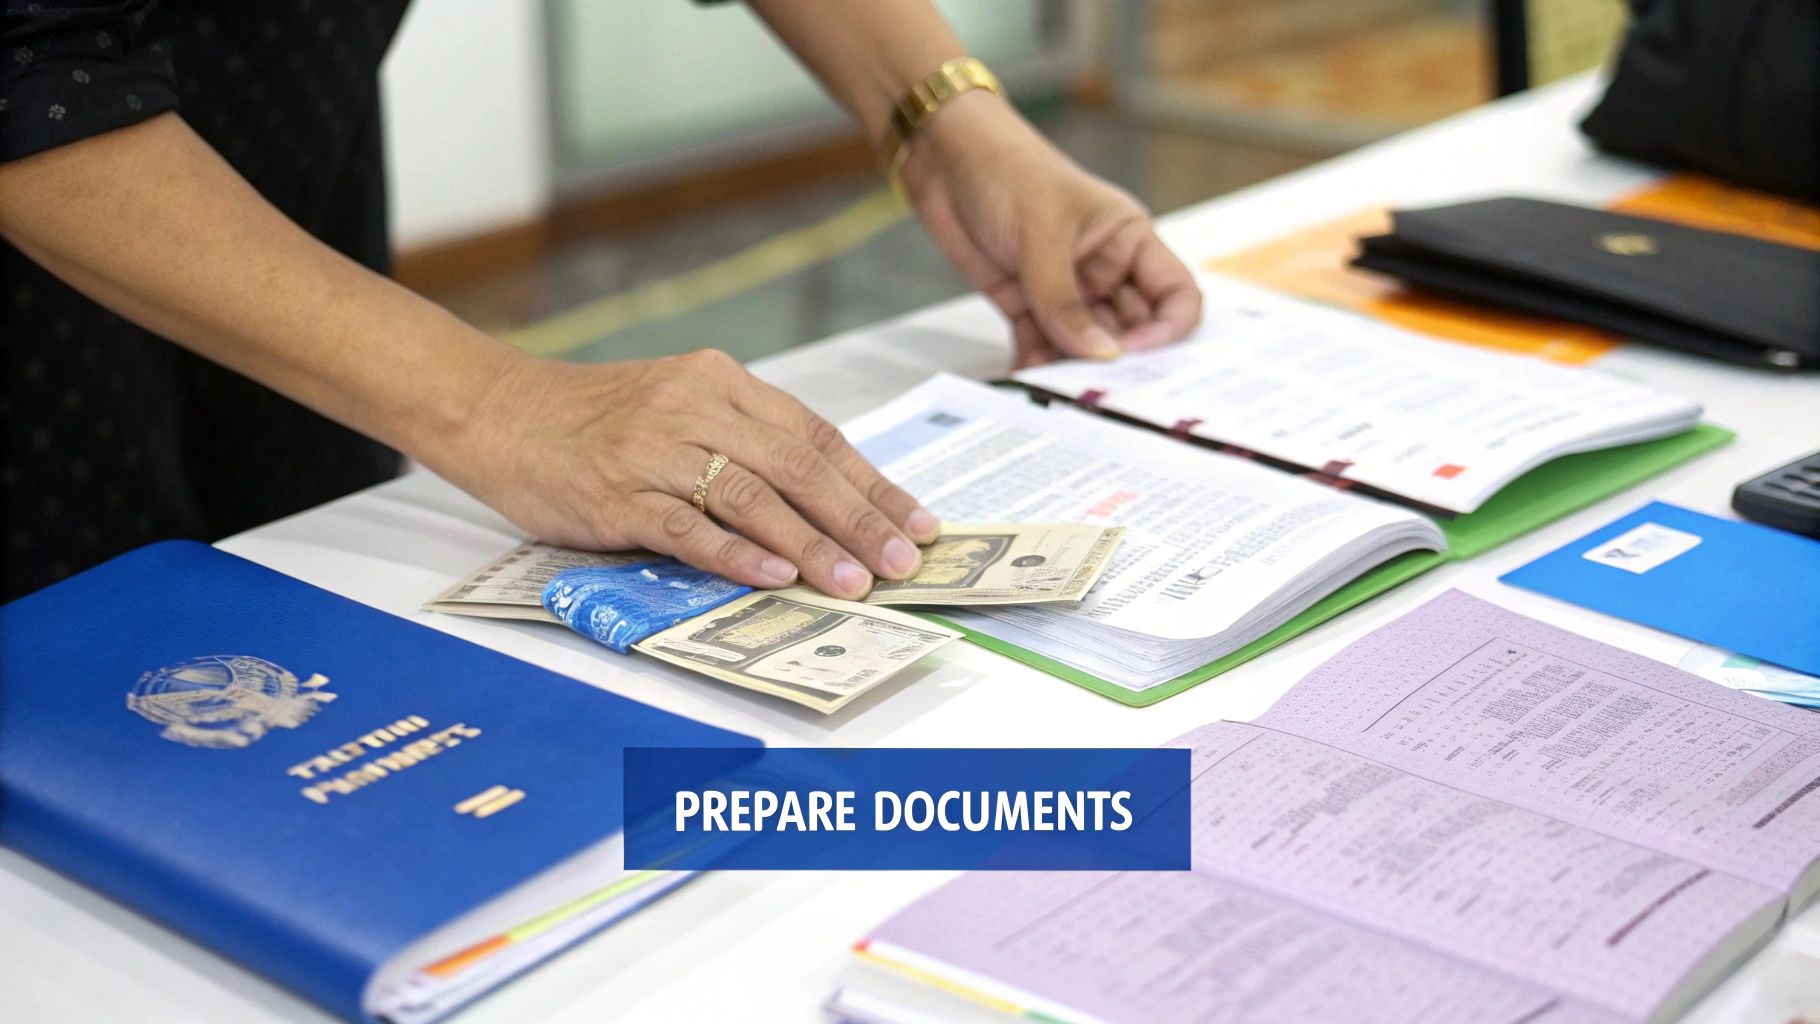
Preparing Your Essential Supporting Documents

Think of your supporting documents as the backbone of your entire visa application. Everything you've stated on your online form is just a claim until you provide the hard evidence to back it up. This is where you prove your case.
A well-organised, complete set of documents tells the visa officer a clear, credible story about who you are and why you should be granted a visa. A messy, incomplete file? That just creates doubt and raises red flags. It’s not just about ticking boxes; it's about building a compelling argument for your trip.
The Non-Negotiables: Core Documents for Nigerian Applicants
No matter which UK visa you’re applying for, a few documents are almost always required. Get these right from the very beginning, as any mistake here can be an instant deal-breaker.
- Your International Passport: This is obvious, but check the details. It must be valid for your entire planned stay in the UK and have at least one completely blank page for the visa sticker.
- Proof of Financial Capacity: You'll need six months of official, stamped bank statements. They have to clearly show your full name, account number, and the bank’s logo. The goal is to prove you can comfortably cover all the costs of your trip.
- Tuberculosis (TB) Test Certificate: This is mandatory if you intend to stay in the UK for more than six months. You can't just go to any clinic; it must be done at a UK Home Office-approved centre in Nigeria.
These three are your foundation. Once you have them sorted, you can move on to the specific evidence your visa type requires.
Tailoring Documents to Your Specific Visa
This is where the real work begins. The documents you need will change drastically depending on whether you’re going as a tourist, a student, or for work.
Applying for a Standard Visitor Visa?
Your primary mission here is to convince the visa officer that you have strong ties to Nigeria and will definitely return home after your visit.
- Letter of Employment: Get an official letter from your employer on company letterhead. It should state your job title, salary, how long you've worked there, and confirm that your leave for the trip has been approved.
- Payslips: Provide your last six months' payslips. This directly supports the salary figure mentioned in your employment letter.
- Proof of Assets: If you own property or have significant investments in Nigeria, include the documents. This is powerful evidence that you have a life to come back to.
Applying for a Student Visa?
For students, the focus shifts entirely to your academic intentions and your ability to fund your education and living expenses without issues.
- Confirmation of Acceptance for Studies (CAS): This is the single most critical document for a student visa. It's a unique reference number issued by your UK university after you've accepted their offer.
- Academic Records: Include the transcripts and certificates for the qualifications that got you admitted into your UK course.
- Proof of Maintenance Funds: You must provide bank statements showing you have enough money to cover your first year's tuition fees and the required living costs. The rules for this are very strict.
It's worth noting that the Home Office is paying very close attention to applications from Nigeria. For instance, demand for UK study visas from Nigeria shot up by a massive 64% in the first quarter of 2025. This surge means every document is being scrutinised more intensely than ever. Your evidence needs to be solid and easy to verify.
A Quick Tip from Experience: Never assume a document speaks for itself. If someone else is sponsoring your trip, for example, don’t just submit their bank statement. You need a signed sponsorship letter, a copy of their passport’s data page, and their bank statements to create a clear, undeniable link.
The specific visa you're applying for also affects the cost, which can in turn influence the financial documents you need to show. For a full breakdown of the expenses involved, you can check out our guide on the complete UK work visa cost.
What to Expect at Your Biometric Appointment
You've done the hard part—filling out the forms and paying the fees. Now comes the in-person bit: your biometric appointment. This is where you’ll give your fingerprints and have your photo taken at a TLScontact Visa Application Centre (VAC), which you'll find in Lagos and Abuja.
This step is non-negotiable; without your biometrics, your visa application simply can't move forward.
Once your payment is confirmed, the UK government website will automatically push you over to the TLScontact portal. You'll need to create an account there to see the appointment calendar and pick a slot. A word of warning: standard appointments are free, but they vanish fast, particularly during the summer rush or before Christmas.
Choosing Your Appointment Service Level
On the TLScontact site, you’ll see a menu of options beyond the standard booking. It's easy to get overwhelmed, but here's a simple breakdown of what these paid services actually offer.
- Standard Appointment: This is the basic, free option included in your visa fee. You show up at your allotted time and wait your turn. It gets the job done.
- Premium Lounge: For an extra fee, you get access to a separate, more comfortable lounge. Think fewer crowds, complimentary drinks, and more personalised assistance. It’s a bit of an upgrade for your comfort.
- Walk-in Service: Can't find a slot that works for you? Some centres let you walk in on a specific day for a fee. This is great if you're in a real hurry, but it comes at a price.
It's crucial to understand that paying more for these services has zero impact on whether your visa is approved. You're purely paying for a more convenient or comfortable experience at the VAC itself. If you're on a budget, stick with the standard appointment—it works just fine.
My Two Cents: The premium services are all about saving time and reducing stress. If you have a demanding job and can't afford to spend hours at the centre, or if you just want a calmer process, the extra cost for a premium lounge can be money well spent.
On the Day: What to Bring and How to Prepare
A little preparation goes a long way in making your appointment day a breeze. Plan to arrive at the TLScontact centre at least 15 minutes before your scheduled time. You don't want to be flustered by traffic or last-minute delays.
You actually don't need to carry a mountain of paperwork with you. Just bring the essentials:
- Your valid international passport.
- Your appointment confirmation letter (a printout or just the email on your phone is fine).
- The document submission checklist, especially if you uploaded your documents yourself.
Once you're inside, you’ll clear a quick security check. A TLScontact agent will then call you up to check your passport and appointment letter before guiding you to the biometrics booth. In the booth, they'll scan your fingerprints and take a digital photo.
The whole thing is usually over pretty quickly. Just listen to the instructions from the staff, and you'll be out of there before you know it.
Common UK Visa Questions From Nigerians
Even with the best preparation, the UK visa process can throw a few curveballs. Knowing what to expect and having answers to the most common questions can save you a world of stress and help you sidestep simple mistakes that could sink your application.
Let's walk through some of the queries that pop up most often for Nigerians, so you can move forward with confidence.
What Are the Top Reasons UK Visas Are Refused for Nigerians?
Getting that refusal notice is a punch to the gut, but it almost always boils down to a few common, avoidable issues. The number one reason, by far, is failing to prove you have enough money for your trip. This isn't just about the amount in your account; it's about proving the funds are legitimately yours and have been stable for the required period.
Another major red flag for visa officers is what they call "lack of ties to home country." If they aren't convinced you have solid reasons to return to Nigeria—think a steady job, business ownership, family commitments, or property—they might suspect you intend to overstay.
Finally, a surprisingly common reason for refusal is simply submitting incomplete, inconsistent, or even fake documents. Every detail has to line up perfectly.
Key Takeaway: A successful application hinges on proving two things beyond doubt: your financial stability and your genuine intention to return to Nigeria after your visit.
How Long Does a UK Visa Decision Take in Nigeria?
This is the hard part—the waiting game. After you've done your biometrics, the standard processing time for most non-settlement visas, like for visiting or studying, is officially 15 working days. That's about three weeks, not including weekends or public holidays.
But remember, that's a guideline, not a guarantee. The actual timeline can shift depending on how busy the decision-making centres are.
If you're in a rush, you can pay extra for faster services:
- Priority Visa: Usually gets you a decision in 5 working days.
- Super Priority Visa: Aims for a decision by the next working day.
Always check the latest processing times on the official GOV.UK website before you finalise your plans.
Can Someone Else Sponsor My Visa Application?
Yes, absolutely! Having a sponsor, either in Nigeria or the UK, pay for your trip is perfectly normal and very common. The key is to provide crystal-clear evidence that leaves the visa officer with no questions.
You'll need to arm yourself with solid proof:
- A signed letter of sponsorship from the person funding your trip, explaining their relationship to you and what costs they will cover.
- Their official bank statements, which must meet the same strict standards as your own would.
- A copy of the bio-data page of their passport (or other official ID).
- Proof of your relationship to them—a birth certificate for a parent, a marriage certificate for a spouse, etc.
The responsibility is on you to prove the sponsor has the money and that your relationship is genuine. For a deeper dive into all the paperwork you might need, you can review our detailed guide on UK visa requirements for Nigerian citizens.
Feeling overwhelmed by the paperwork? JapaChat is here to help. As Nigeria's first AI immigration expert, we provide instant, accurate answers to your specific questions about visas, documents, and relocation planning. Sign up for free and start your journey with confidence at https://japachat.com.
Leave a Reply