How to Apply for a Canadian Work Permit from Nigeria: The Ultimate Guide
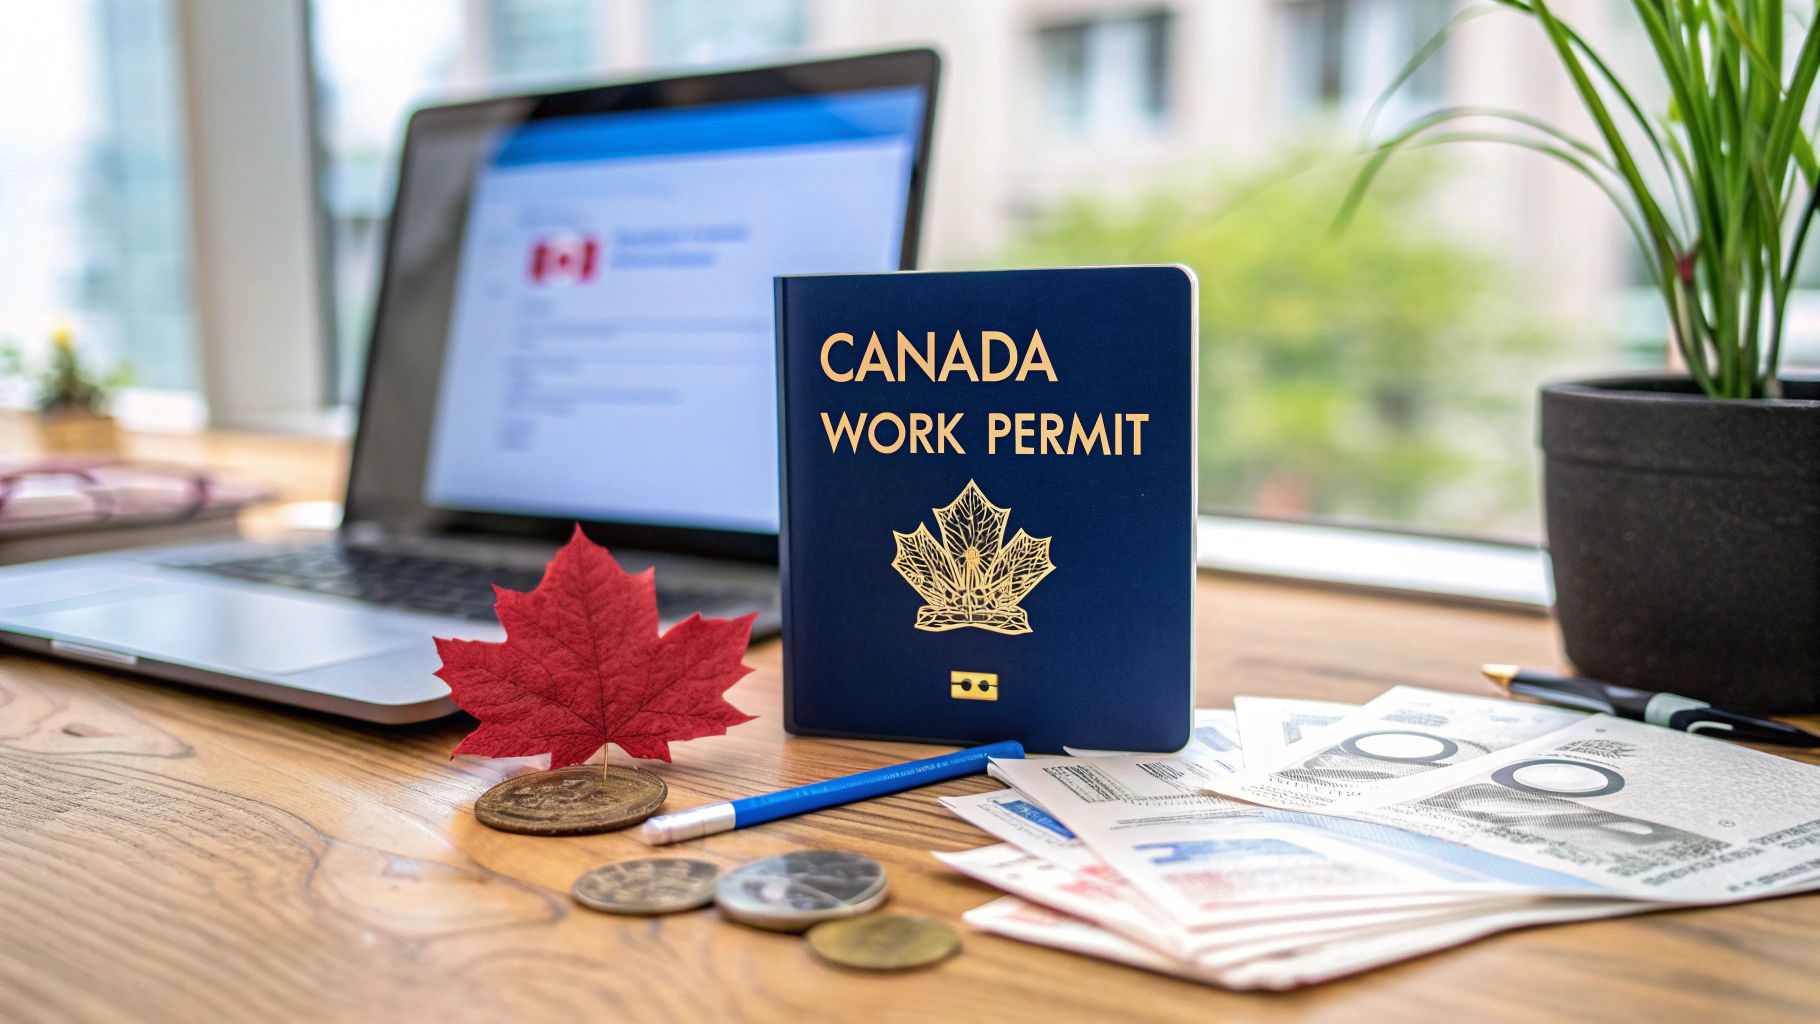
So, you’ve landed a job offer in Canada – congratulations! Now comes the crucial part: navigating the work permit application process from Nigeria. It all boils down to one key thing: securing a valid job offer and figuring out which of Canada’s two main work permit programmes you fall under.
This isn’t just paperwork; your specific path will entirely depend on whether your employer needs something called a Labour Market Impact Assessment (LMIA). Think of the LMIA as proof from your Canadian employer that they couldn't find a local to do the job and genuinely need to hire from abroad.
Your Canadian Dream Starts with the Right Permit

The journey to working in Canada might seem complex, but it really starts with understanding two main pathways. These routes will dictate every document you gather and even how quickly your application is processed.
Your entire application hinges on the programme your job offer falls under:
- Temporary Foreign Worker Program (TFWP): This is the go-to for employers who need to fill genuine labour shortages. For example, imagine a construction company in Alberta that’s searched high and low for skilled welders and can’t find any. They would get an LMIA to hire a welder from Port Harcourt under the TFWP.
- International Mobility Program (IMP): This programme is different. It’s designed to support Canada’s wider economic and cultural goals, and jobs under the IMP are exempt from the LMIA requirement. A software developer in Lagos transferring to their company’s new Toronto office is a perfect example; they would likely come through an IMP stream.
Understanding the Current Landscape
It’s vital to go into this with realistic expectations. The Canadian government is constantly adjusting its immigration targets based on the country's economic needs, and this has a direct impact on Nigerian applicants.
Recently, policies have shifted to manage the number of temporary residents more carefully. For instance, in early 2024, the Canadian government announced changes and caps that affect the number of permits being issued. As a Nigerian applicant, you’re competing in a global pool that's being affected by these tighter controls. Staying on top of Canada's latest immigration targets is non-negotiable.
The single biggest mistake I see people make is assuming all work permits are the same. A nurse from Abuja whose job requires an LMIA has a completely different application journey than a tech professional using an LMIA-exempt stream. Knowing which one you are is the first real step to success.
Why This Distinction Matters
Figuring out if your role needs an LMIA is critical. Why? Because it dictates what your employer has to do on their end and what documents you need to prepare on yours.
If your role requires an LMIA, it means your employer has already put in a lot of effort to prove they need you specifically. If your role is LMIA-exempt, the focus shifts more towards your unique skills or specific circumstances, like being an intra-company transferee.
Getting this right from the start helps you build the correct document checklist and sets you up for a much smoother process. As you begin to map out your journey, our detailed guide on how to relocate to Canada from Nigeria provides a fantastic high-level overview.
Choosing Your Permit: Employer-Specific vs Open
Before you even think about gathering documents, the very first, most critical decision is figuring out which Canadian work permit is right for you. It's not a one-size-fits-all situation. The path you choose will define everything that follows, from the paperwork you'll need to your freedom of movement once you land in Canada.
Broadly speaking, you're looking at two main types: the employer-specific work permit and the open work permit. Let's break down what each one means for a Nigerian applicant.
An employer-specific permit is exactly what it sounds like—it ties you to a single, specific employer. Imagine you're a software developer in Lagos and you've just landed a fantastic job offer from a tech company in Toronto. This is the permit for you. Your permit will literally have the company's name on it, your job title, and the location where you'll work. You can't just up and leave to work for a competitor.
Then you have the open work permit, which is the golden ticket for flexibility. It doesn't tie you to any one employer, meaning you can work for almost any company, anywhere in Canada. But, and this is a big but, not everyone can just apply for one.
When an Open Work Permit Is an Option
Getting an open work permit usually depends on your unique situation. They are reserved for specific circumstances, and for Nigerians, the most common scenario is the Post-Graduation Work Permit (PGWP).
If you’ve completed a programme at a designated Canadian learning institution, you might be eligible for a PGWP. It’s an incredible opportunity to get real Canadian work experience after your studies.
Another common path is for spouses. If your husband or wife is in Canada as a skilled worker or an international student, you may qualify for an open work permit to join them and contribute to the household income.
The Employer-Specific Route: The Most Common Path
For the vast majority of Nigerians applying from home, the employer-specific permit is the way to go. This journey starts with something very important: a legitimate job offer from a Canadian employer.
In most cases, this isn’t just any job offer. The employer often has to get what's called a Labour Market Impact Assessment (LMIA). This is a document that proves they tried to find a Canadian or permanent resident for the job first but couldn't. It shows the government that there's a real need to hire a foreign worker like you.
Landing that job offer is your first major hurdle. It means getting your CV in shape for the Canadian market and building a strong LinkedIn profile to network with recruiters and hiring managers. It's a lot of work, but the payoff is huge. To put things in perspective, according to the latest IRCC data, the approval rate for work permits under the Temporary Foreign Worker Program (which often require an LMIA) is generally very high.
To help you get a clearer picture, here's a quick visual guide to the core documents you'll need to start preparing for your application.
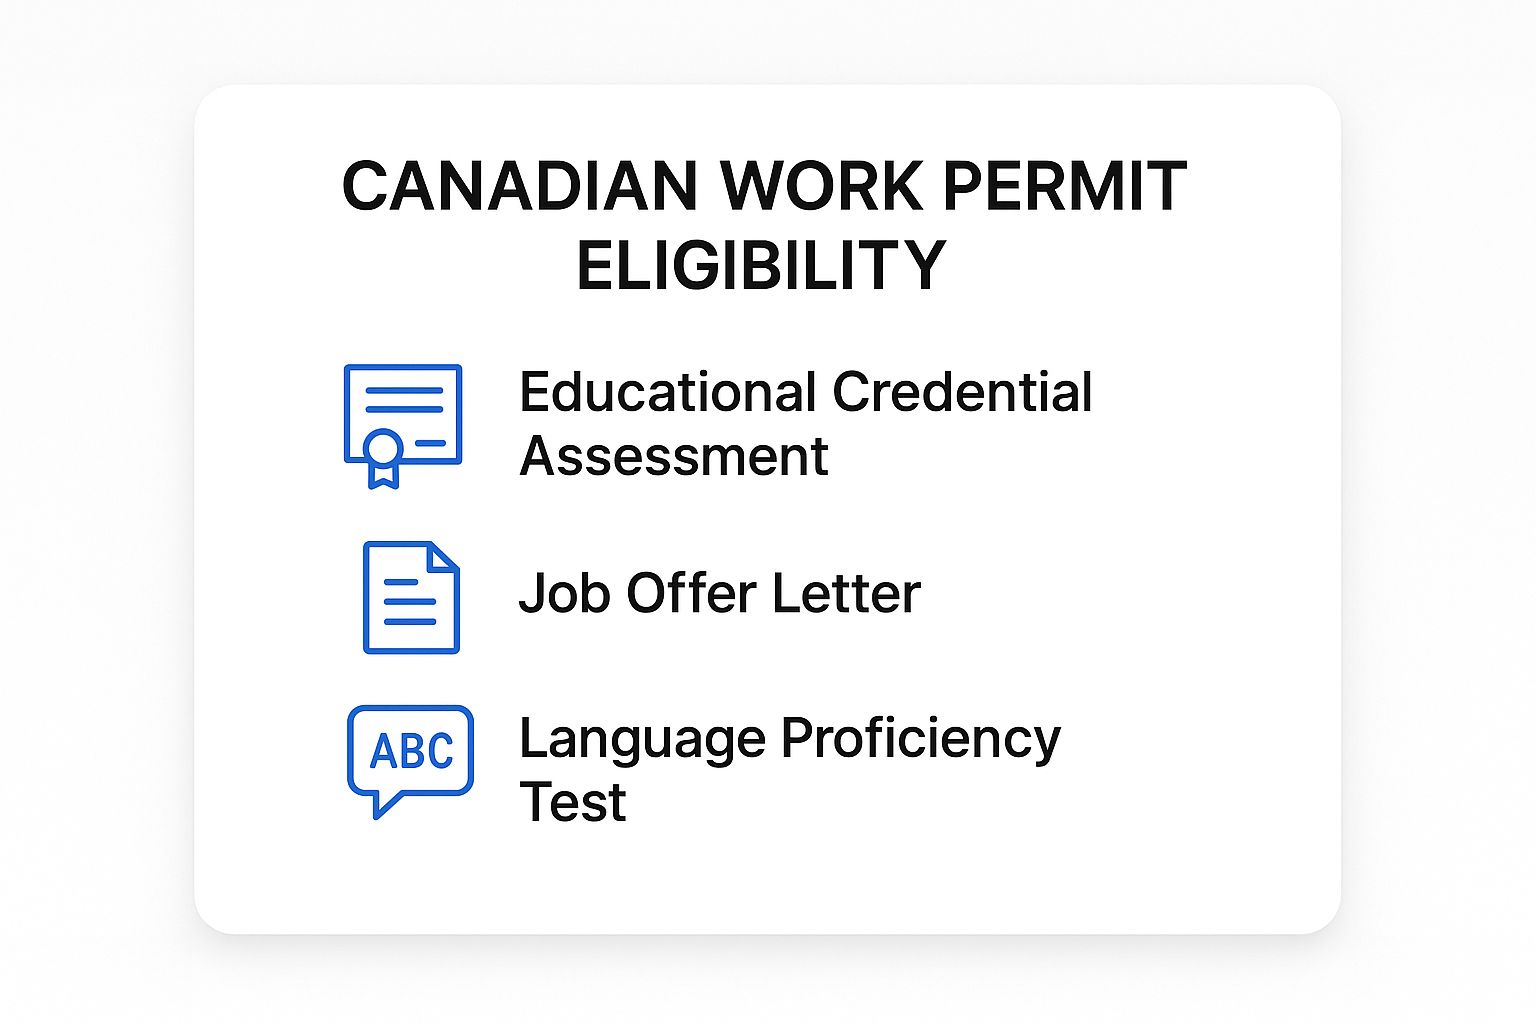
These three pillars—proof of your education, a valid job offer, and your language test results—are the foundation of any successful work permit application, no matter which type you're going for.
Employer-Specific vs Open Work Permit for Nigerian Applicants
To make the choice clearer, here’s a straightforward comparison of the two permit types.
| Feature | Employer-Specific Work Permit | Open Work Permit |
|---|---|---|
| Main Requirement | A valid job offer from a specific Canadian employer. Often requires an LMIA. | Meeting specific eligibility criteria (e.g., being a recent graduate, a spouse, etc.). No job offer needed upfront. |
| Flexibility | Low. You are tied to one employer, one role, and one location listed on the permit. | High. You can work for almost any employer anywhere in Canada. |
| Who It's For | Most skilled workers applying from Nigeria who have secured a job in Canada. | International student graduates (PGWP), spouses of skilled workers or students, and other specific categories. |
| Application Process | Your employer starts the process (e.g., by getting an LMIA) before you apply for the permit. | You apply directly based on your own eligibility. |
Ultimately, choosing the right permit is less of a choice and more about your circumstances. The open permit offers incredible freedom, but only if you meet the strict criteria. For most, the employer-specific route is the most direct path to working in Canada, provided you can secure that all-important job offer.
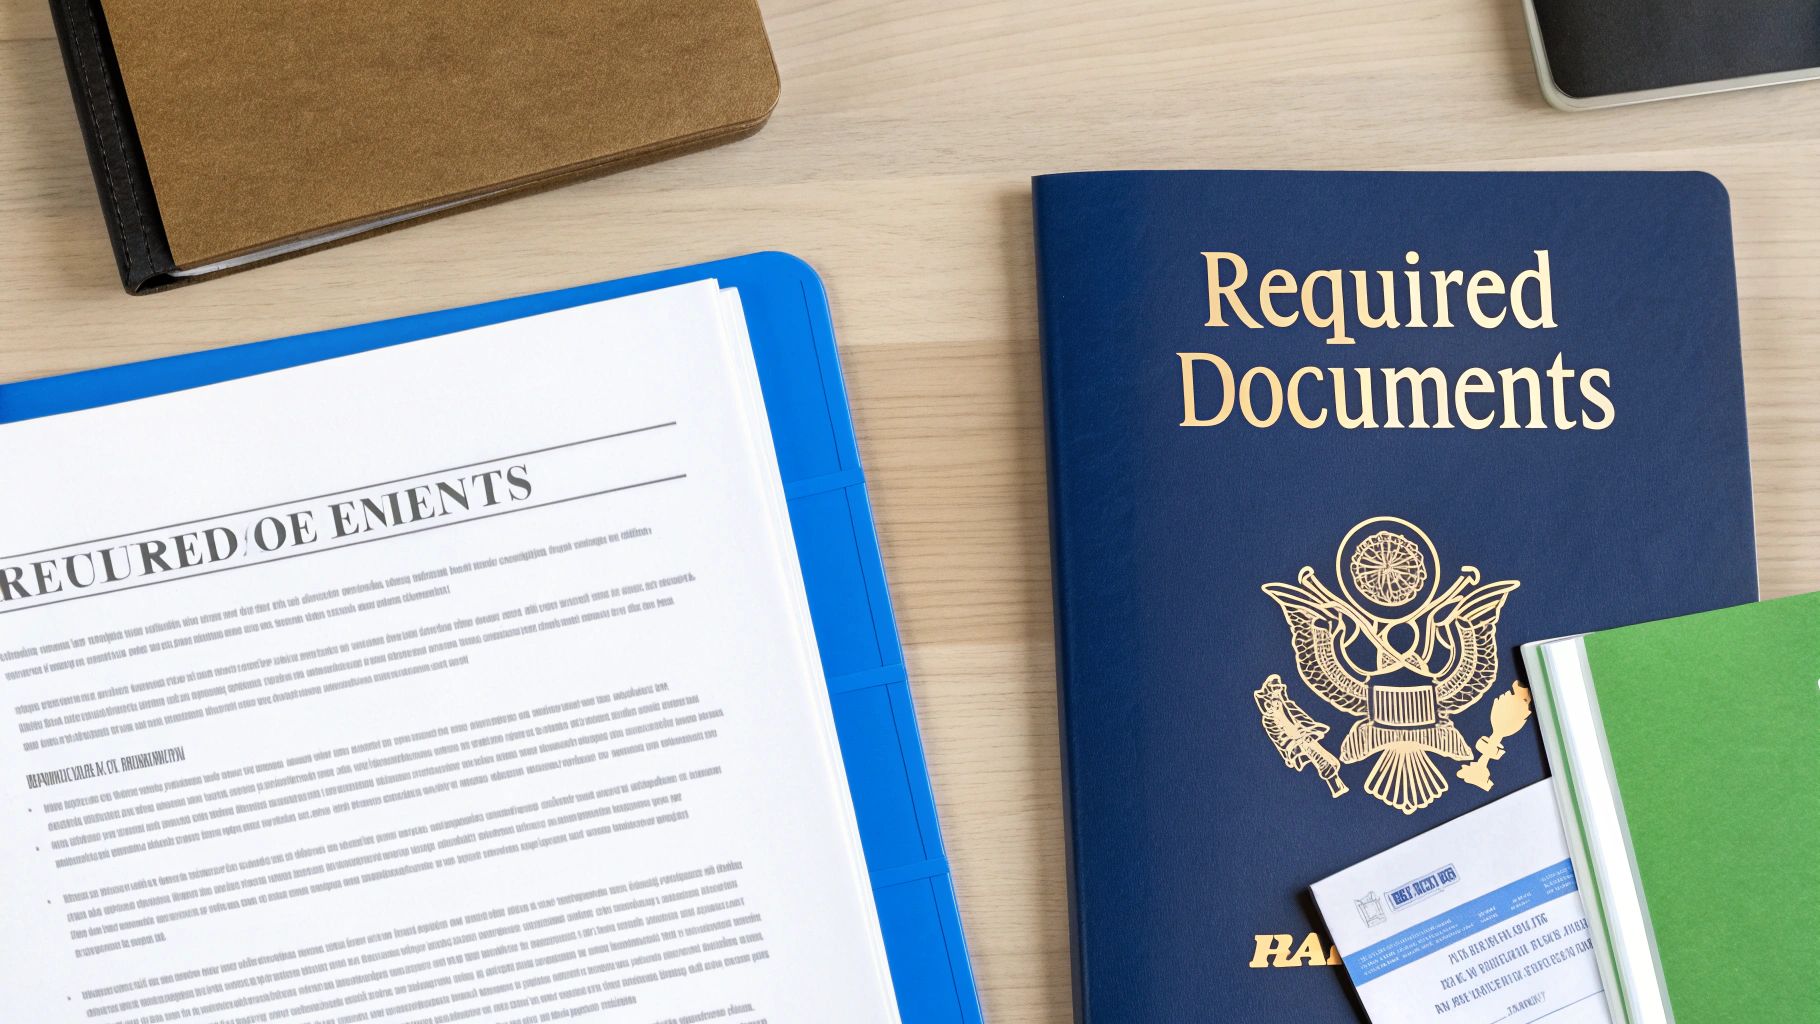
Getting Your Documents in Order: The Nigerian Checklist

Honestly, this is the stage where most applications either succeed or fail. A single missing document or a small, seemingly insignificant error can cause massive delays or, worse, an outright refusal. Let's walk through a specific checklist I've put together for applicants from Nigeria, zeroing in on the details that visa officers really care about.
Think of your document package as the evidence that backs up your entire story. Every single piece of paper needs to be clear, authentic, and organised logically. Getting this right from the start is the best thing you can do to avoid the common pitfalls that trip so many people up.
The Absolute Essentials
Alright, let's start with the non-negotiables. These are the documents that form the very foundation of your application. There's no wiggle room here.
- Your Nigerian International Passport: First things first, check your passport. It needs at least one completely blank page (not including the last page) and must be valid for the entire time you plan to be in Canada.
- The Right Application Forms: The main one you'll be dealing with is the Application for Work Permit Made Outside of Canada (IMM 1295). You'll also need to fill out the Family Information form (IMM 5707).
- A Proper Digital Photo: Don't just scan an old passport picture. The photo has to meet IRCC's very specific requirements for size, background, and expression. Take the time to review the official guidelines before you get one taken.
- Proof of Your Medical Exam: This is a big one. You have to get an upfront medical exam from an IRCC-approved "panel physician" right here in Nigeria. Once it's done, the doctor will give you an information sheet – that's what you need to submit with your application.
Making Your CV Canadian-Friendly
Your Nigerian CV might have served you well, but it's going to need a few adjustments for a Canadian audience. Canadian employers and visa officers expect a different format. They prefer CVs that are short and to the point (think 1-2 pages maximum), and they don't want to see a photo or personal details like your age or marital status. The focus is purely on your professional, quantifiable achievements.
For instance, instead of a vague statement like "Managed social media accounts," a Canadian-style CV would be much more specific: "Grew social media engagement by 45% in six months by creating and executing a new content strategy." See the difference? It's all about the results.
Proving You Have the Funds
This is a critical point that gets a lot of scrutiny, especially for Nigerian applicants. You must show the visa officer that you can take care of yourself financially when you first land in Canada, before you even get your first paycheque. Just showing a lump sum of money in your account isn't going to cut it; they need to understand where it came from.
A very common mistake I see is people submitting bank statements without any context. Make sure every single page of your Nigerian bank statement is officially stamped by the bank. I strongly advise you to also get a reference letter from your bank that confirms the account is in good standing. Crucially, it should also show a clear conversion of your final Naira balance into Canadian Dollars (CAD) at the current exchange rate.
Police Certificates and Biometrics
To prove you are admissible to Canada, you'll need to provide a police clearance certificate. You get this from the Nigeria Police Force Criminal Investigation Department (CID). My advice? Start this process as early as possible because it can sometimes take a while to come through.
Finally, there's biometrics – your fingerprints and a photo. After you've submitted your application online and paid all the fees, you will receive a Biometric Instruction Letter (BIL). This is your ticket to book an appointment at a VFS Global Visa Application Centre (VAC) in either Lagos or Abuja. Don't sit on this. Your application processing clock doesn't even start ticking until your biometrics are on file with IRCC.
Getting to Grips with the IRCC Online Portal
Alright, with your documents ready, it’s time to tackle the official Immigration, Refugees and Citizenship Canada (IRCC) portal. This is where you’ll bring everything together. At first glance, the portal can seem a bit overwhelming, but think of it as your personal dashboard for your entire application journey.
First things first, you'll need to create your secure IRCC account. This is non-negotiable, as it’s how you'll upload documents, pay your fees, and get all your updates from the Canadian government.
The official IRCC homepage is your starting point. It looks like this:
Once you're in, the system will guide you through a detailed questionnaire. The answers you provide here are critical—they generate a personalised document checklist tailored specifically to your circumstances.
Answering the Eligibility Questions The Right Way
Pay close attention to this initial questionnaire. Your answers directly determine which forms you need to fill out and which documents you’ll be asked to upload. A simple mistake here can throw your whole application off, forcing you to find documents you don’t actually need and causing unnecessary stress and delays.
Here’s a practical tip I always give my clients: save your progress constantly. We all know how unpredictable the internet can be in Nigeria. The last thing you want is for a "NEPA took light" moment to wipe out an hour of your hard work. The portal has a "save and exit" feature – make it your best friend.
Navigating Common Pitfalls for Nigerian Applicants
From my experience, I’ve seen a few specific areas in the online forms that regularly trip up applicants from Nigeria. Getting these right can make a huge difference.
- Declaring Your Travel History: Be 100% honest and thorough. Don't leave anything out. Even if you just popped over to Benin Republic or Ghana for a weekend, it needs to be on the form. A complete and accurate travel history demonstrates that you are a genuine traveller who respects immigration laws.
- Addressing Previous Visa Refusals: Hiding a past visa refusal—whether from Canada, the UK, the US, or anywhere else—is a massive red flag. Always declare it. If you know the reason for the refusal, explain it briefly and honestly. Transparency is key here; they will find out.
- Listing All Your Family Members: When you get to the IMM 5707 form (Family Information), you must list all your immediate family members. This means your spouse, parents, children, and siblings, regardless of whether they plan to travel with you or not. Forgetting someone can be seen as misrepresentation, which has serious consequences.
Your main goal is to submit an application that is clean, clear, and free of errors. Visa officers are dealing with a massive number of files. Just think, IRCC regularly processes hundreds of thousands of work permit applications every year. An application that is confusing or has mistakes is an easy one to refuse. You can read more about these immigration statistics to understand the bigger picture.
Final Checks on the IMM 1295 Form
Before hitting that final "submit" button, take a deep breath and triple-check the main application form, IMM 1295. A simple typo in your passport number or an incorrect date of birth can derail your application.
Also, double-check that your uploaded documents meet the technical requirements. They usually need to be in PDF or JPG format and must be under the file size limit. If a file is too large, the system will simply reject it, and you’ll be stuck trying to figure out why your submission won't go through.
So, What Happens After You Click 'Submit'?
That feeling of hitting the "submit" button on your application is incredible, isn't it? A huge weight lifts off your shoulders. But then, a new kind of challenge begins: the waiting game. Let's walk through what happens next so you can navigate this final stretch without losing your mind.
Once your application is officially in the system, your IRCC secure account is your new best friend. You'll see the status flip from "submitted" to "in progress." It's tempting to refresh it ten times a day, but try not to panic if it stays the same for a while. These things genuinely take time.
For us in Nigeria, the processing times can be all over the map, depending on how many people are applying and the unique details of your file. Your best bet is to check the official IRCC processing times tool directly. It gives you a much more realistic estimate than what you might hear on WhatsApp groups or forums, which helps keep your expectations in check.
Responding to IRCC Requests
Don't be surprised if IRCC asks for more information. A request for additional documents or even an interview at the Canadian High Commission isn't a sign of trouble; it's a completely normal part of the process.
If you get a request, you need to act fast.
- Read it carefully. Make sure you understand exactly what they're asking for.
- Get the documents together right away. No "I'll do it tomorrow."
- Upload everything through your IRCC account long before the deadline hits.
A quick, complete response tells the visa officer you’re organised and serious. For a closer look at what each status update means and how to handle them, you can find a lot of useful details on visa application tracking.
Your Golden Ticket: The POE Letter
The email notification you've been dreaming of is the one about a "Correspondence Letter" in your account. This is it! Inside, you'll find your Port of Entry (POE) Letter of Introduction. Just to be clear, this letter is not your actual work permit. Think of it as the key you need to get your permit printed when you land in Canada.
The POE letter is basically your approval in principle. Once that letter is in your hands, you can finally start making real plans for your move. It’s the green light you’ve been waiting for.
With the POE letter secured, the real fun begins. You can start seriously looking at flights into major airports like Toronto (YYZ) or Calgary (YYC). It's also a smart move to book an Airbnb or temporary accommodation for your first couple of weeks. This gives you a landing pad while you search for a more permanent place to live.
When you finally arrive, a Canada Border Services Agency (CBSA) officer will call you over for a brief chat. Have your passport, your POE letter, and maybe your job offer letter handy. They’ll likely ask a few simple questions about your job and where you'll be staying. Just be calm, polite, and honest. This is the final checkpoint before they print that official work permit and officially welcome you to Canada.
Burning Questions Nigerian Applicants Often Ask
When you're navigating the Canadian work permit process from Nigeria, a lot of specific, practical questions pop up. Let's get straight to the point and tackle some of the most common ones we see, so you can move forward with clarity.
How Much "Show Money" is Enough?
There’s no single, official number that IRCC stamps on this, but here’s the reality: you need to prove you can handle your expenses before that first Canadian paycheque lands. Think of it as your landing fund.
A good rule of thumb is to have the equivalent of CAD $2,500 to $3,000 for yourself. If you’re bringing family, that number needs to go up. But it's not just about the final balance. The visa officer will scrutinise your bank statements, so they need to be clean, officially stamped, and clearly show the source of your funds.
Can I Bring My Family With Me to Canada?
For many, the answer is a resounding yes! If you've landed a job offer in a skilled position (that’s NOC TEER 0, 1, 2, or 3), your spouse or partner can often apply for an open work permit.
An open work permit is fantastic because it means they can work for nearly any employer in Canada. Your kids can also typically get study permits to enrol in school. The best strategy is to submit everyone's applications together with yours. It just makes the whole process smoother.
Here's a piece of advice I can't stress enough: Always, always declare your spouse and all dependent children on your application, even if they aren't coming with you right away. Not doing this can create massive headaches down the line if you try to sponsor them later.
What are the Common Reasons for Refusals from Nigeria?
Knowing why others get refused is the best way to avoid the same pitfalls. For Nigerian applicants, the sticking points often come down to a few key areas:
- Weak Home Ties: The visa officer isn't convinced you’ll head back to Nigeria when your permit expires. You need to show solid proof of your connections—things like family commitments, property you own, or a career you plan to return to.
- Shaky Proof of Funds: The financial documents you provided just didn't paint a clear enough picture of your ability to support yourself when you first arrive.
- Questionable Job Offer: The officer might have doubts about whether the job offer is genuine, or if you're truly qualified for the position you've been offered.
- Inconsistent Application: This is a big one. If details in your forms don't match the information in your supporting documents, it raises immediate red flags.
By making sure you have strong, clear, and consistent evidence for each of these points, you give your application a much better shot at getting approved.
Figuring out your move to Canada can feel like a huge task, but you’re not in it alone. For instant, reliable answers to your immigration questions, get advice from JapaChat, Nigeria's first AI immigration expert. Start mapping out your journey with confidence today. https://japachat.com
Leave a Reply