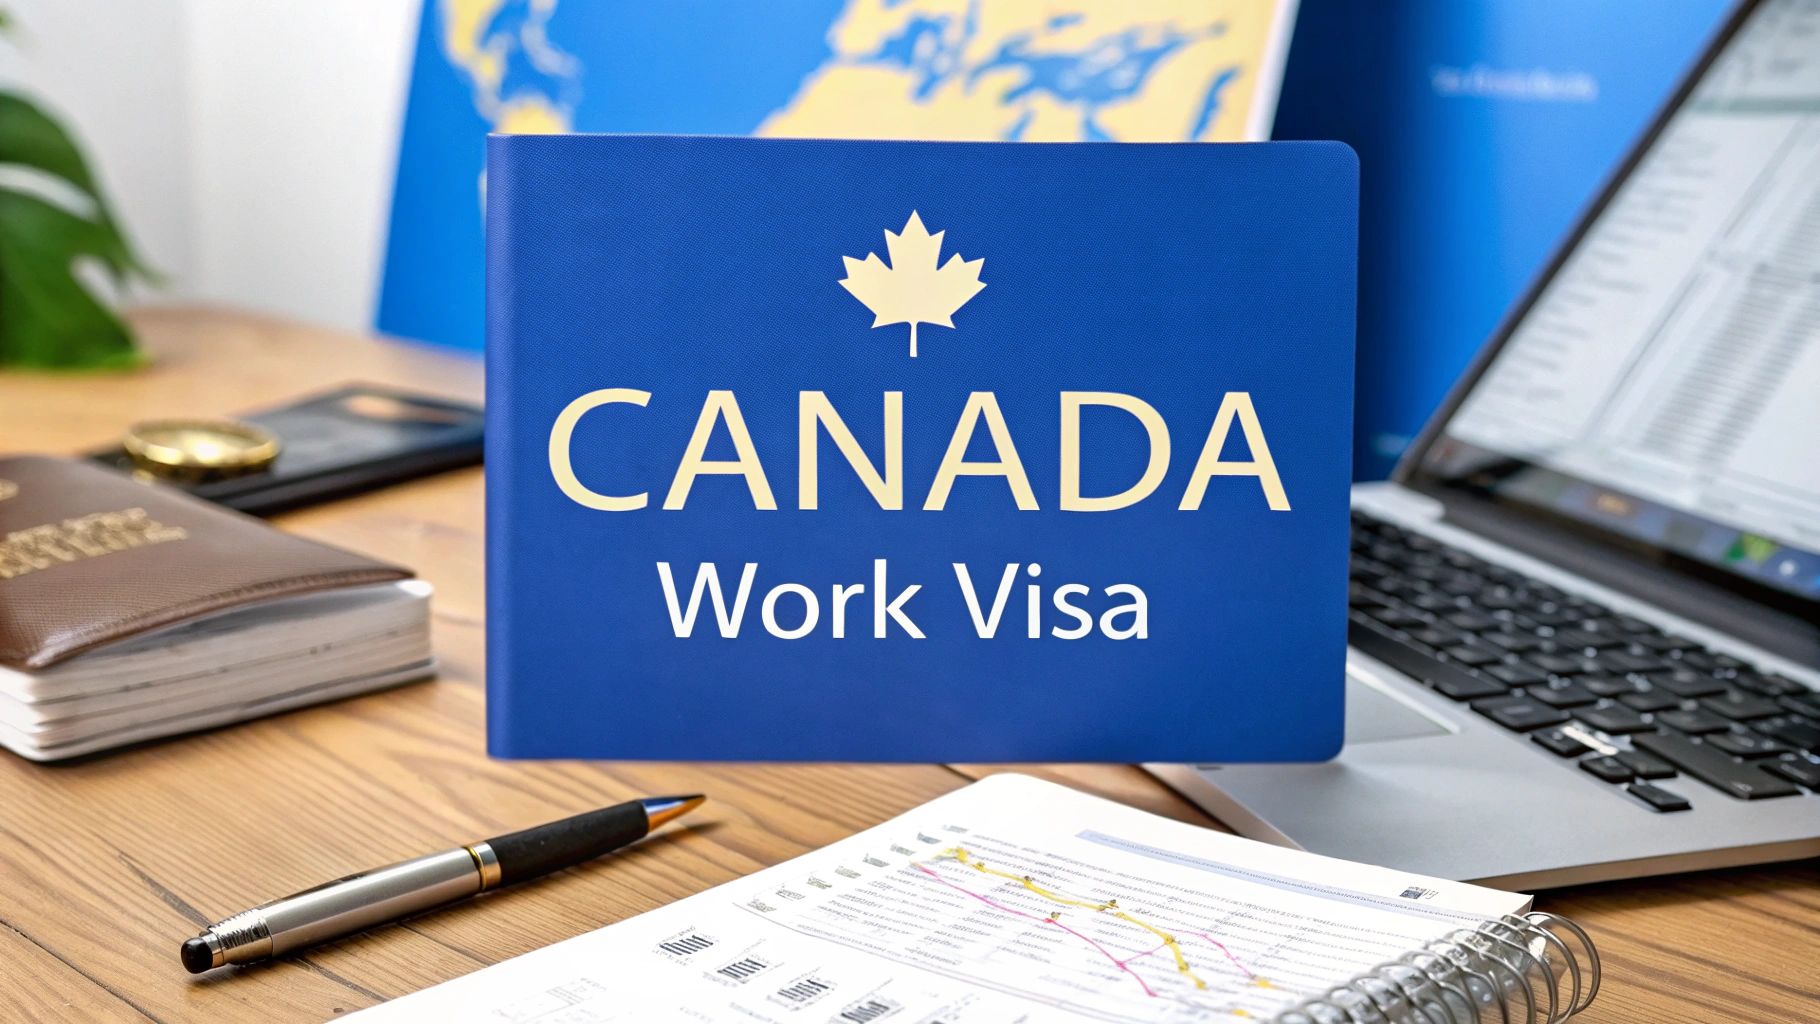
How to Get a Work Visa in Canada: A Nigerian’s Guide
So, you're looking to get a work visa for Canada from Nigeria. The usual route starts with a job offer from a Canadian employer, who often needs to get a Labour Market Impact Assessment (LMIA) to hire you. It’s a process, for sure, but totally manageable once you know the steps.
It all boils down to collecting the right documents, proving you’ve got the skills for the job, and applying through the immigration stream that makes the most sense for you. Let's break down exactly how to approach this journey from Nigeria.
Your Guide to Working in Canada
If a career in Canada is on your mind, you've come to the right place. This guide is designed for Nigerian professionals like you, cutting through the official jargon to give you a clear roadmap. We’ll focus on the practical steps that actually matter for your application.
Think of the Canadian work permit as more than just a visa; for many Nigerians, it's the first major step towards permanent residency. It’s a well-trodden path. Nigerians are now one of the top groups of new permanent residents in Canada, so you're in good company. Many who have successfully made the move started their journey on temporary work or study permits.
Our goal here is to give you the confidence and know-how to make your Canadian dream a reality.
Understanding the Basics
The whole process can seem like a mountain to climb, but it really comes down to three things: checking your eligibility, picking the right program, and putting together a rock-solid application.
Here’s a sneak peek at what we’ll cover:
- The Main Pathways: We’ll look at the big ones, like Express Entry and the Provincial Nominee Programs (PNPs).
- Permit Types: You'll learn the crucial difference between an employer-specific work permit (tied to one company) and an open work permit (which lets you work for almost any employer).
- Nigerian-Specific Advice: We'll tackle common hurdles for Nigerians, like how to get your degree from a Nigerian university validated for Canada or prove your funds when they're in Naira.
A successful application is about more than just filling out forms. It’s about telling a compelling story to the immigration officer—a story that shows you’re qualified, prepared, and a fantastic addition to the Canadian workforce.
Once you land that Canadian work permit, the next step is hitting the job market. To get a head start, you should check out the best job search websites to see what's out there.
For a comprehensive look at the entire journey, from A to Z, take a look at our complete guide on how to relocate to Canada from Nigeria. It’s the perfect starting point for this life-changing move.
Finding Your Best Pathway to a Canadian Work Permit
Choosing the right immigration programme is easily the biggest decision you'll make on your journey to working in Canada. Think of it like deciding whether to take the Lekki-Epe Expressway or the Third Mainland Bridge to get to the Island; your best route depends on where you're starting from, where you're going, and the traffic on the day.
For your Canadian work visa, your skills, experience, and whether you already have a job offer are the factors that will point you down the right path. Let's break down the most common routes for Nigerian professionals so you can see exactly which one fits your situation.
This visual guide gives a quick overview of how to start thinking about your options, depending on whether you have a Canadian job offer in hand.
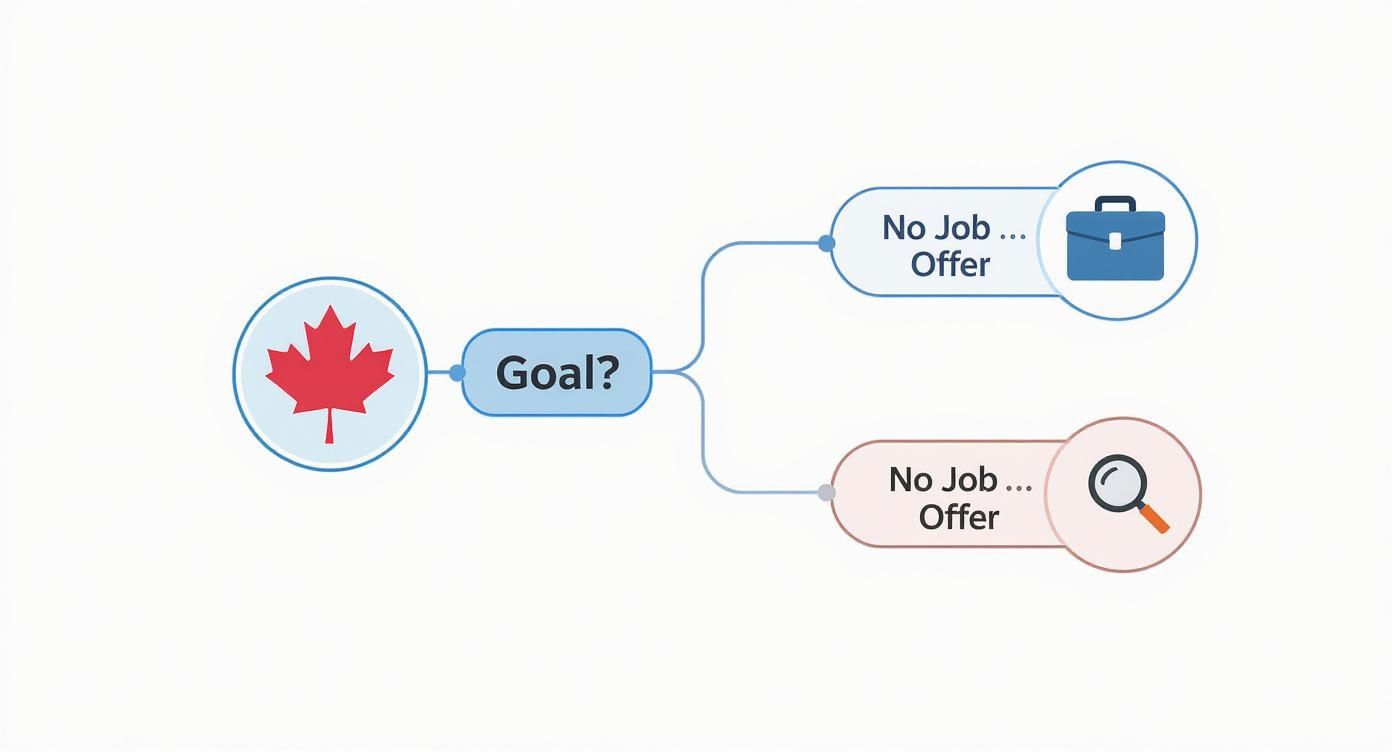
As you can see, a job offer opens up some very direct pathways. If you don't have one, your focus will need to shift to programmes that value your specific skills and professional background.
To help you compare your options at a glance, here’s a breakdown of the most popular routes.
Top Canadian Work Visa Routes for Nigerians
This table compares the most common work permit pathways to help you choose the best fit for your skills and career goals.
| Pathway | Requires Job Offer? | Key Requirement | Best For… |
|---|---|---|---|
| Temporary Foreign Worker Program (TFWP) | Yes | Positive LMIA | Anyone with a job offer from an employer willing to go through the LMIA process. |
| International Mobility Program (IMP) | Usually | LMIA-Exemption | Professionals at multinational firms or those whose work benefits Canada significantly. |
| Provincial Nominee Program (PNP) | Varies | In-demand skills in a specific province | Skilled workers whose profession is needed by a particular province (e.g., tech, healthcare). |
Now, let's look at what each of these really means for you.
The Temporary Foreign Worker Program (TFWP)
This is one of the most direct routes, but it hinges on one crucial document: a Labour Market Impact Assessment (LMIA).
An LMIA is basically proof from the Canadian government that an employer needs to hire a foreign worker because no Canadian citizen or permanent resident is available to do the job. Your potential employer in Canada has to show they advertised the role and couldn't find a local to fill it. This part is their responsibility, not yours, but it’s the key that unlocks this pathway.
If a company gives you a job offer backed by a positive LMIA, your chances of getting a work permit are extremely high. This leads to an employer-specific work permit, which means you are tied to that one employer.
To even get to the job offer stage, your application needs to stand out. It's a good idea to learn how to craft a compelling resume summary that catches the eye of Canadian recruiters.
The International Mobility Program (IMP)
So, what happens if there’s no LMIA? Don't worry, that’s where the International Mobility Program (IMP) comes in. This programme covers work permit streams that are exempt from the LMIA requirement because they bring a significant benefit to Canada.
A perfect example for Nigerians is the Intra-Company Transfer. If you work for a multinational company in Lagos—think of a major bank, tech firm, or an oil and gas company that also has an office in Calgary or Toronto—you could be eligible for a transfer.
This is a fantastic option for experienced professionals. If you're in a senior managerial role or have specialised knowledge, your company can move you to its Canadian branch without needing an LMIA. It makes the entire process much, much smoother.
Provincial Nominee Programs (PNPs)
This is where things get really interesting for skilled Nigerians. Each of Canada's provinces has the power to "nominate" individuals they need for permanent residency based on their local economic demands. Many of these PNPs have streams that first grant you a work permit so you can start working in the province right away.
Provinces are always on the lookout for specific skills. For instance:
- Alberta: Has a massive demand for tech talent and healthcare workers.
- Ontario: The Ontario Immigrant Nominee Program (OINP) frequently targets professionals in IT, finance, and the skilled trades.
- Saskatchewan: Often seeks people with experience in agriculture, healthcare, and engineering.
If your profession is in demand in a particular province, a PNP could be your golden ticket. A nomination shows that a province specifically wants you, which makes your application incredibly strong. For many, securing a provincial nomination isn't just about getting a work permit—it's a powerful first step towards permanent residency.
Some PNP streams are also linked with the federal Express Entry system. If you're considering this route, you'll want to get familiar with creating an Express Entry profile to be ready.
Choosing the right pathway is more than just paperwork; it directly impacts your chance of success. Your strategy matters. The overall approval rate for Canadian work permits was recently around 69%, but some streams performed much better. The TFWP, for example, had a 92% approval rate—proving just how much a solid job offer with an LMIA can clear the way for you.
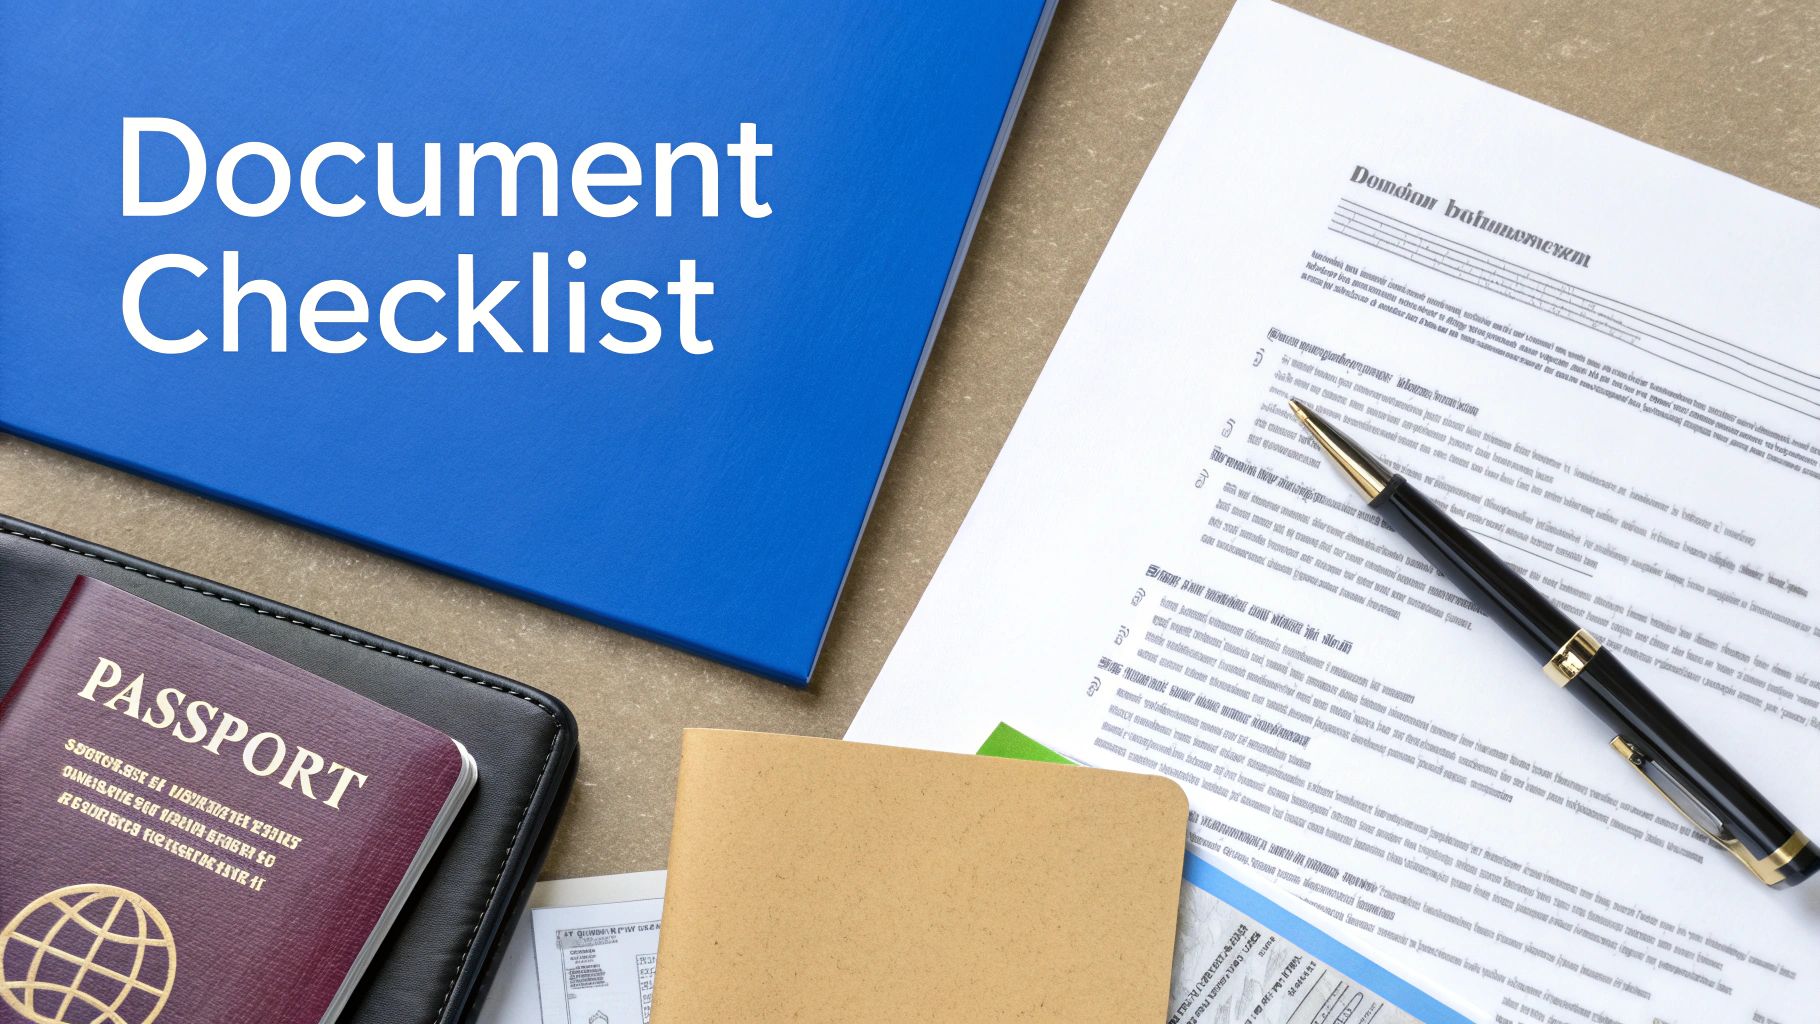
Your Essential Document Checklist
Getting your application file together is a bit like packing for a major trip—you need to be organised and make sure nothing important is left behind. This isn't just about collecting papers; it's about telling a clear and convincing story to the Canadian immigration officer who will be reviewing your case. Let's go through the essential documents you'll need to gather right here in Nigeria.
Think of each document as a chapter in your story. It shows your qualifications, your financial readiness, and your potential to thrive in Canada. Getting this part right from the get-go is honestly one of the best ways to sidestep delays and give your work visa application the best possible chance of success.
Nailing Your Proof of Funds
Let's be real, this is often the biggest hurdle for Nigerian applicants. You have to prove you’ve got enough cash to support yourself when you first land in Canada. Immigration, Refugees and Citizenship Canada (IRCC) needs assurance that you can handle your initial expenses before that first Canadian pay cheque comes in.
Your Nigerian bank statements are the main piece of evidence here, and the key words are clarity and consistency. Don't just hand over a statement showing the final balance. You'll need a solid six-month statement of account that shows a clean and understandable transaction history.
A word of advice: steer clear of sudden, large deposits from friends or family just before you print the statement. These are what many of us call "Sapa" funds, and they can be a massive red flag for visa officers. If you did receive a large gift, you absolutely must include a notarised Gift Deed explaining where the money came from.
Don't forget, all your funds will be in Naira (NGN). You must get an official letter from your bank confirming the closing balance and its equivalent in Canadian Dollars (CAD) based on the exchange rate for that day. It's a small step that makes a huge difference.
For a deeper look into this crucial requirement, we've put together a detailed guide on how to prepare your proof of funds for a Canadian visa application.
Validating Your Nigerian Education
Canada needs to know that your degree from a Nigerian university stacks up against a Canadian one. This is sorted out with an Educational Credential Assessment (ECA). You can't just send in your certificate; it has to be officially assessed by a designated organisation.
For most of us in Nigeria, the go-to choice is World Education Services (WES). The process generally looks like this:
- Get a WES Account: First, you'll register on the WES Canada website to get your reference number.
- Request Your Transcripts: This is the tricky part. You'll have to contact your university in Nigeria—whether it's UNILAG, Covenant, or ABU Zaria—and ask them to send your official transcripts directly to WES. This can often cause delays, so my advice is to start this as early as possible!
- WES Does Its Thing: Once WES gets your transcripts, they'll evaluate your education and give you a report that confirms its Canadian equivalent. For example, a Bachelor's degree from a recognised Nigerian university is usually seen as equal to a Canadian four-year Bachelor's degree.
This ECA report is a non-negotiable requirement for many immigration pathways, so make it a top priority.
Proving Your English Language Skills
Your ability to communicate effectively in English is a big deal. Even though it's Nigeria's official language, you still have to prove your proficiency with a designated language test. The most common one you'll take is the International English Language Testing System (IELTS) General Training test.
The aim is to hit a specific Canadian Language Benchmark (CLB) score. While different work permit streams have different minimums, a higher score always works in your favour. You should really aim for at least a CLB 9, which usually means getting these scores on your IELTS test:
- Listening: 8.0
- Reading: 7.0
- Writing: 7.0
- Speaking: 7.0
Don't take the test lightly. Use online practice materials, zero in on your weak spots, and maybe even consider a prep course. A strong IELTS score is one of the most powerful ways to boost your entire profile.
Getting Medical and Police Clearances
Finally, you need to show that you're in good health and have a clean record.
For the medical exam, you can't just visit your local hospital. You must book an appointment with an IRCC-approved panel physician in Nigeria. You'll find designated clinics in major cities like Lagos and Abuja. They'll do the check-up and send the results directly to IRCC for you.
As for the police clearance certificate, you'll need to apply for this through the Nigeria Police Force Criminal Investigation Department (CID). This certificate confirms you don't have a criminal history. This process can take several weeks, so be sure to apply for it well ahead of time to avoid any last-minute panic.
Getting Your Application Across the Finish Line
Alright, you've gathered all your documents, and you're on the home stretch. This is where precision and honesty become your best friends. Even a tiny mistake at this stage can lead to frustrating delays or, worse, a refusal. We're going to make sure that doesn't happen.

Let's walk through the actual submission process on the IRCC portal and, more importantly, highlight the common tripwires I've seen catch many Nigerian applicants off guard.
The Application and Payment Process
Your journey officially kicks off on the Immigration, Refugees and Citizenship Canada (IRCC) website. First things first, you’ll need to create your secure IRCC account. Think of this as your personal dashboard for everything that follows. It's where you'll fill out the main form—usually the IMM 1295 (Application for Work Permit Made Outside of Canada)—and upload all those documents you've worked so hard to prepare.
Go slowly and methodically through the form. I can't stress this enough: double-check every single detail. A typo in your name, date of birth, or passport number can cause major headaches down the line.
Now, let's talk about fees, because this is a real sticking point for many in Nigeria. IRCC only accepts online payments via credit card (Visa, Mastercard, American Express). The problem? Due to banking restrictions on international transactions, your standard Naira card will almost certainly be declined. The most reliable way around this is to use a domiciliary account debit card or ask a trusted friend or relative living abroad to handle the payment for you.
To help you budget, here’s a breakdown of what you can expect to pay.
Estimated Costs for a Canadian Work Visa Application
This table breaks down the typical fees you'll encounter. I've included both Canadian Dollars (CAD) and estimated Nigerian Naira (NGN) to help with your financial planning.
| Fee Type | Cost in CAD | Estimated Cost in NGN |
|---|---|---|
| Work Permit Processing Fee | $155 | ~₦217,000 |
| Biometrics Fee (per person) | $85 | ~₦119,000 |
| Open Work Permit Holder Fee | $100 | ~₦140,000 |
| Employer Compliance Fee (paid by employer) | $230 | ~₦322,000 |
Just a heads-up: The NGN estimates are based on a fluctuating exchange rate and are really just for your initial planning. Always check the current rate before making a payment.
Having a clear picture of these costs upfront helps you prepare and avoid any last-minute financial surprises.
The Golden Rule: Honesty is Everything
If you take only one piece of advice from this guide, let it be this: do not misrepresent anything. In Canadian immigration law, misrepresentation (which is just a formal way of saying lying or providing false information) is a massive red flag. If they catch you, you could be banned from entering Canada for five years. It’s just not worth the risk.
Be completely transparent, especially about these two areas:
- Travel History: Never hide a previous visa refusal, whether it was for the UK, the US, or anywhere else. They have ways of finding out. It's always better to declare it and briefly explain what happened and what has changed since then.
- Work Experience: Don't invent jobs or exaggerate your duties to fit a certain NOC code. IRCC can, and often does, verify employment history with past employers.
A common worry is an employment gap. Maybe you took a year off for NYSC or to care for a sick parent. Don't try to sweep it under the rug. Address it head-on in a letter of explanation. Being upfront builds trust with the visa officer.
Think of the Letter of Explanation (LOE) as your chance to talk directly to the person reviewing your file. Use it to clarify anything that might look unusual. For example, if you recently deposited a large sum of cash into your account, explain that it was from the sale of a family car and include a copy of the sale agreement. A good LOE can turn a potential red flag into a non-issue.
The Biometrics Appointment in Nigeria
Once your application is submitted and the fees are paid, you'll get a Biometric Instruction Letter (BIL) in your IRCC account. Your next move is to book an appointment at a Visa Application Centre (VAC). In Nigeria, you have locations in Lagos and Abuja.
This part is pretty straightforward. You'll show up at the VAC for your scheduled appointment with your passport and the BIL. They’ll take your fingerprints and a digital photo, and you’ll be out of there in under 30 minutes. This is a mandatory step; your application simply won't be processed until your biometrics are on file.
What Happens After You Apply
You’ve finally hit that "submit" button and your biometrics are in the system. Now comes the hard part: the wait. This is often the most nerve-wracking stage, where you might find yourself constantly refreshing your email or checking your IRCC account for any sign of life.
Let’s be honest, the waiting game can feel endless. To get a handle on it, your first stop should be the official IRCC processing times tool. For applicants from Nigeria, these timelines can really differ depending on which work permit stream you used. Just remember, the time shown is an average. A clean, straightforward application can sometimes sail through faster, while a more complex case will naturally take longer.
You can keep an eye on things by logging into your secure IRCC account. The status updates are pretty basic, usually shifting from "Submitted" to "In Progress" before a final decision is made. It’s a slow burn, but any movement is a positive sign.
When You Get Good News
Getting that approval notification is a moment you won't forget. But what you receive in your IRCC account isn't the visa sticker itself. Instead, you'll get a Port of Entry (POE) Letter of Introduction.
Think of this letter as your golden ticket. It is not your work permit, but it is the crucial document you must show the border officer when you land in Canada.
So, what’s next?
- Print Your POE Letter: Keep a crisp, printed copy with your passport. Whatever you do, don't pack it in your checked luggage! You'll need it as soon as you get off the plane.
- Plan Your Arrival: It's time to book your flight and get your documents in order for the airport. This includes your passport, proof of funds, and the address of where you'll be staying initially.
- At the Airport: When you arrive, an officer from the Canada Border Services Agency (CBSA) will check your documents and likely ask a few simple questions. If everything is in order, they will print and issue your official work permit right there.
Your POE letter comes with an expiry date. You absolutely must plan your travel to arrive in Canada before this date passes. It cannot be extended, so pay close attention to it.
Getting Settled After Arrival
With your physical work permit in hand, your first two errands should be getting a Social Insurance Number (SIN) and opening a Canadian bank account. The SIN is a nine-digit number that's essential for working in Canada and accessing government benefits. You can apply for one at any Service Canada Centre.
If Your Application Is Refused
Seeing a refusal is incredibly disappointing, but it doesn’t have to be the end of your Canadian dream. The first thing you must do is carefully read the refusal letter to understand exactly why it was turned down. The visa officer will give their reasons, often pointing to specific parts of the immigration act.
These notes are your roadmap for what to fix. Maybe you didn't provide enough proof of funds, or they weren't convinced you'd leave Canada when your permit expires. Instead of feeling defeated, use this feedback to build a much stronger application for next time. Sometimes, a more detailed letter of explanation or additional supporting documents can make all the difference.
It's also worth remembering that Canada's immigration policies are constantly being updated. The government recently announced reforms to manage the number of temporary residents, with changes planned for programmes like the International Mobility Program. This signals a growing emphasis on pathways to permanent residency for temporary workers, making long-term planning more important than ever. Keep up with the latest Canadian immigration news to stay on top of any changes that might affect you.
Answering Your Top Questions
When you're navigating the path to a Canadian work visa from Nigeria, a lot of specific questions are bound to pop up. Let's dig into some of the most common ones I hear from applicants, so you can get clear answers and move forward with confidence.
Do I Need Proof of Funds If I Have a Canadian Job Offer?
This is a big one, and the short answer is: yes, almost always. While a job offer from a Canadian employer is the cornerstone of a strong application, it doesn't get you off the hook for showing settlement funds.
Think about it from the visa officer's point of view. They need to be sure you can hit the ground running without any financial trouble. What happens if there's a hiccup with your first paycheque? What about the upfront costs of a rental deposit, setting up utilities, or just getting around before your salary starts flowing?
Having your own funds proves you’ve thought through these initial hurdles. It's your safety net, showing you're fully prepared for the move and won't face hardship the moment you land. This makes your application that much more convincing.
Can I Bring My Family with Me on a Work Visa?
You absolutely can, and this is one of the best parts of Canada's immigration system. If you land a work permit for a skilled role—that's any job under NOC TEER 0, 1, 2, or 3—your family can usually come with you.
Here's the breakdown:
- Your Spouse or Partner: They can often get an open work permit. This is a huge advantage, as it lets them work for nearly any employer in Canada, giving your family a potential second income right away.
- Your Dependent Children: They can join you and are typically able to enrol in Canadian public schools without needing their own study permit.
The key is to include your family in your initial application. This ensures everyone's paperwork gets processed together.
Expert Tip: Don't forget to adjust your proof of funds calculation. The required amount increases for each dependant, so you'll need to plan ahead to meet the financial requirements for your whole family.
What Is an Open Work Permit Versus an Employer-Specific One?
Knowing the difference here is crucial, as they offer completely different experiences in the Canadian job market.
A employer-specific work permit, often called a 'closed' permit, is what most first-time applicants get. It links you to one company, one job title, and one location. If you’re coming through the Temporary Foreign Worker Program (TFWP), this is almost certainly the type of permit you'll receive.
Then you have the open work permit. This is the holy grail for many, as it allows you to work for virtually any employer, anywhere in Canada. It offers incredible freedom, but it's much harder to qualify for. Open permits are typically reserved for specific situations, like for the spouses of skilled workers or international students who've graduated from a Canadian college or university.
How Long Does the Work Visa Process Take from Nigeria?
Ah, the million-dollar question. Honestly, processing times are a moving target. They can change dramatically based on the type of permit you're applying for and how swamped Immigration, Refugees and Citizenship Canada (IRCC) is at any given moment.
We've seen straightforward applications get approved in a few weeks, while more complex cases can take several months. The best thing you can do is control what's in your power: submit a flawless application. That means every document is included, every form is filled out correctly, and there are no mistakes.
Your most reliable source is the official IRCC processing times tool. Check it regularly to get the most current estimates for applications filed from Nigeria.
Feeling overwhelmed? JapaChat can help clear things up. As Nigeria's first AI immigration expert, it's designed to give you instant, accurate answers to your questions about getting a Canadian work visa. Get the clarity you need to plan your move. Sign up for free today.
Leave a Reply