A Nigerian’s Guide to a Canadian Work Permit Application
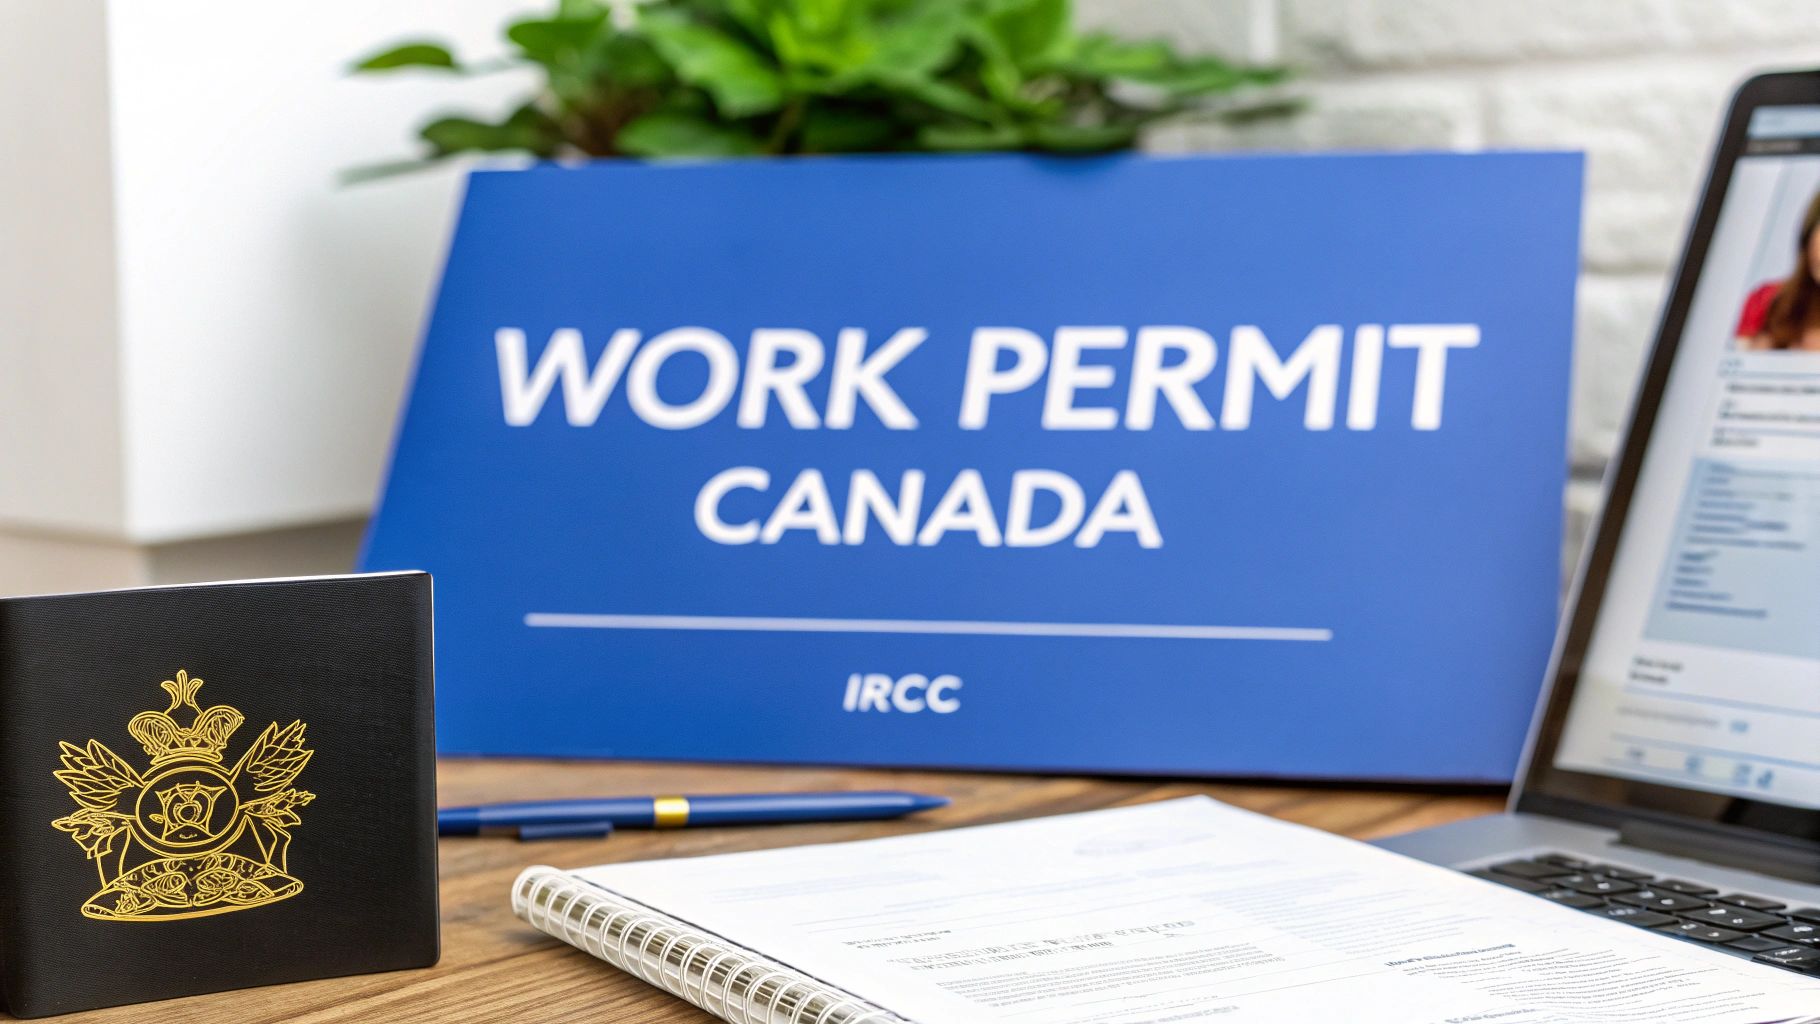
So, you're ready to start your Canadian work permit application. Excellent. The very first step is figuring out which path makes the most sense for you, and honestly, this decision will shape your entire journey.
You're basically at a crossroads with two main routes ahead: the Employer-Specific Work Permit and the more flexible Open Work Permit. Getting this choice right from the start is critical.
Your Canadian Work Permit Options
Think of it this way. Choosing your work permit is a bit like planning your career back home in Nigeria. Do you take a secure, permanent role with a big company like MTN in Lagos, or do you go the freelance route in Abuja, where you have more freedom to pick and choose projects? Both are great options, but they suit different people and different situations.
That's the core difference here. One path gives you a direct, guaranteed job but ties you to a single employer. The other gives you the freedom to explore the Canadian job market, but getting one in the first place is a bit more restricted.
This infographic lays out the two main pathways pretty clearly.
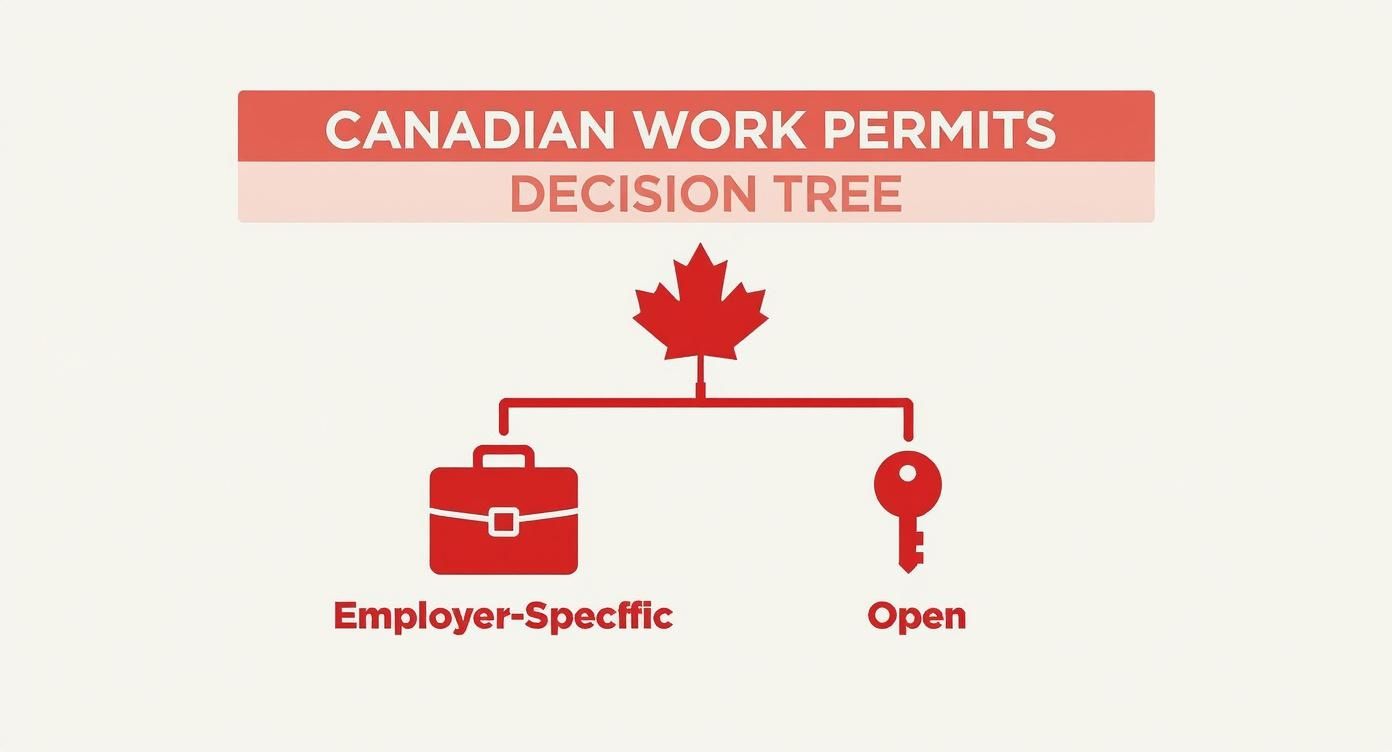
As you can see, your personal situation—whether you have a job offer, your spouse's status, or if you've studied in Canada—is what will point you in the right direction.
To make this even clearer, let's break down which permit is right for whom. This table gives you a quick side-by-side comparison to see where you fit.
Employer-Specific vs Open Work Permit Which Path Is for You?
| Feature | Employer-Specific Work Permit | Open Work Permit |
|---|---|---|
| Main Requirement | A valid job offer from a Canadian employer. | Must meet specific eligibility criteria (e.g., spouse of a worker/student, recent graduate). |
| Employer Role | The employer is heavily involved and usually needs an LMIA. | No specific employer is needed to apply. You're on your own. |
| Job Flexibility | Low. You can only work for the employer named on the permit. | High. You can work for almost any employer in Canada. |
| Who It's For | Professionals from Nigeria with a confirmed job offer. | Spouses, partners, and eligible graduates already in or connected to Canada. |
| Best Scenario | You've landed a great job and the company is ready to support your move. | You need the flexibility to find work after arriving or graduating. |
Ultimately, if you have a job offer in hand, the Employer-Specific route is your most direct path. If you qualify through other means, the Open Work Permit offers incredible freedom.
The Employer-Specific Permit A Direct Path
This is the most common route for skilled professionals applying directly from Nigeria. It’s straightforward: your permit literally has the name of your employer, your job title, and your work location printed on it. You can't just decide to go work for someone else.
The biggest hurdle here is usually the Labour Market Impact Assessment (LMIA). Your Canadian employer has to get this document from the government to prove they couldn't find a Canadian citizen or permanent resident for the job. It's a process that can take months and involves a lot of paperwork on their end, so you need a committed employer.
Key Takeaway: The Employer-Specific Work Permit offers security because you land with a job already waiting. But it locks you in. This is the perfect fit if a Canadian company has already offered you a position and is willing to go through the LMIA process for you.
The Open Work Permit Freedom and Flexibility
Now, this is the permit everyone wants. An Open Work Permit gives you the freedom to work for nearly any employer, anywhere in Canada. You can change jobs, work two part-time gigs, or take a short-term contract without ever having to re-apply for a new permit.
The catch? Not everyone can get one. It’s not something you can just apply for out of the blue.
Eligibility is usually restricted to very specific situations. You might qualify if you are:
- The spouse or common-law partner of a skilled worker or an international student in Canada.
- An international student who just graduated from an eligible Canadian university or college. We have a detailed guide on the Canada Post-Graduate Work Permit that covers this in-depth.
- A holder of a temporary resident permit.
This permit is a game-changer for those who qualify. It lets you dive right into the job market and grab opportunities as they pop up, giving you the kind of flexibility many of us are used to in Nigeria's dynamic work environment.
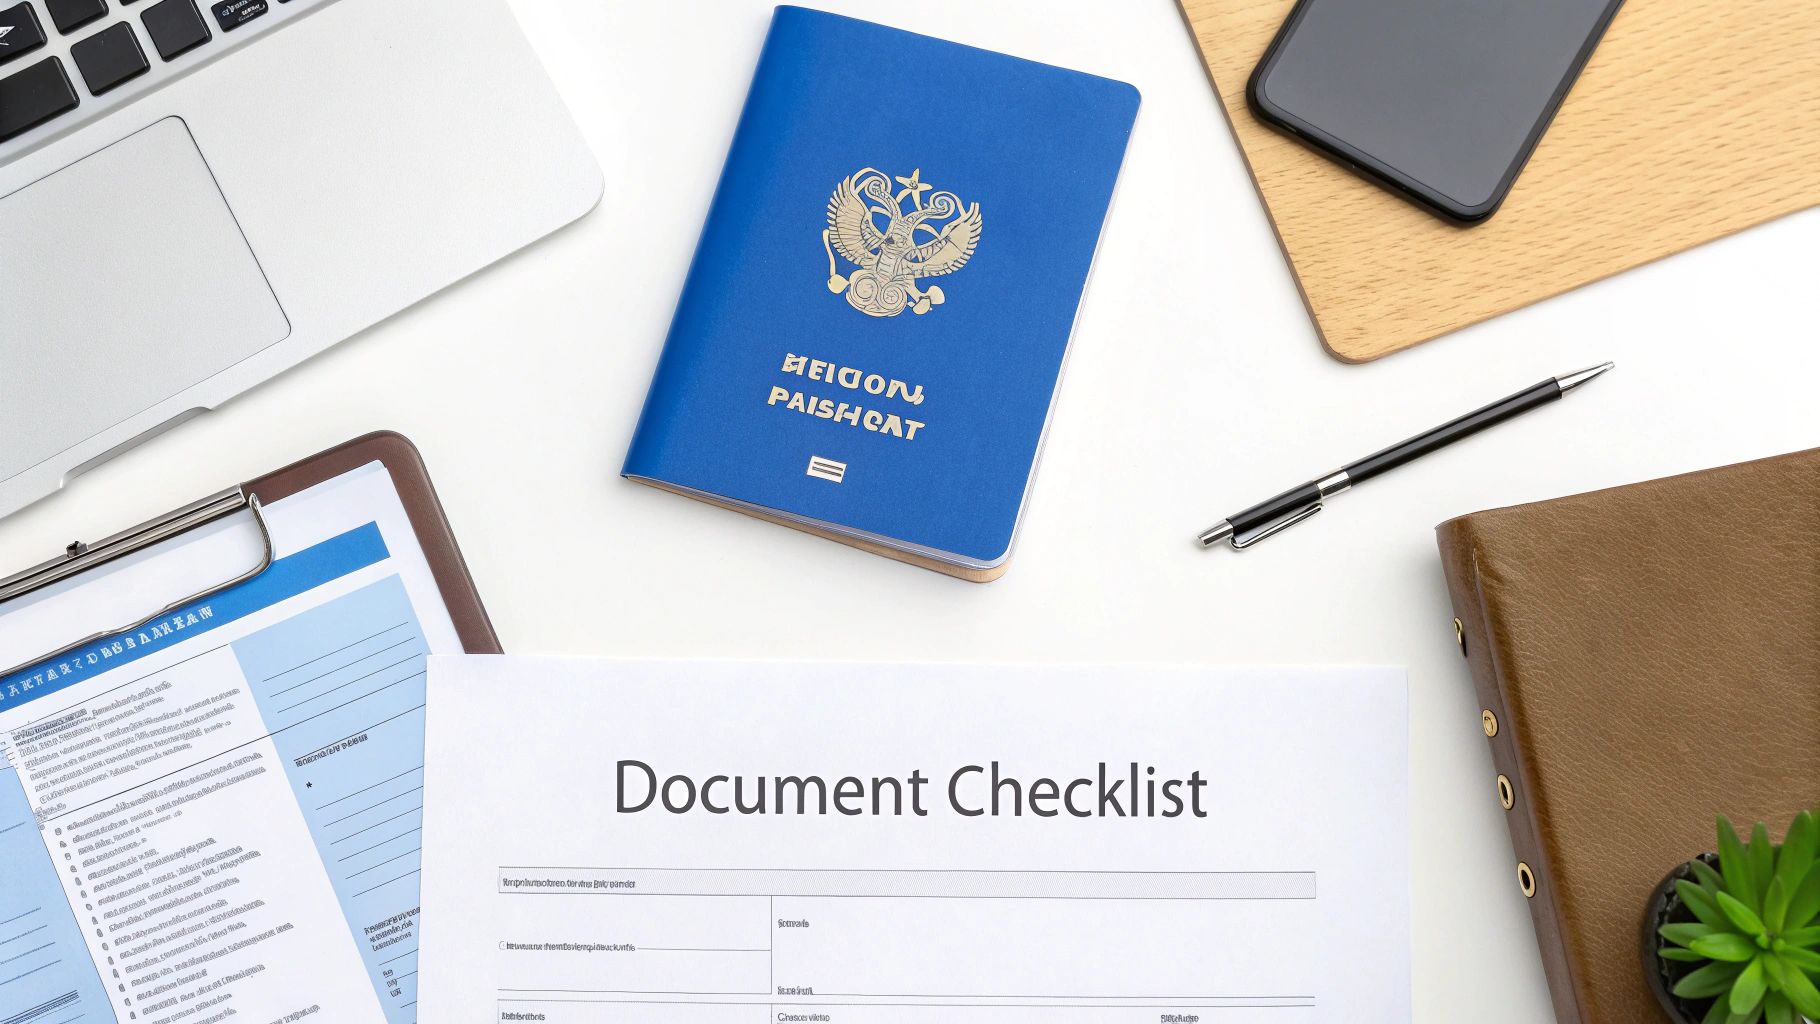
Getting Your Documents in Order: Your Essential Checklist

Alright, this is where the rubber meets the road. Gathering your documents isn't just a tedious task; it's you building a solid, believable case for the visa officer. A complete, neatly organised file speaks volumes—it shows you’re serious, meticulous, and ready for this journey.
Think of it this way: you wouldn't show up for a major interview with a half-finished CV, right? Same principle applies here. Your work permit application needs to be a full, convincing package. Let's break down exactly what you'll need, with some real talk on navigating this process from right here in Nigeria.
The Core Application Forms
First things first, you need the official forms from the Immigration, Refugees and Citizenship Canada (IRCC) website. These are the backbone of your entire application.
- Application for Work Permit Made Outside of Canada (IMM 1295): This is the big one. It covers your personal details, your work history, and the specifics of the Canadian job you're heading to.
- Family Information Form (IMM 5707 or IMM 5645): Here, you'll need to provide details about your immediate family—parents, spouse, kids—even if they aren't coming with you. Be painfully thorough and double-check every name and date.
- Schedule 1 – Application for a Temporary Resident Visa: You'll often need this form to give IRCC more background on things like your travel history or any past military or government service.
A quick but crucial tip: Always download the latest versions of these forms directly from the IRCC site. Submitting an old version is a classic, easily avoidable mistake that can get your application sent right back to you.
Proving Who You Are: Identity and Travel Docs
This part is straightforward but non-negotiable. Your primary proof of identity is your Nigerian international passport. The golden rule? It must be valid for the entire time you plan to work in Canada.
If your passport is nearing its expiry date, you need to get that sorted out immediately. You can find out how to renew your Nigerian passport online to avoid last-minute panic. You’ll also need two recent passport-sized photos that meet IRCC’s very specific requirements—don’t just grab any old studio picture.
The All-Important Proof of Funds
Let's be honest, this is often the most stressful part for us Nigerians. IRCC needs to be sure you can support yourself when you first land in Canada, before that first paycheque comes in. And they aren't looking for a huge amount of money that magically appeared in your account last week.
What they really want to see is a pattern of financial stability. Here’s how you can present your Naira bank statements in a way that tells the right story:
- Show 4-6 months of statements: This demonstrates your saving habits and income flow, proving the money is genuinely yours and not just a loan from your uncle for the application.
- Get a bank reference letter: This official letter from your bank (like GTB or Zenith) should confirm you're their customer and state your current balance.
- Explain any large, unusual deposits: Did you sell a car or receive a significant cash gift from family for your "japa" plans? Attach a short note in your Letter of Explanation along with proof, like a receipt of sale or a gift deed.
Inside the Visa Officer's Mind: They are trying to gauge your financial ties to Nigeria and your ability to manage money. A steady, consistent account history is far more convincing than a massive balance that showed up overnight. Their main concern is that you won't need to rely on Canadian social assistance.
Police Clearance and Medicals
Canada needs assurance that you're in good health and pose no security risk. This means getting two key documents.
Police Clearance Certificate (PCC): You'll need to get this from the Nigerian Police Force Criminal Investigation Department (CID) headquarters at Alagbon. It involves an application, getting your fingerprints taken, and then waiting for the certificate. My advice? Start this process as early as possible, as it can sometimes drag on for a few weeks.
Upfront Medical Examination: You can’t just visit your family doctor for this one. You must book an appointment with an IRCC-approved panel physician in Nigeria, who are mostly located in Lagos and Abuja. They'll do a full medical check-up and send the results directly to IRCC for you.
Your Personal Pitch: The Letter of Explanation
Your Letter of Explanation, or Statement of Purpose (SOP), is your one chance to speak directly to the visa officer. This is where you connect all the dots and give your application a human voice.
Don't just rehash the information from your forms. Use this letter to:
- Clearly state your purpose: Explain why you want this specific job in Canada and how it’s a logical step in your career.
- Highlight your ties to Nigeria: Talk about your family, property you own, or the great career you plan to return to. This reassures the officer you have strong reasons to come back home. This is crucial for temporary visas.
- Address any red flags: Got a gap in your employment history? A previous visa refusal? Explain it honestly and concisely. Don't hide it.
For instance, a young software developer from Lagos could explain how working at a Canadian tech firm will provide unique skills they plan to bring back to launch their own startup in Yaba. This shows clear intent and strong home ties. And speaking of your professional side, it's never too early to get your resume in top shape. This guide to crafting a winning resume is an excellent resource for making sure your professional documents are as strong as your immigration application.
Getting to Grips with the IRCC Online Application Portal
Diving into the IRCC online portal for the first time can feel a bit like stepping into a maze. It’s complex, and frankly, a little intimidating. But don't worry, I'm here to walk you through it, step by step, just as if I were sitting next to you. We'll get your account set up and make sure you find the exact forms you need.
First things first, you’ll need to register for a secure IRCC account. This is your personal gateway to the entire application system. You'll just need a valid email address and to create a strong password you can remember.
Here’s what the starting page looks like, so you know you're in the right place. This is where your journey begins.
The simple layout with clear "Sign in" or "Register" options should give you some confidence that you're on the official, secure government site.
Creating Your Account and Finding the Right Forms
Once you're registered and logged in, you'll land on a dashboard. This is your mission control centre. From here, you need to find the specific application for a work permit. Look for the option that says something like “Apply to come to Canada” and then select the work permit category. The key form you're looking for is the Application for Work Permit Made Outside of Canada (IMM 1295).
When you start filling out the IMM 1295, you'll need a few key details handy:
- Your personal identification, like your passport number and its expiry date.
- All the info about your job offer, including the employer's details and the LMIA number if you have one.
- A concise summary of your education and work history, making sure it aligns with your NOC code.
Take your time here. A simple typo can cause unnecessary delays, so double-check every field before you click "next".
Pro Tip: Look for the form version date, usually at the bottom of the PDF form. Always download the latest version directly from the portal to avoid having your application returned because you used an outdated form. It happens more often than you'd think.
Nailing the Tricky Sections
From my experience, a few sections on the forms tend to trip up Nigerian applicants more than others.
The travel history section is a big one. You need to be meticulous. List every single trip you've taken outside Nigeria, no matter how short. A quick business trip to Ghana? It counts. A holiday in Dubai? It definitely counts.
- Keep your passport next to you and go through it stamp by stamp.
- If you've used different passports over the years, dig up your old flight confirmation emails to jog your memory.
Family information is another potential minefield. Make sure you have the correct birth dates and full legal names for all your family members as they appear on official documents. Consistency is key.
Uploading Your Documents Without a Hitch
When it’s time to upload your supporting documents, the portal has some strict rules. All your files must be in PDF format. Don't try uploading JPEGs or other image files directly; convert them first.
Each document also has a file size limit, typically under 4 MB. If your file is too large, you’ll need to compress it before it will upload.
- Always scan documents in a lower resolution (like 150 dpi) to keep file sizes manageable without losing clarity.
- Give your files clear, descriptive names, like "Passport_Bio_Page_YourName.pdf" or "Job_Offer_Letter.pdf". This helps both you and the officer.
As you upload, hit the "Save" button frequently. This protects your work until you're ready to submit.
Speaking of work permits, it's interesting to note how programs like the Temporary Foreign Worker Program continue to be a major pathway. In New Brunswick alone, 105,195 permits were issued in the first half of a recent year. While that's a slight dip from 109,310 the previous year, it shows just how active this route is. You can learn more about the TFWP's impact in New Brunswick here.
Outsmarting Common Portal Glitches
The IRCC portal is notorious for timing out if you leave it inactive for too long. Get into the habit of saving your progress every few minutes to avoid losing your work.
Here are a couple of tricks I've learned to keep things running smoothly:
- Before you log in, clear your browser's cache and cookies. This can solve a surprising number of loading errors.
- Work on your application in a single browser tab. Having multiple tabs open can sometimes confuse the system and cause data to be lost.
The Final Review Before You Hit 'Submit'
Before you take the final plunge, go back and review everything one last time. Read through each form, checking for typos or missing information. Click on each uploaded document to make sure the correct file is there.
The portal will show you a summary page right before payment. Use this as a final checklist. Does everything look right? Are all documents accounted for? Good. Now you can move forward with confidence.
What’s Next: Paying Fees and Booking Biometrics
Once you submit the application, the system will automatically calculate your total fees, which include the work permit processing fee and the biometrics fee. You'll pay this directly through the portal with a credit or debit card.
After your payment is confirmed, you'll receive a Biometric Instruction Letter (BIL). Only then can you book your biometrics appointment at a Visa Application Centre (VAC) in Nigeria.
Key Insight: A common cause of glitches, especially during payment, is a mismatch between the time zone on your computer and the IRCC server's time. Make sure your device's clock is set correctly to avoid frustrating errors.
Taking Control of Your Application
By handling the application yourself, you not only save on agent fees but also gain complete control and understanding of your file. You know exactly what’s been submitted.
For extra support, you can use tools from JapaChat to help you stay organised. Think of it as your personal assistant for the application process. You can get:
- Automated reminders for important deadlines.
- A progress tracker to see where you are at each stage.
- Live chat support if you get stuck on a specific form or encounter an error.
With the right preparation and tools, you can navigate this process feeling empowered and in control. Next up, we'll dive deeper into the specifics of paying your fees and booking that all-important biometrics appointment in Nigeria.
Handling Fees and Biometrics in Nigeria
You’ve wrestled with the forms, gathered every last document, and uploaded everything to your portal. Well done. Now it's time for the final two steps that officially get your application in the queue: paying the fees and submitting your biometrics.
This part is less about paperwork and more about procedure. It's straightforward, but you need to be precise to avoid any frustrating delays.
Breaking Down the Application Costs
Once you hit that ‘submit’ button on the IRCC portal, the system will automatically calculate all the required fees. For a typical Canadian work permit application, the cost is usually split into two parts:
- Work Permit Processing Fee: The core fee for an immigration officer to review your entire application.
- Biometrics Fee: A separate charge for the collection of your fingerprints and photograph.
The total amount will be displayed in Canadian Dollars (CAD). Payment is made directly on the portal using a credit or debit card—Visa and Mastercard are your best bets.
Now, here’s a common hurdle for many Nigerians: payment failure. Our Naira-denominated cards often have strict limits on international transactions, which can lead to a declined payment. If this happens to you, don't panic. The easiest way around this is to use a domiciliary account debit card. Another option is to ask a trusted friend or relative living abroad to make the payment on your behalf.
Booking Your Biometrics Appointment
As soon as your payment is confirmed, a Biometric Instruction Letter (BIL) will appear in your IRCC account. This usually happens within 24 hours. Think of this letter as your pass to the next stage. Without it, you can't book your appointment, and it's only valid for 30 days.
With your BIL downloaded, your immediate task is to book an appointment at a Visa Application Centre (VAC). In Nigeria, the main centres are in Lagos and Abuja.
My advice: Book your appointment the very same day you receive your BIL. Appointment slots, especially in Lagos and Abuja, get snatched up incredibly fast. Waiting even a few days could mean missing the 30-day window, which will bring your application to a dead stop.
The stress of these timelines is a well-known issue. It’s become such a challenge that some Canadian provinces have even stepped in to help. For instance, New Brunswick created an emergency work-permit pathway for candidates whose permits were about to expire due to federal processing delays. You can read more about how provinces address processing challenges on visahq.com.
Your Day at the VAC
On appointment day, your goal is to be in and out smoothly. The biometrics collection itself is very quick, but getting past the entrance depends entirely on having the right documents with you.
Make sure you have these three items, no excuses:
- Your Nigerian International Passport: This is your non-negotiable proof of identity.
- The Biometric Instruction Letter (BIL): A printed copy is mandatory. They will not accept a digital version on your phone.
- Your Appointment Confirmation Letter: This is the email you got from the VAC when you booked your slot. Print this too.
Inside, an official will check your documents before calling you in. The process involves a quick digital fingerprint scan and a photo. Honestly, you’ll likely spend more time waiting than you will giving your biometrics—the whole thing often takes less than 30 minutes.
Before you leave, the VAC staff will give you a receipt. Hold on to this receipt! It's your official proof that this crucial step is complete. Within a few days, your IRCC portal should update to show that your biometrics have been successfully linked to your file.
What Happens After You Hit ‘Submit’?
You’ve done it. After all the document gathering, form-filling, and triple-checking, you’ve finally submitted your application. It’s a huge moment of relief, but it also kicks off what can be the most nerve-wracking part of the entire journey: the waiting game.
This period is often filled with a lot of uncertainty and anxiety. Every single email notification makes your heart jump. To keep your cool and manage your expectations, it helps to understand what’s actually happening behind the scenes with your application.
The Waiting Game and How to Track Your Application
Once your application is in and you’ve done your biometrics, your file officially enters the processing queue at Immigration, Refugees and Citizenship Canada (IRCC). Keep in mind that the processing times you see on the IRCC website are just estimates. They can, and often do, vary wildly for applicants from Nigeria, so try to be patient but stay proactive.
Your IRCC secure account is now your best friend. Make it a habit to check it regularly for updates. You'll see the status change from "Submitted" to "In Progress," and you might spot smaller updates like "Biometrics completed" or "Medicals passed." These little changes are good signs—they mean an officer is actively working on your file.
A Quick Tip from Experience: Try not to get obsessed with checking your portal multiple times a day. It’s a surefire way to drive yourself crazy with anxiety. A much healthier approach is to set a routine, maybe checking it once every couple of days. Consistent, calm monitoring is far better for your peace of mind.
If you want to get more strategic about it, you can explore other ways to keep tabs on your progress. We’ve put together a detailed guide on visa application tracking that dives deeper into the tools and methods you can use.
Making Sense of Messages from IRCC
During this waiting period, you might get a few different messages from IRCC. Knowing what each one means is key so you can respond quickly and correctly.
Here’s a quick rundown of the most common communications you might see:
- Biometric Instruction Letter (BIL): This is usually the first official document you’ll get after paying your fees. It’s the letter that authorises you to go to a Visa Application Centre (VAC) in Lagos or Abuja to get your fingerprints and photo taken.
- Request for Additional Documents: Don’t panic if you see this! It’s quite common. A visa officer might just need more clarity on your proof of funds, a more detailed job description from your employer, or an updated police certificate. They will give you a firm deadline to upload these documents, so make sure you act fast.
- Medical Request: If you didn’t do an upfront medical exam, you’ll receive a request to go see an IRCC-approved doctor, known as a panel physician.
Responding to these requests promptly and giving them exactly what they’ve asked for is critical. Any delay on your part can, unfortunately, lead to a much longer delay in getting your final decision.
The Final Decision and Your Port of Entry Letter
Finally, the day will come when the status in your portal changes to "Final Decision Made." You'll then get a message in your account with one of two outcomes: a refusal letter or, fingers crossed, a Port of Entry (POE) Letter of Introduction. This is also sometimes called a correspondence letter.
It's so important to understand what this POE letter is. This is not your actual work permit. Think of it as your approval letter—the golden ticket you need to present to the border services officer when you first land in Canada. That officer will ask you a few final questions and then print your official work permit for you right there at the airport.
The stability of work permit programmes is a major consideration for many people. It’s interesting to see that even when national immigration trends shift, some provinces keep a steady intake of workers. For instance, in New Brunswick, 3,080 migrant work permit holders arrived over an eight-month period, a figure that has remained surprisingly stable year over year. You can read more about New Brunswick's immigrant numbers on tj.news.
Once you have that POE letter in hand, you can confidently book your flight and start planning your big move. This is the moment you know all your hard work has truly paid off.
Common Questions I Hear from Nigerian Applicants
https://www.youtube.com/embed/_QklwdrrgTY
Going through the Canadian work permit process from Nigeria definitely brings up a lot of questions. I get them all the time. Let's tackle some of the most common ones I see, so you can move forward feeling a lot more confident.
Can I Bring My Family With Me on a Work Permit?
Yes, you absolutely can, and this is a huge plus for many Nigerian families. If you’ve landed a work permit for a skilled job (that’s usually anything in TEER 0, 1, 2, or 3), your spouse or common-law partner can often get an open work permit.
This is a game-changer because it means they can work for nearly any employer in Canada, which really helps your family settle in. Your kids can come along too, and they can slot right into primary or secondary school without needing their own study permits.
How Much Proof of Funds Do I Really Need?
There's no single magic number, but here's the reality: you need to show the visa officer you can handle your initial expenses before your first Canadian paycheque comes in.
A good benchmark for a single person is to aim for $3,000 to $5,000 CAD. Of course, if you’re bringing your family, you'll need to show significantly more. What's even more crucial than the total amount is the money's history. Funds that have been in your account for at least 4 to 6 months look far more genuine than a large, sudden deposit that appeared last week.
Can I Switch Employers If I Have an Employer-Specific Permit?
This is a really important one to understand. An employer-specific work permit means you are legally tied to that one company. If a better opportunity comes up and you want to switch jobs, you can't just quit and start somewhere else.
You must apply for a completely new work permit, which will require a new job offer and, in most cases, a new LMIA from your new employer. Only after that new permit is approved can you start the new job.
Think of it this way: changing jobs isn't just about giving notice. You're essentially starting a whole new work permit application from scratch. Make sure you plan for this and that your new employer is ready to support you through the process.
What Are My Chances of Getting a Job Without Canadian Experience?
It’s a fair question and a common worry, but it’s far from a deal-breaker. Many Canadian employers are actively looking for global talent and value international experience, especially in booming sectors like tech, healthcare, and engineering.
The trick is to frame your Nigerian experience in a way that resonates with the Canadian job market. Tweak your CV to showcase skills that are directly transferable. Get active on LinkedIn, connect with recruiters who work with international candidates, and don't be afraid to highlight your unique perspective.
A lot of Nigerians also ask about salary expectations. It's smart to get a handle on the cost of living and earning potential. A great starting point is to look up the average salaries in Canada for your profession. This knowledge will help you manage your expectations and even give you more confidence when you get to the negotiation stage.
Feeling overwhelmed by the immigration process? Let JapaChat be your guide. As Nigeria's first AI immigration expert, we provide instant, accurate answers to your questions, helping you plan your move with clarity. Start for free and join over 10,000 Nigerians planning their journey at https://japachat.com.
Leave a Reply